Add Login to Your React Native Application
This Quickstart is for the React Native framework. To integrate Auth0 into your Expo application, refer to the Expo Quickstart.
To use Auth0 services, you must have an application set up in the Auth0 Dashboard. The Auth0 application is where you will configure authentication in your project.
Configure an application
Use the interactive selector to create a new Auth0 application or select an existing application that represents the project you want to integrate with. Every application in Auth0 is assigned an alphanumeric, unique client ID that your application code will use to call Auth0 APIs through the SDK.
Any settings you configure using this quickstart will automatically update for your Application in the Dashboard, which is where you can manage your Applications in the future.
To explore a complete configuration, review the sample application in your Dashboard.
Configure callback and logout URLs
Auth0 invokes the callback and logout URLs to redirect users back to your application. Auth0 invokes the callback URL after authenticating the user and the logout URL after removing the session cookie. If you do not set the callback and logout URLs, users will not be able to log in and out of the app, and your application will produce an error.
Add the corresponding URL to Callback URLs and Logout URLs, according to your app's platform. If you are using a custom domain, use the value of your custom domain instead of your Auth0 tenant’s domain.
iOS
BUNDLE_IDENTIFIER.auth0://{yourDomain}/ios/BUNDLE_IDENTIFIER/callbackWas this helpful?
Android
PACKAGE_NAME.auth0://{yourDomain}/android/PACKAGE_NAME/callbackWas this helpful?
In this section, you will install the React Native Auth0 module.
Yarn
yarn add react-native-auth0Was this helpful?
npm
npm install react-native-auth0 --saveWas this helpful?
Additional iOS step: install the module Pod
Our SDK requires a minimum iOS deployment target of 13.0. In your project's `ios/Podfile``, ensure your platform target is set to 13.0.
platform :ios '13.0'Was this helpful?
CocoaPods is the iOS package management tool the React Native framework uses to install itself into your project. For the iOS native module to work with your iOS app, first install the library Pod. If you're familiar with older React Native SDK versions, this is similar to the previous Linking a Native module. The process is now simplified:
Change directory into the ios folder and run pod install.
cd ios
pod install
Was this helpful?
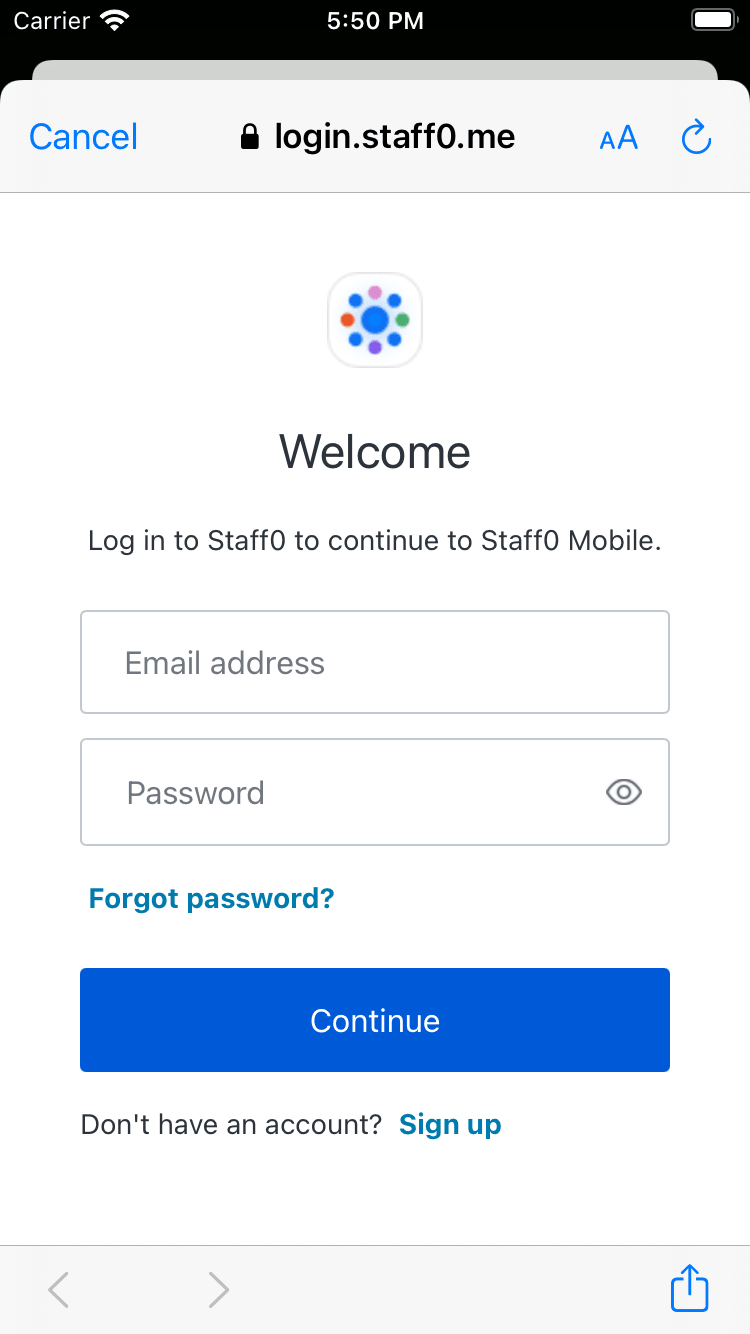
First, you must provide a way for your users to log in. We recommend using the Auth0-hosted login page.
Configure Android
Open the build.gradle file in your application directory (typically at android/app/build.gradle) and add the following manifest placeholders. The value for auth0Domain should contain your Auth0 application settings as configured above.
android {
defaultConfig {

    // Add the next line

    manifestPlaceholders = [auth0Domain: "{yourDomain}", auth0Scheme: "${applicationId}.auth0"]

}

...

}
Was this helpful?
Configure iOS
In the file ios/<YOUR PROJECT>/AppDelegate.mm, add the following:
#import <React/RCTLinkingManager.h>
(BOOL)application:(UIApplication *)app openURL:(NSURL *)url
options:(NSDictionary<UIApplicationOpenURLOptionsKey, id> *)options
{
return [RCTLinkingManager application:app openURL:url options:options];
}Was this helpful?
Next, add a URLScheme using your App's bundle identifier.
In the ios folder, open the Info.plist and locate the value for CFBundleIdentifier.
<key>CFBundleIdentifier</key>
<string>$(PRODUCT_BUNDLE_IDENTIFIER)</string>
Was this helpful?
Below this value, register a URL type entry using the value of CFBundleIdentifier as the value for the CFBundleURLSchemes.
<key>CFBundleURLTypes</key>
<array>
<dict>
<key>CFBundleTypeRole</key>
<string>None</string>
<key>CFBundleURLName</key>
<string>auth0</string>
<key>CFBundleURLSchemes</key>
<array>
<string>$(PRODUCT_BUNDLE_IDENTIFIER).auth0</string>
</array>
</dict>
</array>
Was this helpful?
In a later step, you will use this value to define the callback URLs below. You can change it using XCode with the following steps:
Open the
ios/<YOUR PROJECT>.xcodeprojfile or runxed ioson a Terminal from the app root.Open your project's or desired target's Build Settings tab and find the section that contains "Bundle Identifier".
Replace the "Bundle Identifier" value with your desired application's bundle identifier name.
For additional information, please read react native docs.
The useAuth0 hook relies on a React Context to provide state management. The Auth0Provider component provides this context.
Import the useAuth0 hook and Auth0Provider component from the react-native-auth0 package:
import {useAuth0, Auth0Provider} from 'react-native-auth0';Was this helpful?
For the SDK to function correctly, wrap your application in the Auth0Provider component and set the following properties:
domain: The domain of your Auth0 tenant. Generally, you can find this in the Auth0 Dashboard under your Application's Settings in the Domain field. If you are using a custom domain, you should set this to the value of your custom domain instead.clientId: The ID of the Auth0 Application you set up earlier in this quickstart. You can find this in the Auth0 Dashboard under your application's Settings tab in the Client ID field.
checkpoint.header
You just configured the Auth0Provider component. Run your application to verify that:
The SDK is initializing correctly.
Your application is not throwing any errors related to Auth0.
Authenticate the user by calling the authorize method provided by the useAuth0 hook. This method redirects the user to the Auth0 Universal Login page for authentication, then back to your app.
To confirm the user successfully logged in, check that the user property provided by the hook is not null.
checkpoint.header
Add a button component that calls authorize when clicked. Verify that you are redirected to the login page and then back to your application.
To log the user out, redirect them to the Auth0 logout endpoint by calling clearSession. This will remove their session from the authorization server and log the user out of the application.
checkpoint.header
Add a button that calls clearSession and observe that you are redirected to the Auth0 logout endpoint and back again. You should no longer be logged in to your application.
The useAuth0 hook exposes a user object that contains information about the authenticated user. You can use this to access decoded user profile information about the authenticated user from the ID token.
If a user has not been authenticated, this property will be null.
checkpoint.header
Log in and inspect the user property on the result. Verify the current user's profile information, such as email or name.
Next Steps
Excellent work! If you made it this far, you should now have login, logout, and user profile information running in your application.
This concludes our quickstart tutorial, but there is so much more to explore. To learn more about what you can do with Auth0, check out:
- Auth0 Dashboard - Learn how to configure and manage your Auth0 tenant and applications
- react-native-auth0 SDK - Explore the SDK used in this tutorial more fully
- Auth0 Marketplace - Discover integrations you can enable to extend Auth0’s functionality

Sign up for an or to your existing account to integrate directly with your own tenant.