Laravel API: Authorization
By Evan Sims
This tutorial demonstrates how to add authorization to a Laravel API application using the Auth0 Laravel SDK. We recommend that you log in to follow this quickstart with examples configured for your account.
I want to integrate with my app
15 minutesI want to explore a sample app
2 minutesGet a sample configured with your account settings or check it out on Github.
Configure Auth0 APIs
Create an API
In the APIs section of the Auth0 dashboard, click Create API. Provide a name and an identifier for your API, for example, https://quickstarts/api. You will use the identifier as an audience later, when you are configuring the Access Token verification. Leave the Signing Algorithm as RS256.
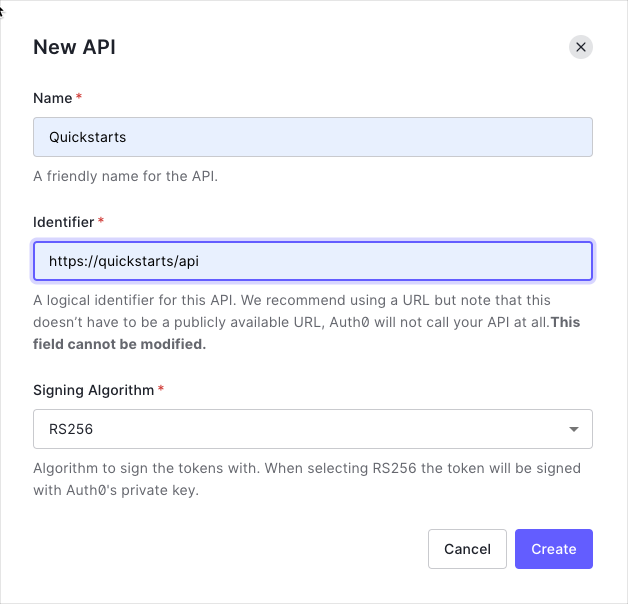
By default, your API uses RS256 as the algorithm for signing tokens. Since RS256 uses a private/public keypair, it verifies the tokens against the public key for your Auth0 account. The public key is in the JSON Web Key Set (JWKS) format, and can be accessed here.
Define permissions
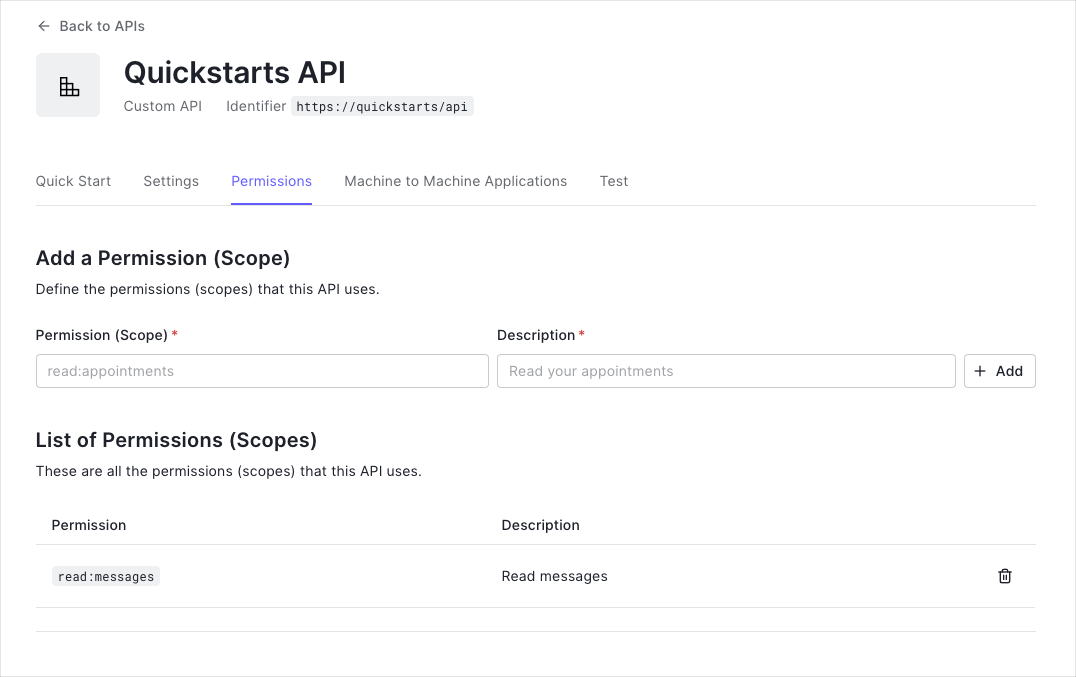
Permissions let you define how resources can be accessed on behalf of the user with a given access token. For example, you might choose to grant read access to the messages resource if users have the manager access level, and a write access to that resource if they have the administrator access level.
You can define allowed permissions in the Permissions view of the Auth0 Dashboard's APIs section.
Create a Laravel Application
Let's begin by setting up a new Laravel application. Let's open a shell and run the following command — replacing DIRECTORY_NAME with a directory name of preference to create and install Laravel within. The directory cannot already exist.
composer create-project --prefer-dist laravel/laravel DIRECTORY_NAMEWas this helpful?
We'll refer to this new directory as our project's root directory. As we work through this tutorial, we'll run any instructed shell commands from within that directory.
Install the SDK
Let's install the Auth0's Laravel SDK to protect our new Laravel application's routes. The SDK offers a range of middleware types we can use which will check for and verify any bearer tokens in the 'Authorization' header of an incoming HTTP request.
From a shell opened to our project's root directory, let's use Composer to install the SDK in our application:
composer require auth0/loginWas this helpful?
Configure the SDK
Next, let's create the SDK's configuration file. Again from a shell opened to our projects root directory, let's use Laravel's the vendor:publish command to import the configuration file into our application:
php artisan vendor:publish --tag auth0-configWas this helpful?
Now we can begin configuring our Auth0 integration by adding options to the .env file in our project's root directory. Let's open that .env file and add some essential details for our project:
# This tells the Auth0 Laravel SDK about your use case to customize its behavior.
# The 'api' strategy is used for backend API applications like we're building here.
AUTH0_STRATEGY=api

# The URL of your Auth0 tenant domain
# You'll find this in your Auth0 Application's settings page.
AUTH0_DOMAIN={yourDomain}

# Your Auth0 application's Client ID
# You'll find this in your Auth0 Application's settings page.
AUTH0_CLIENT_ID={yourClientId}

# Your Auth0 Custom API identifier/audience.
# You'll find this in your Custom API's settings page.
AUTH0_AUDIENCE={yourApiIdentifier}
Was this helpful?
Configure the application
Now let's connect our Laravel application with the SDK so we can begin working with our Auth0 integration. For this, we'll be making changes to our config\auth.php file. This file contains a lot of settings, but we only need to make a few small changes.
To start, let's find the defaults section. We'll set the default guard to auth0, like this:
// 📂 config/auth.php

'defaults' => [
    'guard' => 'auth0',
    // 📝 Leave any other settings in this section alone.
],
Was this helpful?
Next, find the guards section, and add auth0 there:
// 👆 Continued from above, in config/auth.php

'guards' => [
    // 📝 Any additional guards you use should stay here, too.

    'auth0' => [
        'driver' => 'auth0',
        'provider' => 'auth0',
    ],
],
Was this helpful?
Finally, find the providers section, and add auth0 there as well:
// 👆 Continued from above, in config/auth.php

'providers' => [
    // 📝 Any additional providers you use should stay here, too.

    'auth0' => [
        'driver' => 'auth0',
        'repository' => \Auth0\Laravel\Auth\User\Repository::class
    ],
],
Was this helpful?
Protecting routes
We'll use the SDK's middleware to automatically protect these using bearer tokens. For this type of application there are types of middleware available for us to use. Let's create three routes to demonstrate each one.
We'll need to edit our routes/web.php file, and add the following routes to that file:
// 📂 routes/web.php
// 👆 Keep anything already present in the file, just add the following ...

Route::get('/api/public', function () {
    return response()->json([
        'message' => 'Hello from a public endpoint! You don\'t need to be authenticated to see this.',
        'authorized' => Auth::check(),
        'user' => Auth::check() ? json_decode(json_encode((array) Auth::user(), JSON_THROW_ON_ERROR), true) : null,
    ], 200, [], JSON_PRETTY_PRINT);
})->middleware(['auth0.authorize.optional']);
Was this helpful?
This route demonstrates the auth0.authorize.optional middleware. This middleware will resolve an available bearer token when provided (allowing you to access the token's properties through the Auth::user() command) but won't block requests without a token either, allowing you to treat tokenless requests as "guest" requests.
Let's add another to that file:
// 👆 Continued from above, in routes/web.php

Route::get('/api/private', function () {
    return response()->json([
        'message' => 'Hello from a private endpoint! You need to be authenticated to see this.',
        'authorized' => Auth::check(),
        'user' => Auth::check() ? json_decode(json_encode((array) Auth::user(), JSON_THROW_ON_ERROR), true) : null,
    ], 200, [], JSON_PRETTY_PRINT);
})->middleware(['auth0.authorize']);
Was this helpful?
Similar to the optional middleware above, the auth0.authorize middleware will resolve a bearer token for us, but this middleware will reject any requests that don't pass a valid Access Token for our application.
// 👆 Continued from above, in routes/web.php

Route::get('/api/private-scoped', function () {
    return response()->json([
        'message' => 'Hello from a private endpoint! You need to be authenticated and have a scope of read:messages to see this.',
        'authorized' => Auth::check(),
        'user' => Auth::check() ? json_decode(json_encode((array) Auth::user(), JSON_THROW_ON_ERROR), true) : null,
    ], 200, [], JSON_PRETTY_PRINT);
})->middleware(['auth0.authorize:read:messages']);
Was this helpful?
In this demonstration we're using the auth0.authorize middleware with an extra check: the request will be rejected if the Access Token is invalid or doesn't include the required scope (in this case read:messages.)
Run the application
We've installed Laravel and the SDK, configured our application, and set up some routes — all that's left is for us to try out our new application:
php artisan serve --port=3010Was this helpful?
We're all set our new application is live and waiting for us. Give it a try by loading http://localhost:3010/api/public in your web browser.
Move on to the next section, "using your API", to learn more about how to interface with these routes.