Android: Login
This quickstart demonstrates how to add user login to an Android application using Auth0. We recommend that you log in to follow this quickstart with examples configured for your account.
I want to integrate with my app
15 minutesI want to explore a sample app
2 minutesGet a sample configured with your account settings or check it out on Github.
Configure Auth0
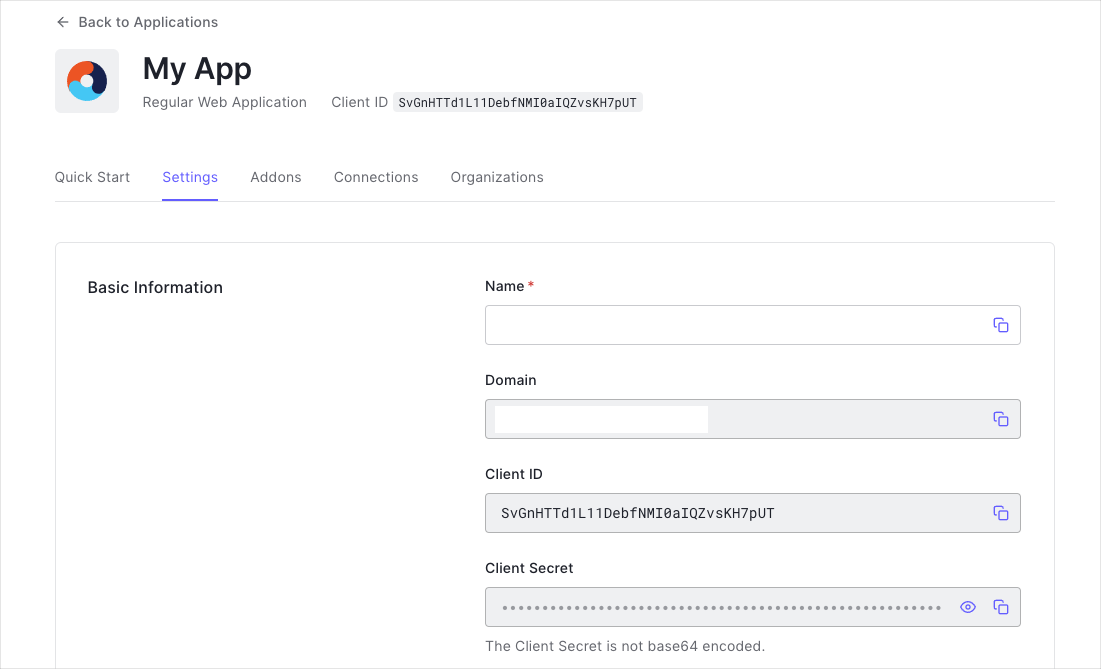
Get Your Application Keys
When you signed up for Auth0, a new application was created for you, or you could have created a new one. You will need some details about that application to communicate with Auth0. You can get these details from the Application Settings section in the Auth0 dashboard.

You need the following information:
- Domain
- Client ID
Configure Callback URLs
A callback URL is a URL in your application where Auth0 redirects the user after they have authenticated. The callback URL for your app must be added to the Allowed Callback URLs field in your Application Settings. If this field is not set, users will be unable to log in to the application and will get an error.
Replace YOUR_APP_PACKAGE_NAME with your application's package name, available as the applicationId attribute in the app/build.gradle file.
Configure Logout URLs
A logout URL is a URL in your application that Auth0 can return to after the user has been logged out of the authorization server. This is specified in the returnTo query parameter. The logout URL for your app must be added to the Allowed Logout URLs field in your Application Settings. If this field is not set, users will be unable to log out from the application and will get an error.
Replace YOUR_APP_PACKAGE_NAME with your application's package name, available as the applicationId attribute in the app/build.gradle file.
Install the Auth0 Android SDK
Add the Auth0 Android SDK into your project. The library will make requests to the Auth0's Authentication and Management APIs.
Add Auth0 to Gradle
In your app's build.gradle dependencies section, add the following:
dependencies {
  // Add the Auth0 Android SDK
  implementation 'com.auth0.android:auth0:2.+'
}
Was this helpful?
In the android section, target Java 8 byte code for Android and Kotlin plugins respectively.
android {
  compileOptions {
    sourceCompatibility JavaVersion.VERSION_1_8
    targetCompatibility JavaVersion.VERSION_1_8
  }
  kotlinOptions {
    jvmTarget = '1.8'
  }
}
Was this helpful?
Sync Project with Gradle Files
Remember to synchronize using the Android Studio prompt or run ./gradlew clean build from the command line. For more information about Gradle usage, check their official documentation.
Add manifest placeholders required by the SDK. The placeholders are used internally to define an intent-filter that captures the authentication callback URL. For this, the Auth0 tenant domain and the scheme that take part in the callback URL must be set.
To add the manifest placeholders, add the next line:
// app/build.gradle

apply plugin: 'com.android.application'
compileSdkVersion 30
android {
    defaultConfig {
        applicationId "com.auth0.samples"
        minSdkVersion 21
        targetSdkVersion 30
        // ...

        // ---> Add the next line
        manifestPlaceholders = [auth0Domain: "@string/com_auth0_domain", auth0Scheme: "demo"]
        // <---
    }
}
Was this helpful?
Finally, ensure that the android.permissions.INTERNET permission is specified in the AndroidManifest.xml file:
<uses-permission android:name="android.permission.INTERNET" />Was this helpful?
Run Sync Project with Gradle Files inside Android Studio or execute ./gradlew clean assembleDebug from the command line.
Add Login to your App
Universal Login is the easiest way to set up authentication in your application. We recommend using it for the best experience, best security and the fullest array of features.
In the onCreate method, create a new instance of the Auth0 class to hold user credentials:
// Import the parts needed by the SDK
import com.auth0.android.Auth0
import com.auth0.android.provider.WebAuthProvider

class MainActivity : AppCompatActivity() {

  private lateinit var account: Auth0

  override fun onCreate(savedInstanceState: Bundle?) {
      super.onCreate(savedInstanceState)

      // Set up the account object with the Auth0 application details
      account = Auth0(
          "{yourClientId}",
          "{yourDomain}"
      )
  }
}
Was this helpful?
Finally, create a loginWithBrowser method and use the WebAuthProvider class to authenticate with any connection you enabled on your application in the Auth0 dashboard. Here, you can pass the scheme value that was used in the auth0Scheme manifest placeholder as part of the initial configuration:
private fun loginWithBrowser() {
    // Setup the WebAuthProvider, using the custom scheme and scope.

    WebAuthProvider.login(account)
        .withScheme("demo")
        .withScope("openid profile email")
        // Launch the authentication passing the callback where the results will be received
        .start(this, object : Callback<Credentials, AuthenticationException> {
            // Called when there is an authentication failure
            override fun onFailure(exception: AuthenticationException) {
                // Something went wrong!
            }

            // Called when authentication completed successfully
            override fun onSuccess(credentials: Credentials) {
              // Get the access token from the credentials object.
              // This can be used to call APIs
              val accessToken = credentials.accessToken
            }
        })
}
Was this helpful?
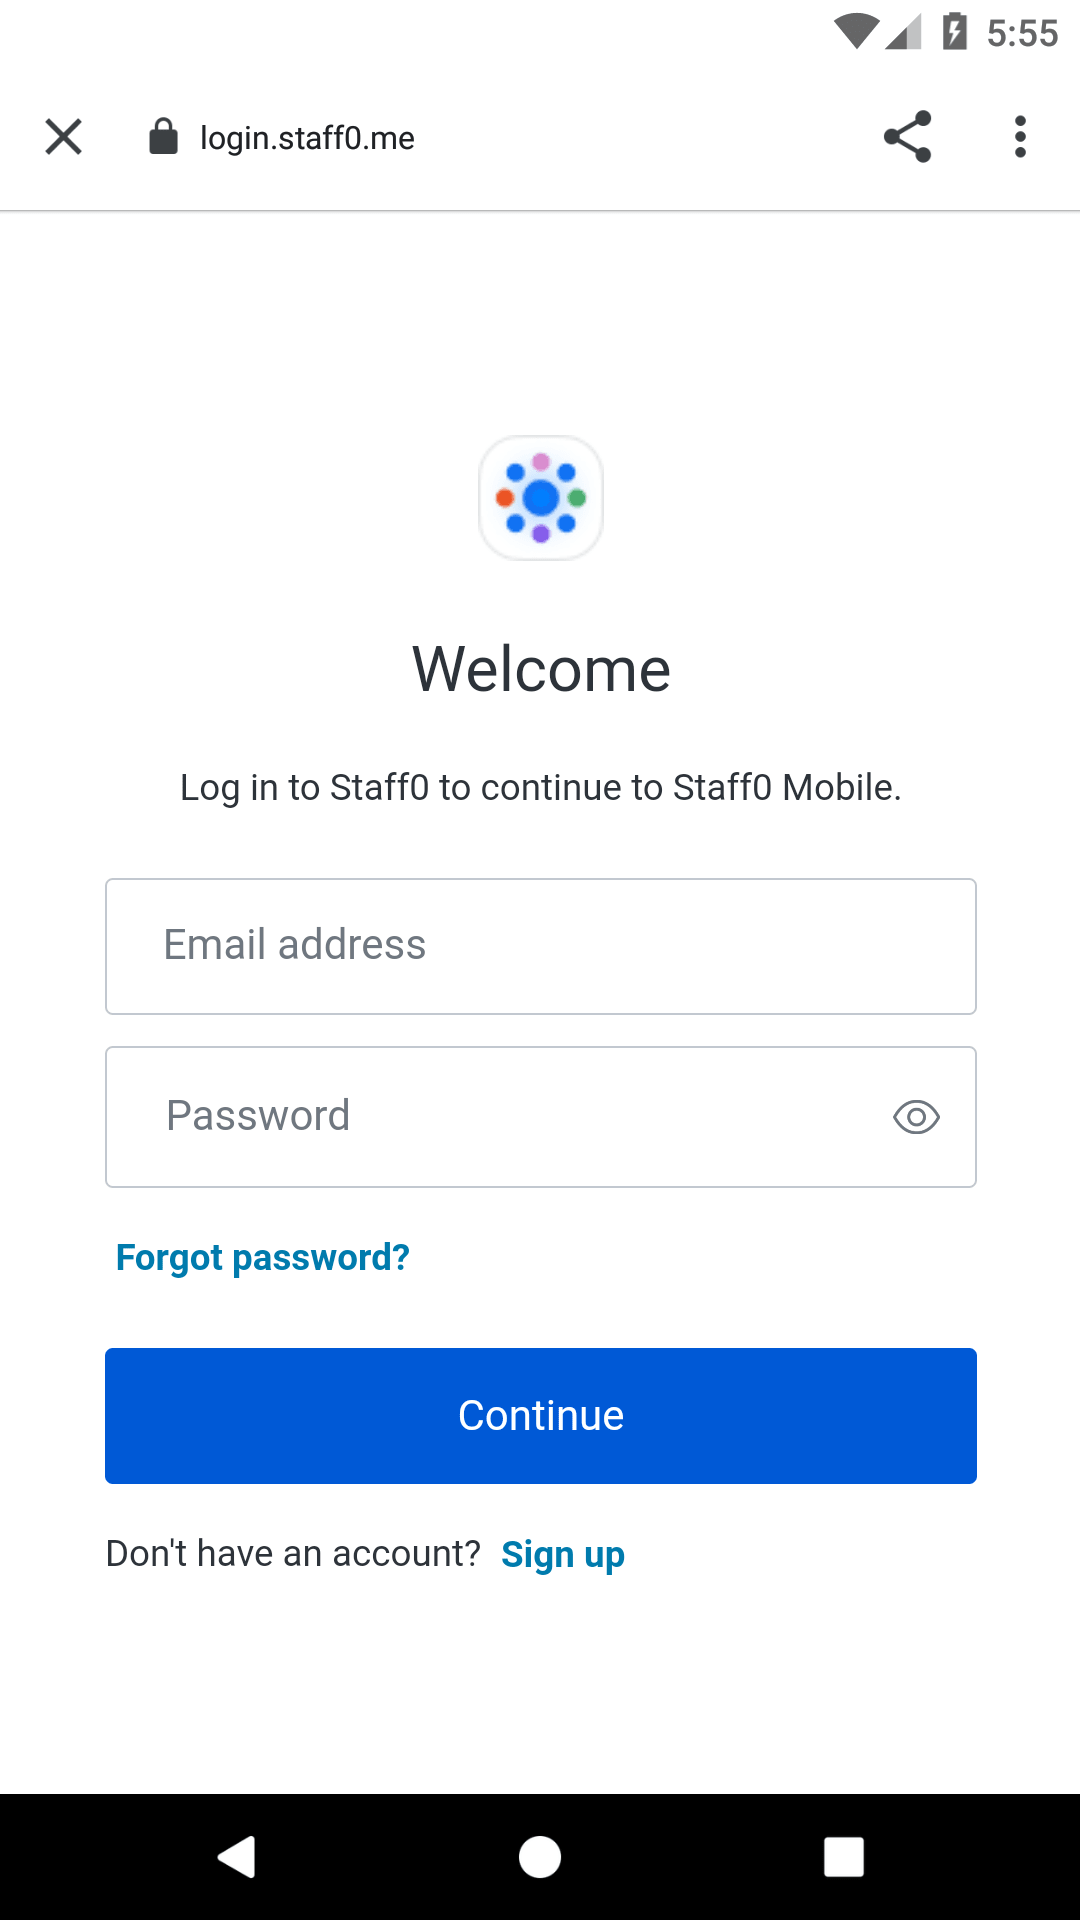
After you call the WebAuthProvider#start function, the browser launches and shows the login page. Once the user authenticates, the callback URL is called. The callback URL contains the final result of the authentication process.
Checkpoint
Add a button to your application that calls loginWithBrowser. When you click it, verify that your Android application redirects you to the Auth0 Universal Login page and that you can now log in or sign up using a username and password or a social provider.
Once that's complete, verify that Auth0 redirects back to your app.
Add Logout to your App
Use WebAuthProvider to remove the cookie set by the Browser at authentication time, so that the users are forced to re-enter their credentials the next time they try to authenticate.
Add a logout method to your app to remove the user's session and log them out of the app. Here, you can pass the scheme value that was used in the auth0Scheme manifest placeholder as part of the initial configuration:
private fun logout() {
  WebAuthProvider.logout(account)
    .withScheme("demo")
    .start(this, object: Callback<Void?, AuthenticationException> {
      override fun onSuccess(payload: Void?) {
        // The user has been logged out!
      }

      override fun onFailure(error: AuthenticationException) {
        // Something went wrong!
      }
    })
}
Was this helpful?
The logout is achieved by using the WebAuthProvider class. This call will open the Browser and navigate the user to the logout endpoint. If the log out is cancelled, you might want to take the user back to where they were before attempting to log out.
Checkpoint
Add a button to your app that calls logout and logs the user out of your application. When you click it, verify that your Android app redirects you logout page and back again, and that you are no longer logged in to your application.
Show User Profile Information
Use the AuthenticationAPIClient class to retrieve the user's profile from Auth0. This requires:
- The access token as received during the login phase
- The
profilescope to be included whenWebAuthProvider.loginis called
The email scope must also be specified if the user's email address is to be retrieved.
The following demonstrates a function that can be used to retrieve the user's profile and show it on the screen:
private fun showUserProfile(accessToken: String) {
  var client = AuthenticationAPIClient(account)

  // With the access token, call `userInfo` and get the profile from Auth0.
  client.userInfo(accessToken)
    .start(object : Callback<UserProfile, AuthenticationException> {
        override fun onFailure(exception: AuthenticationException) {
            // Something went wrong!
        }

        override fun onSuccess(profile: UserProfile) {
          // We have the user's profile!
          val email = profile.email
          val name = profile.name
        }
  })
}
Was this helpful?
Checkpoint
Call the showUserProfile function after login and verify that the user's profile information has been returned in the onSuccess callback.
