Issue credentials
The content of this article will walk you through the developer experience of generating a new verifiable credential (VC) type, signed and issued by your Auth0 tenant. It requires you to have an existing Auth0 account. If you do not have one, sign up for it at auth0.com/signup. If you get stuck, or have questions, join us on our Discord server.
Adding the Credential Template
This section walks you through how to set up a credential template for your new verifiable credential. A credential template stores metadata and branding data about your credential.
- Navigate to the Auth0 Lab instance, and log in by clicking on "Continue with your Auth0 account". You will have to accept the terms if this is your first time at manage.auth0lab.com.
- Using the left nav, go to Credentials (LAB) > Issuance.
- Click + Add Credential Template to create a Credential Template.
- Provide the following values for type and a name:
- Type:
UniversityDegreeCredential. The type will identify the credential to other developers and is included in the credential payload. It is a string that other entities use to reference this kind of credential. - Name:
Acme University Degree. The name should be a human-readable string for your Auth0 Lab tenant.
- Type:
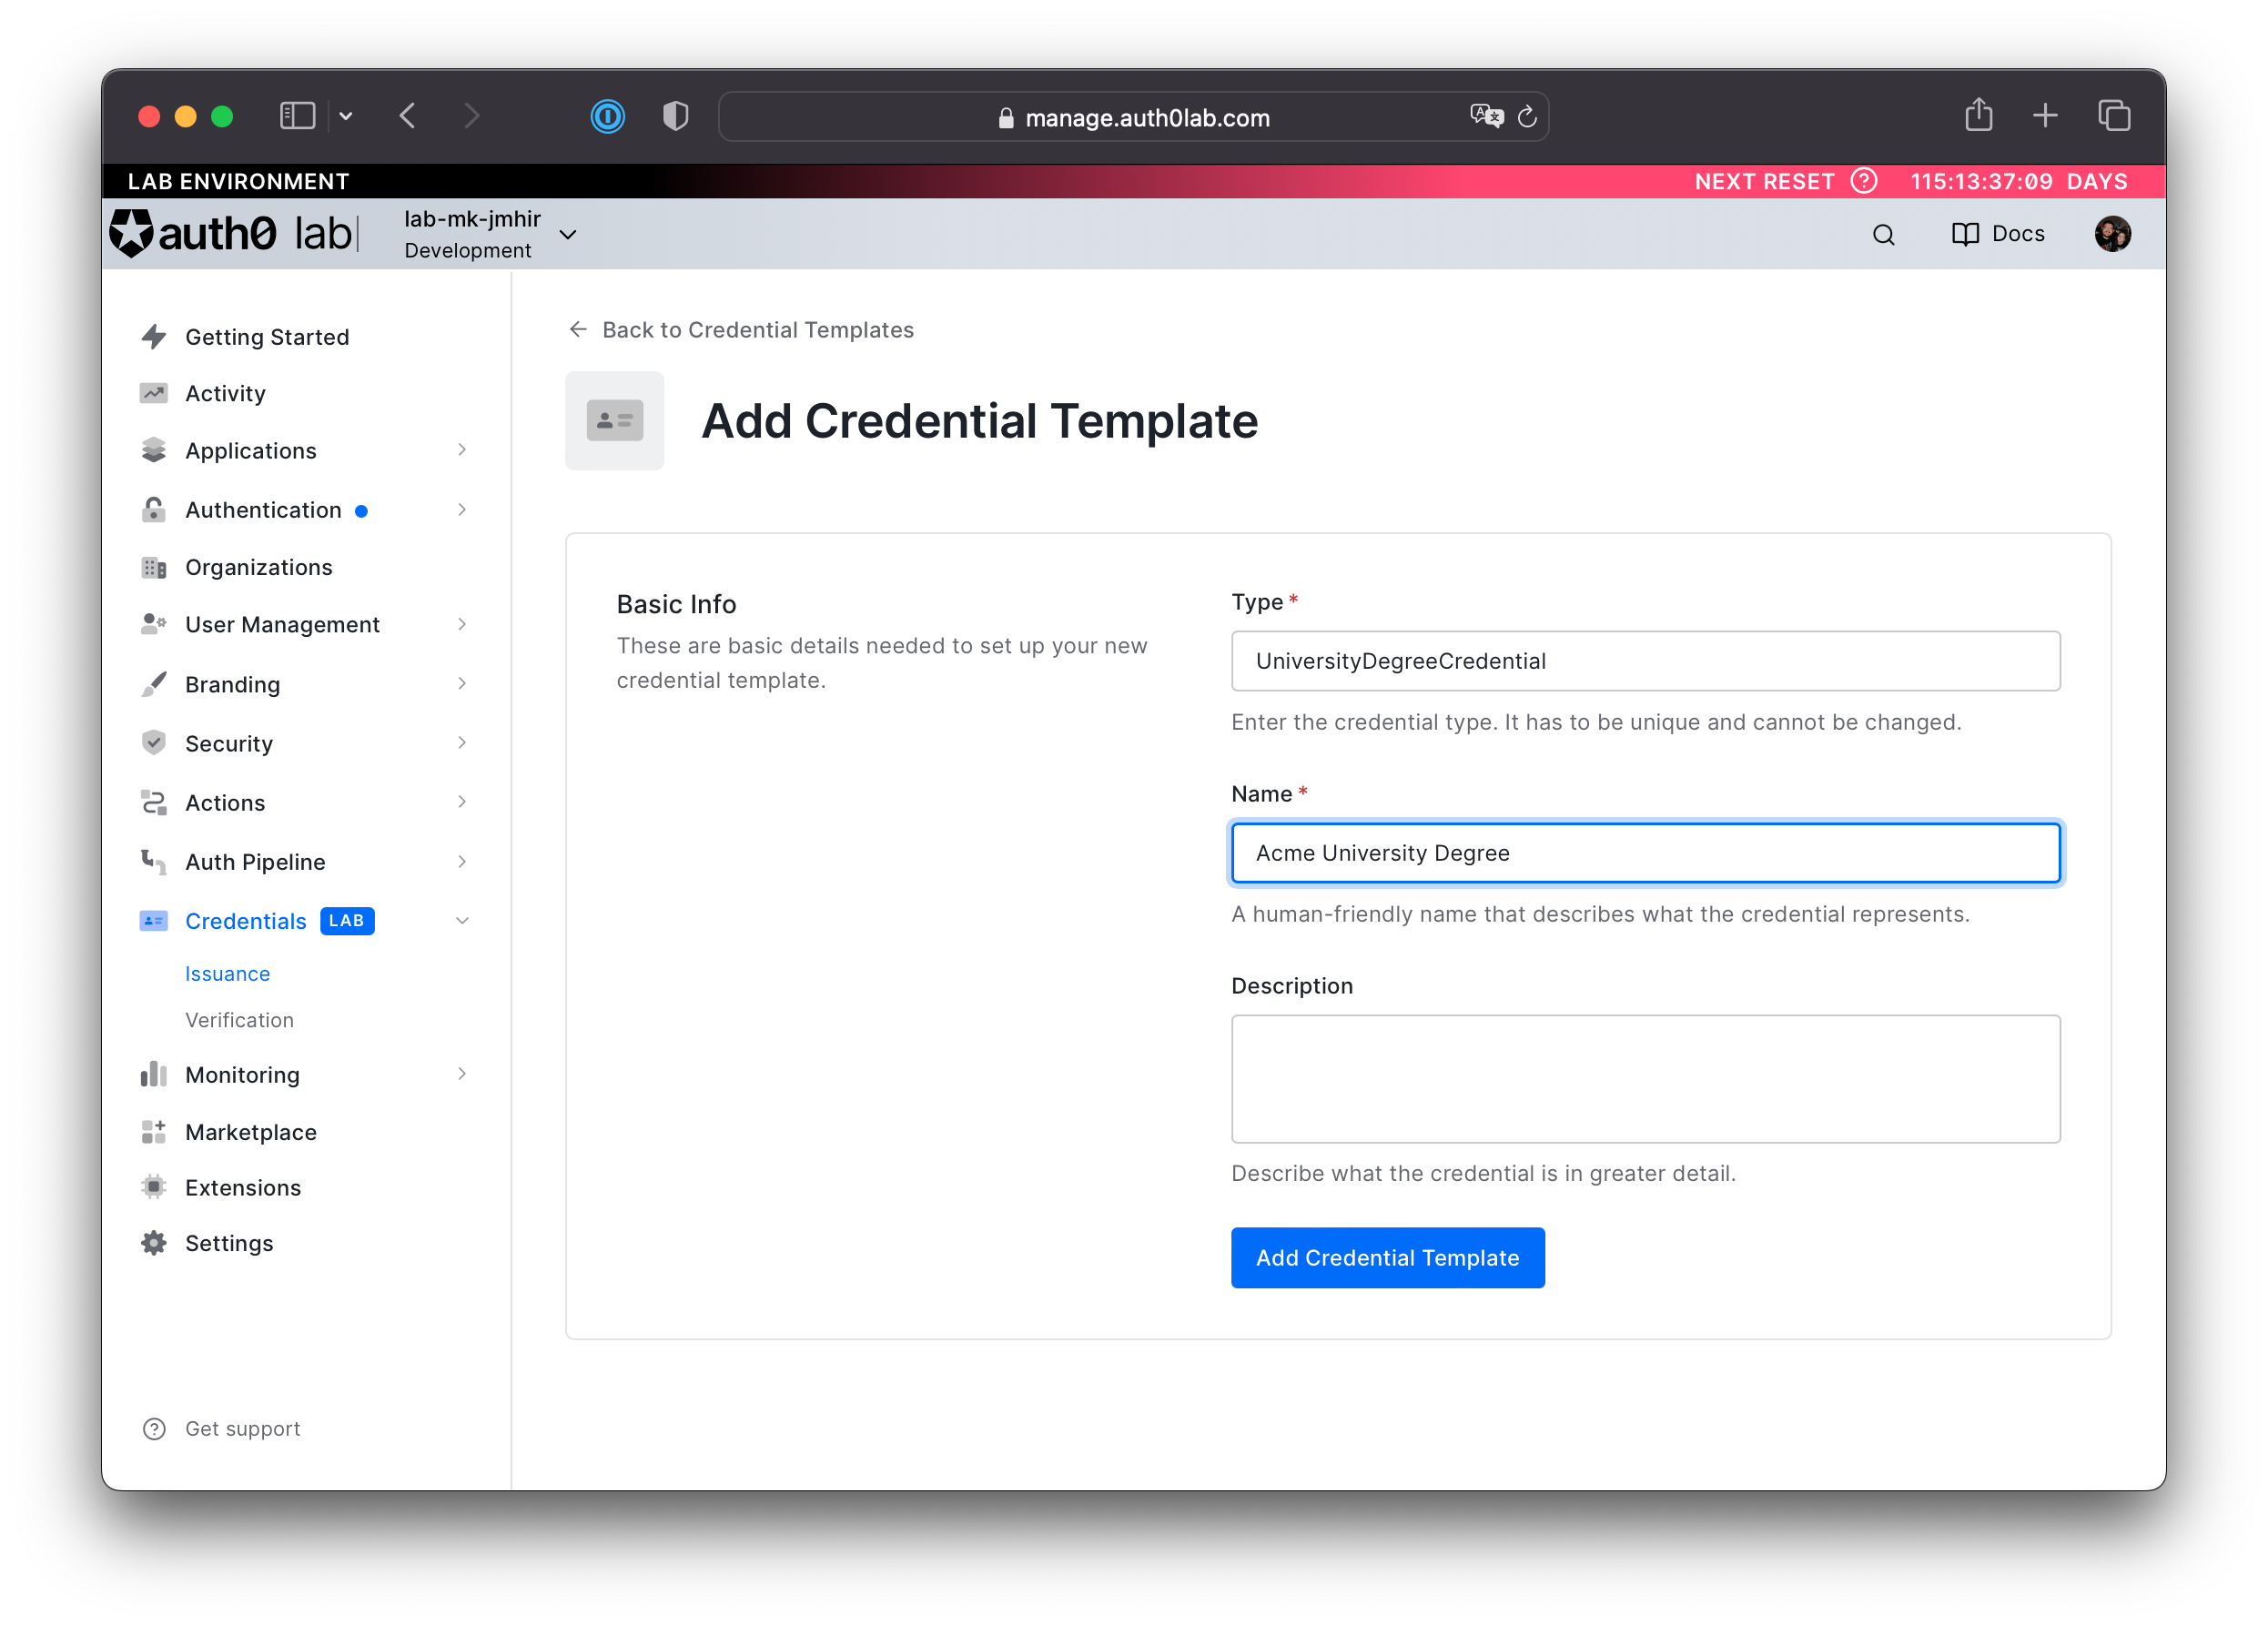
- Add the Credential Template to your tenant by clicking Add Credential Template.
Implement the Pre-Credential Issuance Action
To issue a credential to a user, you need to define the claims the credential will have. For that, we will use the Auth0 actions feature, which allows you to write custom code as part of various flows, including credential issuance. We will create an action that takes the user as input and sets the claims to add to the credential.
-
On the left nav, navigate to Actions > Flows, then click Verifiable Credential Issuance.
-
You will be presented with an Action Flow. On the right hand navigation, add an action by clicking +, then the Build Custom option.
-
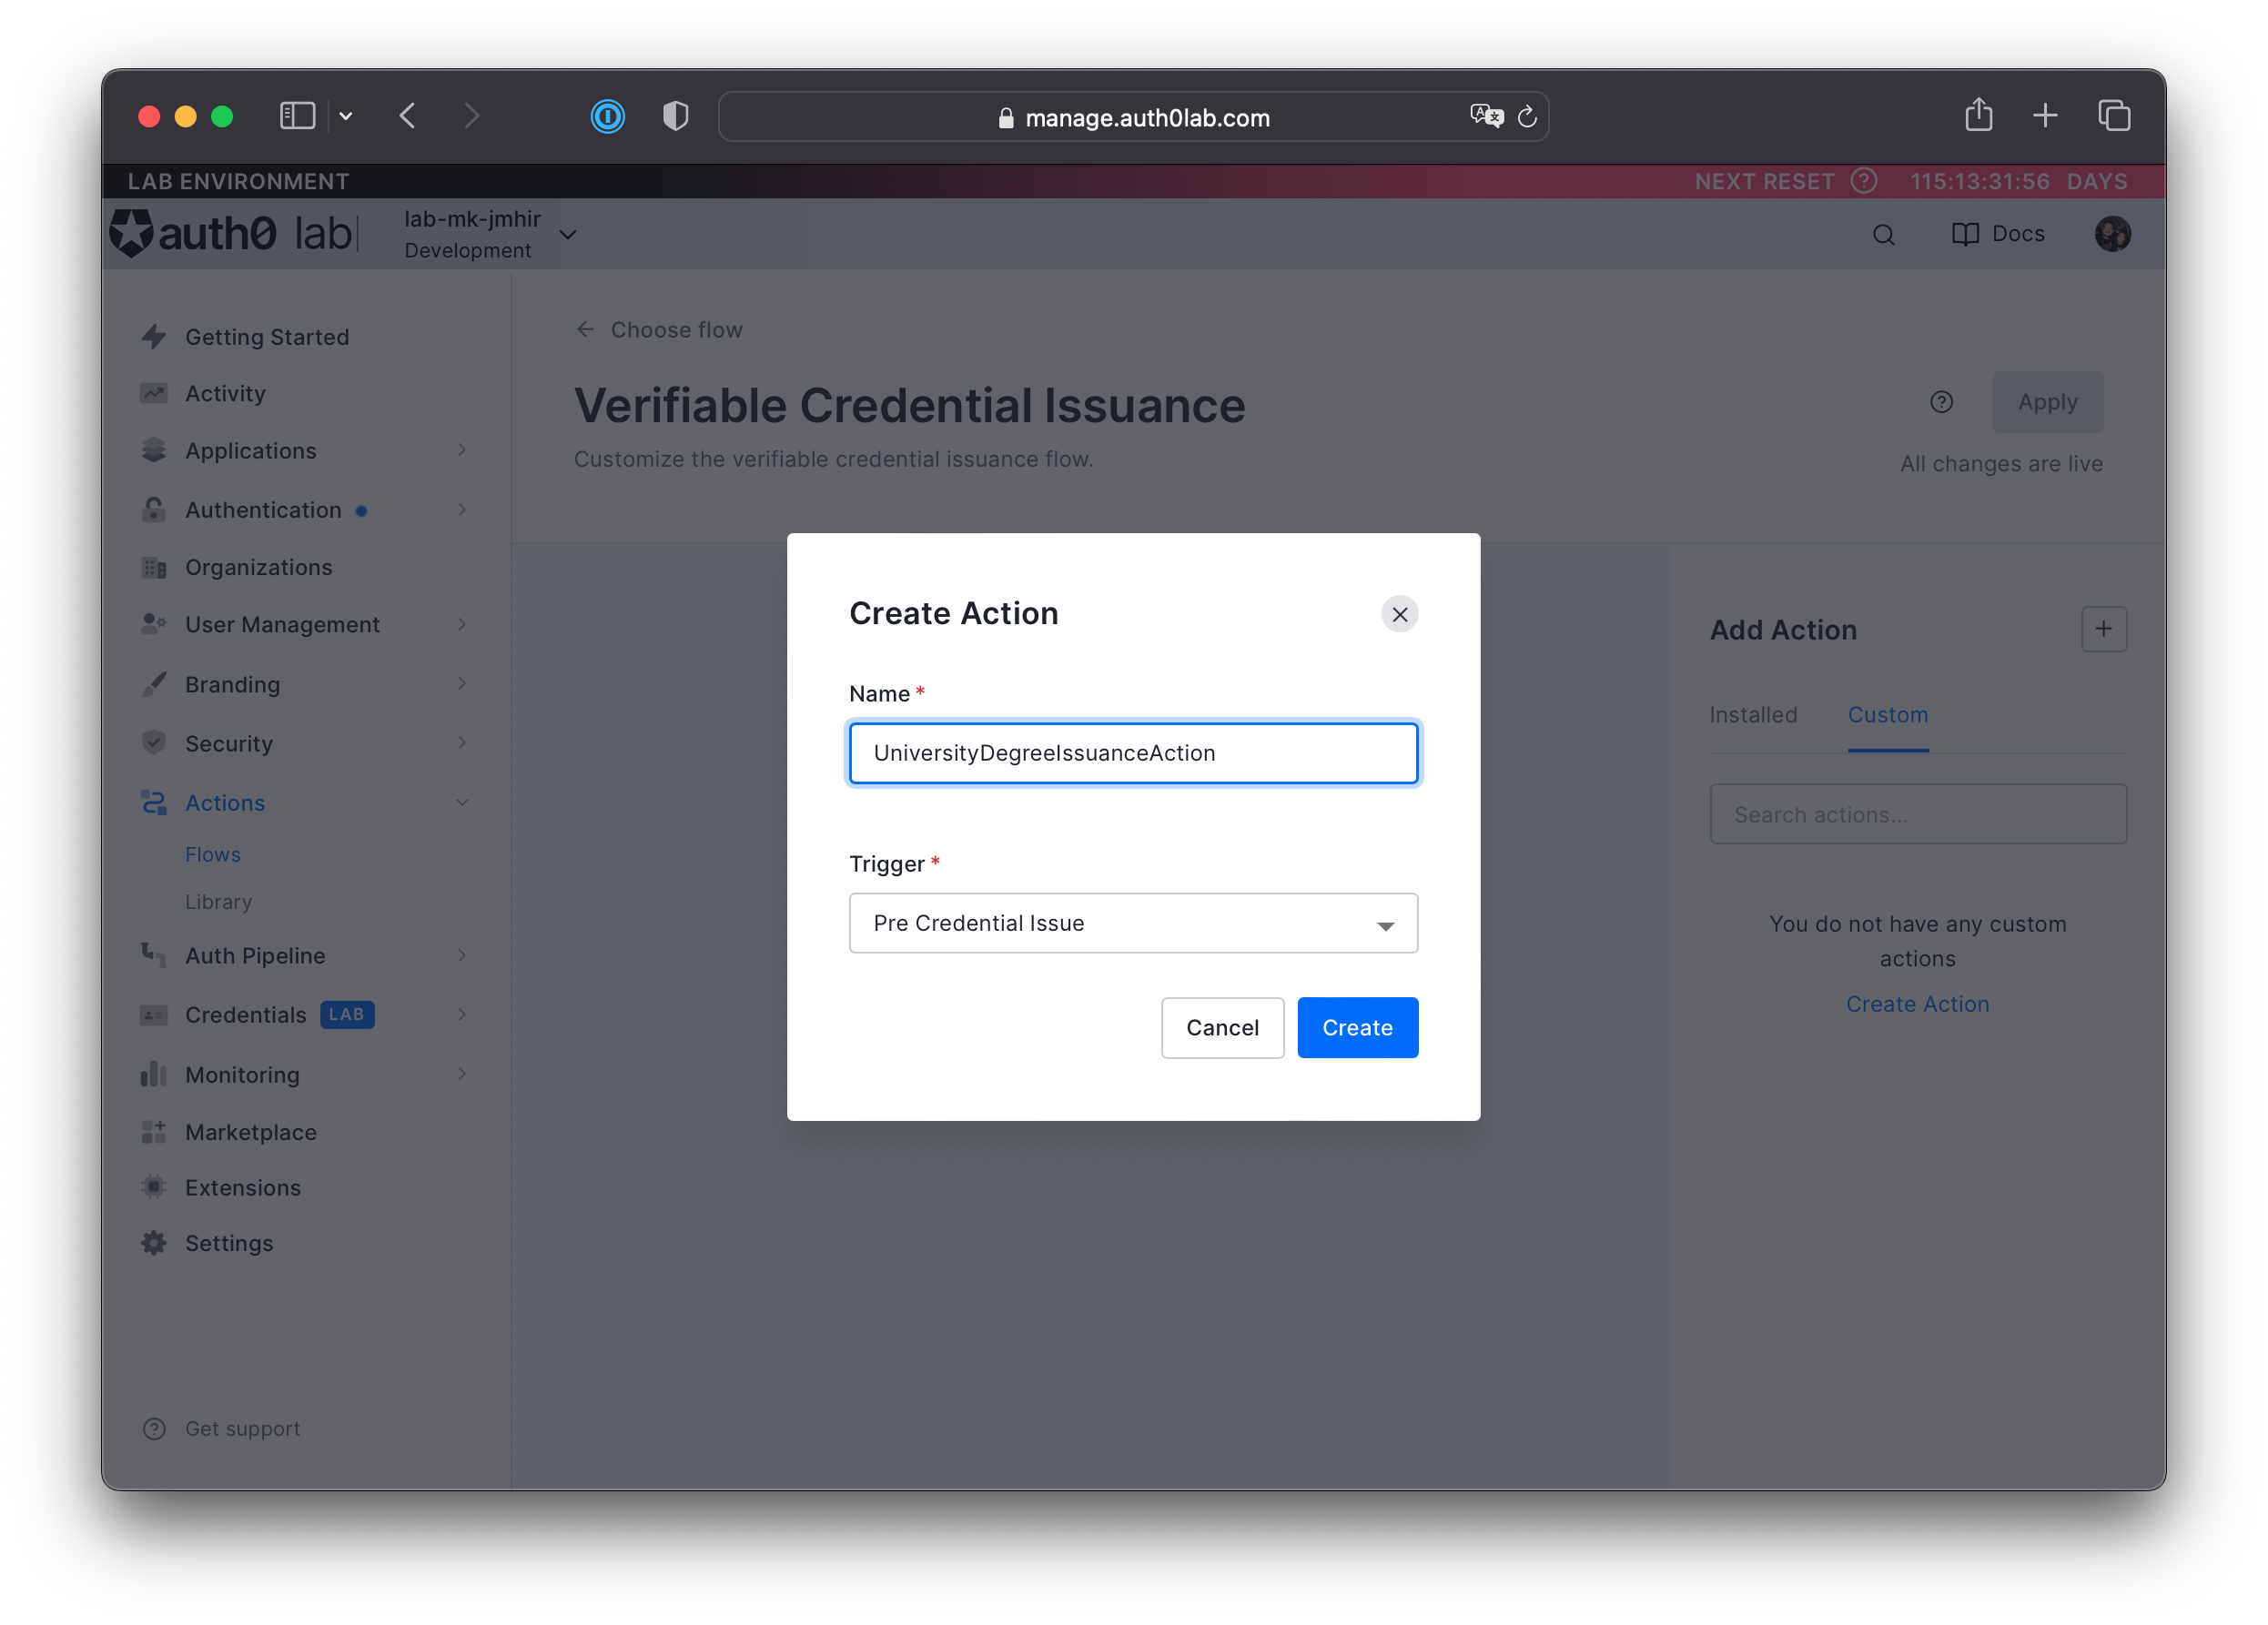
Name your action something you will remember. This action will contain the claim types for your credential, so you can tie your name to your credential type to make editing both easier in the future. The Trigger should be "Pre Credential Issue", the default for this type of Action Flow. Create your action.
-
Provide the following code for the
onExecutePreCredentialIssuehandler that will prepare your credential. This code allows you to define credentials claims and how they will be populated. The code snippet below sets credential claims from authenticated user's app_metadata.exports.onExecutePreCredentialIssue = async (event, api) => { if (event.credential.type !== 'UniversityDegreeCredential') { return; } // take credential details from `user.app_metadata` const app_metadata = event.user.app_metadata || {}; const degree = app_metadata.degree || {}; // add claims to the credential api.credential.setCredentialSubject({ referenceId: event.user.user_id, degree: { degreeType: degree.type || 'unknown', degreeName: degree.name || 'unknown' } }); };Was this helpful?
/ -
Click Deploy on the top right of the code editor. This button will make the action code available for usage. Wait for the action to be deployed.
-
After you set up your action, you will need to add it to the flow. Navigate back to the verifiable credential issuance flow (step 1), and then click on Custom under the Add Action window. There you should see your newly created custom action.
-
Drag the action from the right menu and drop it in-between the Start and Complete workflow nodes. See the animation below for help on how to do this operation.
-
Click Apply in the top-right corner to apply the changes.
-
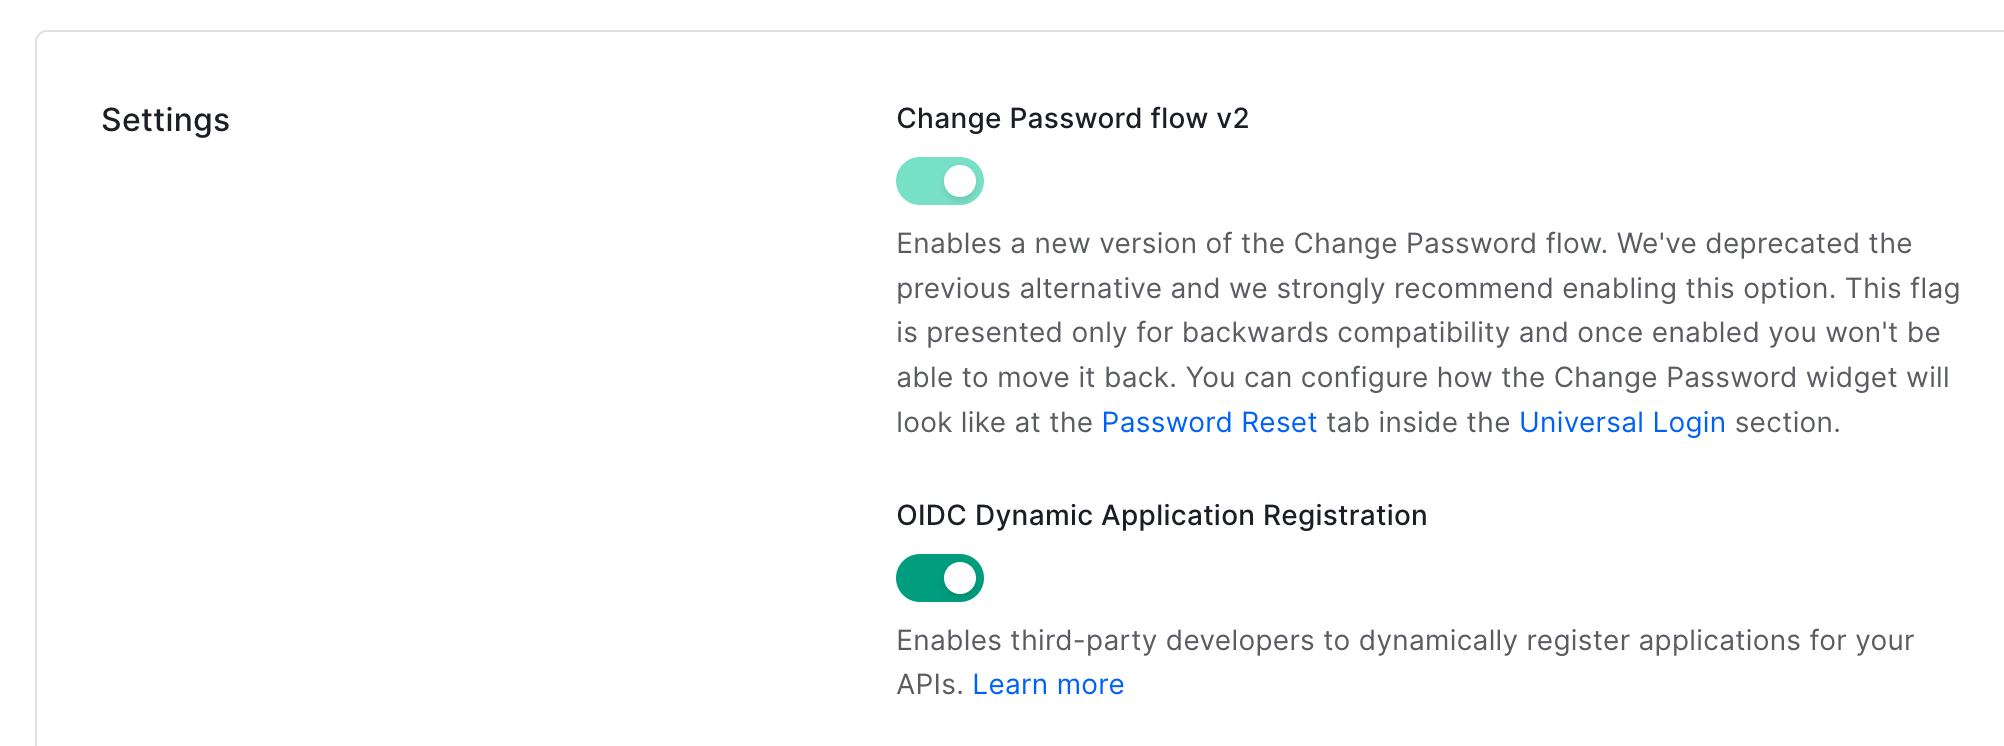
To accept requests from ID Wallet you need to configure your tenant to accept OIDC Dynamic Clients:
- Using the left nav, go to Settings. At the top of the page, click the Advanced tab.
- Scroll down to the Settings panel and enable the "IDC Dynamic Application Registration toggle.
-
Promote at least one connection in your Auth0 Lab tenant to domain level. By default, you will have a database connection that was created when your tenant was created.
- Navigate on the left hand nav to Authentication > Database.
- There should be a database connection listed called Username-Password-Authentication; click it to head to Settings.
- Scroll down, and enable the Enable for third party clients toggle.

-
Ensure that the connection you just promoted is enabled for at least one regular application.
- Using the left nav and go to Applications > Applications.
- Select the Default App.
- Go to the Connections tab, and ensure that the connection you promoted is toggled on.
-
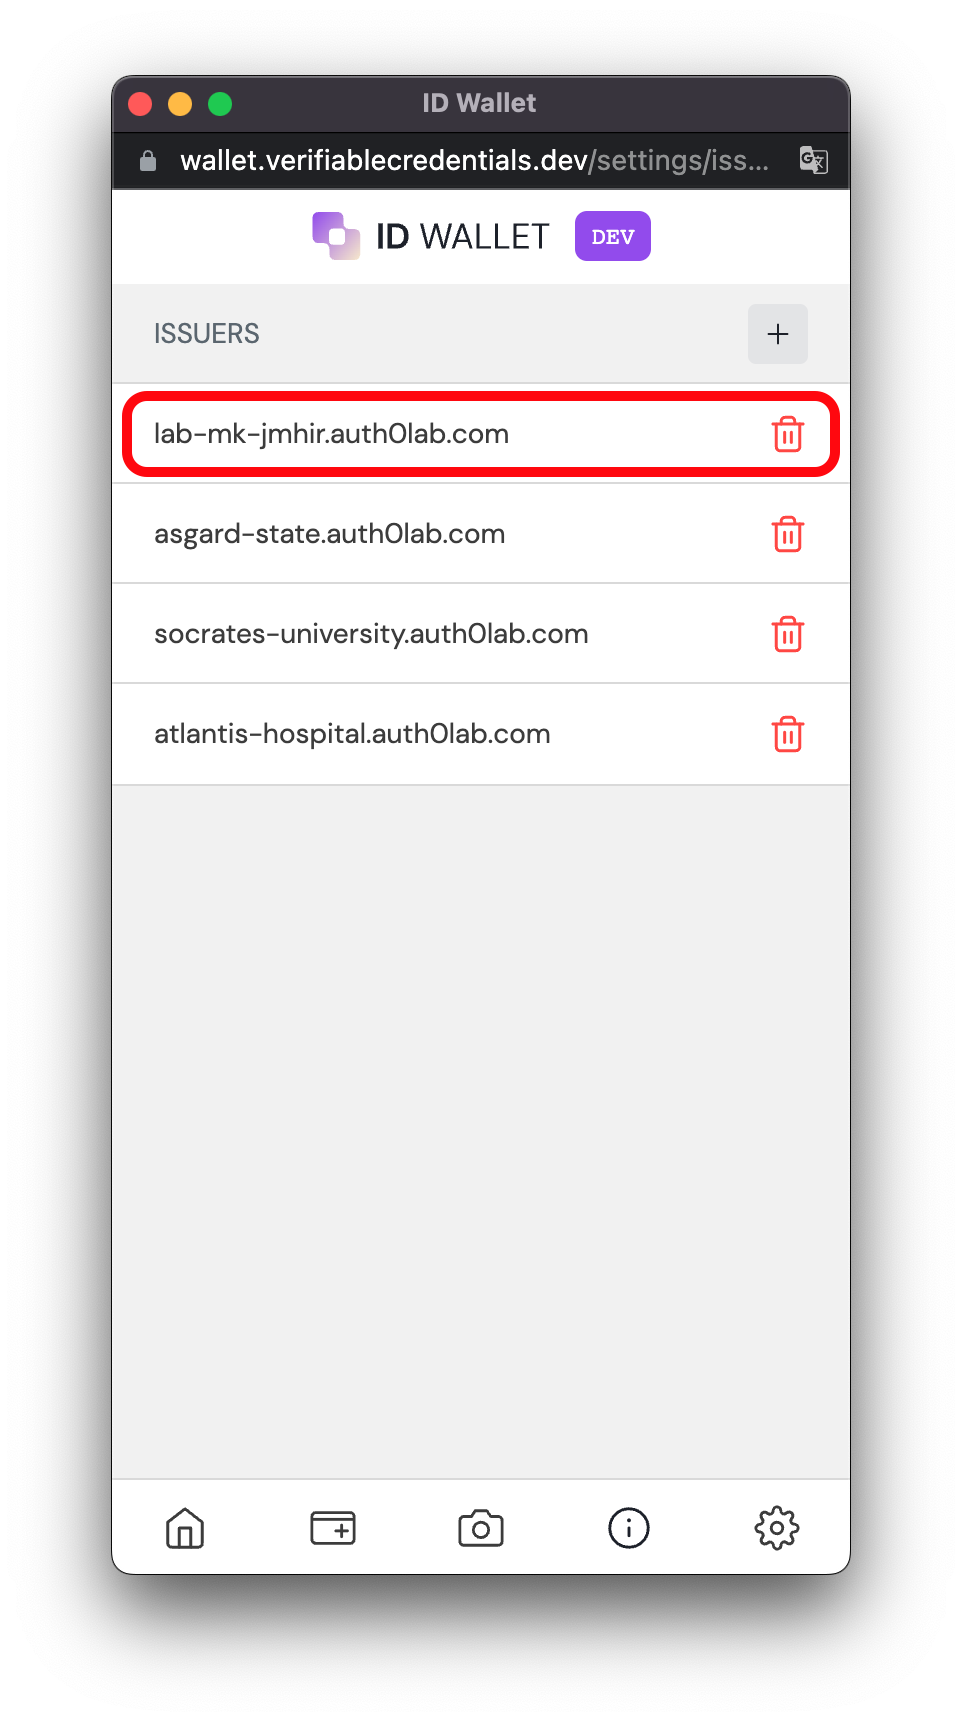
Finally, add your tenant as an issuer in ID wallet:
- Head to wallet issuers list
- Add an issuer using the + button.
- Type in your tenant domain:
TENANT_ID.auth0lab.com
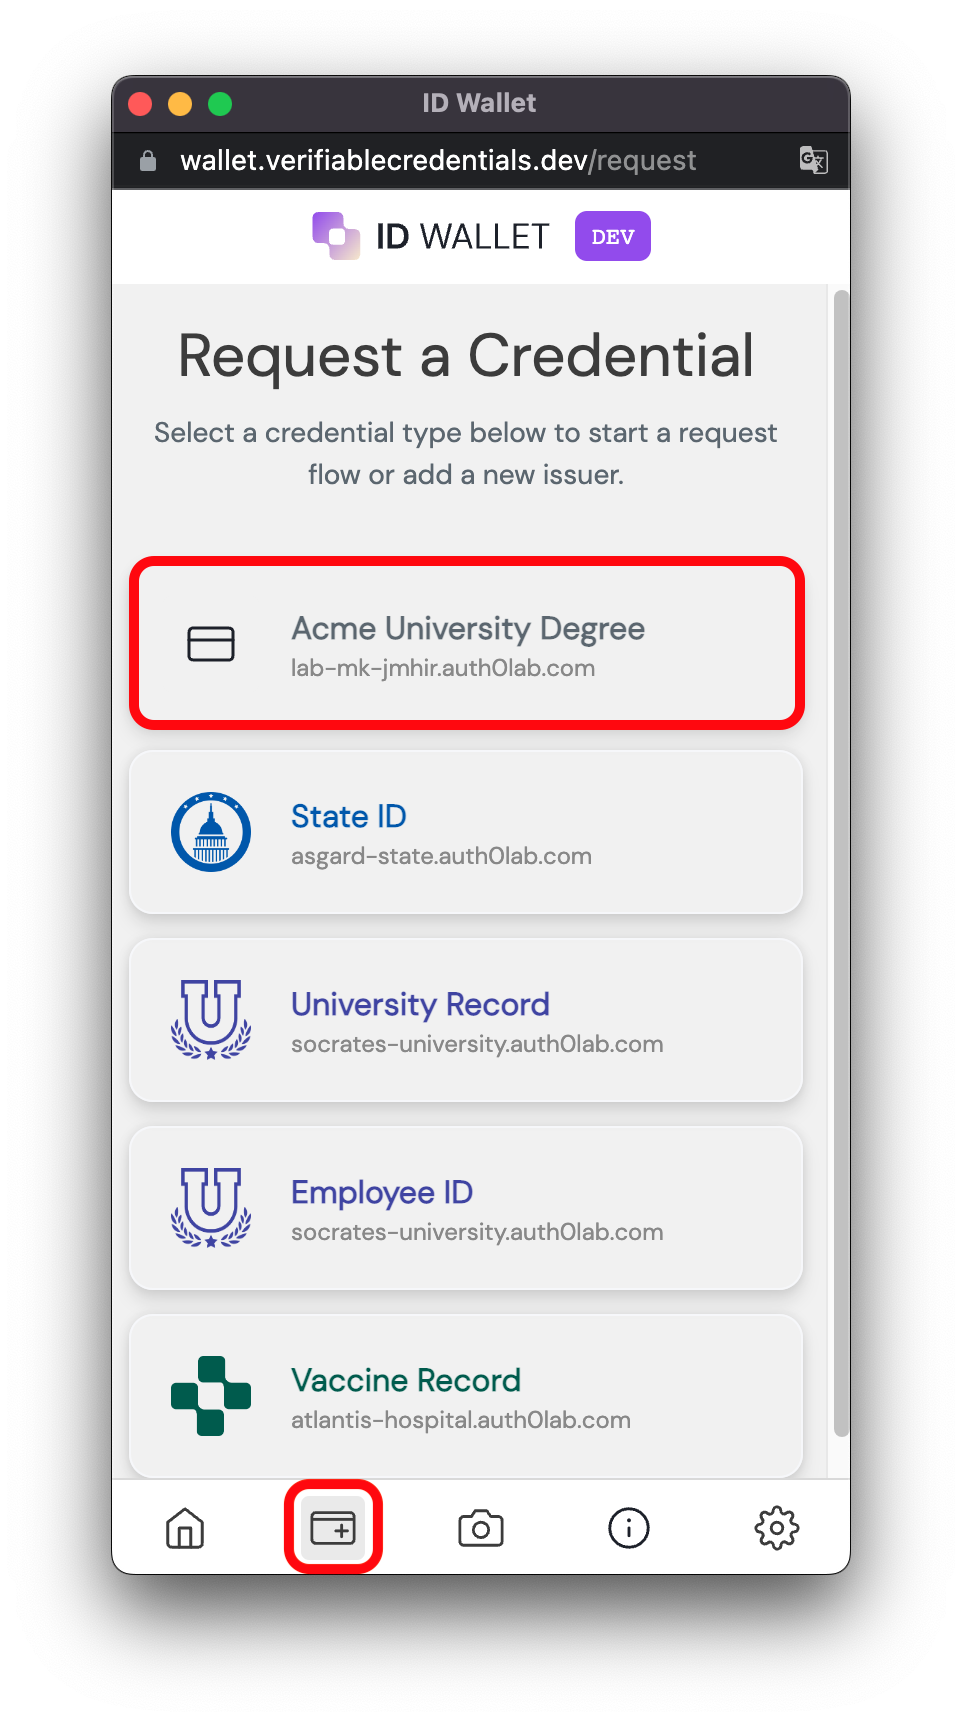
If everything was configured correctly, you should see your new credentials show up in the ID Wallet request credential page:
Implement Display and Branding Changes
This section will help you customize how your credential looks in wallets. It will expose claim fields to the user, and provide an on-brand look and feel.
-
Head back to your Auth0 Lab tenant and using the left nav go to Credentials (LAB) > Issuance to navigate back to your credential template from the beginning of the Adding the credential template section above.
-
Click Acme University Degree. Then open the Branding tab.
- Set the background color to
#FF4400and the text color to#FFFFFF. - You can optionally add a "Thumbnail URL" and "Hero URL" to give it a fully custom look and feel.
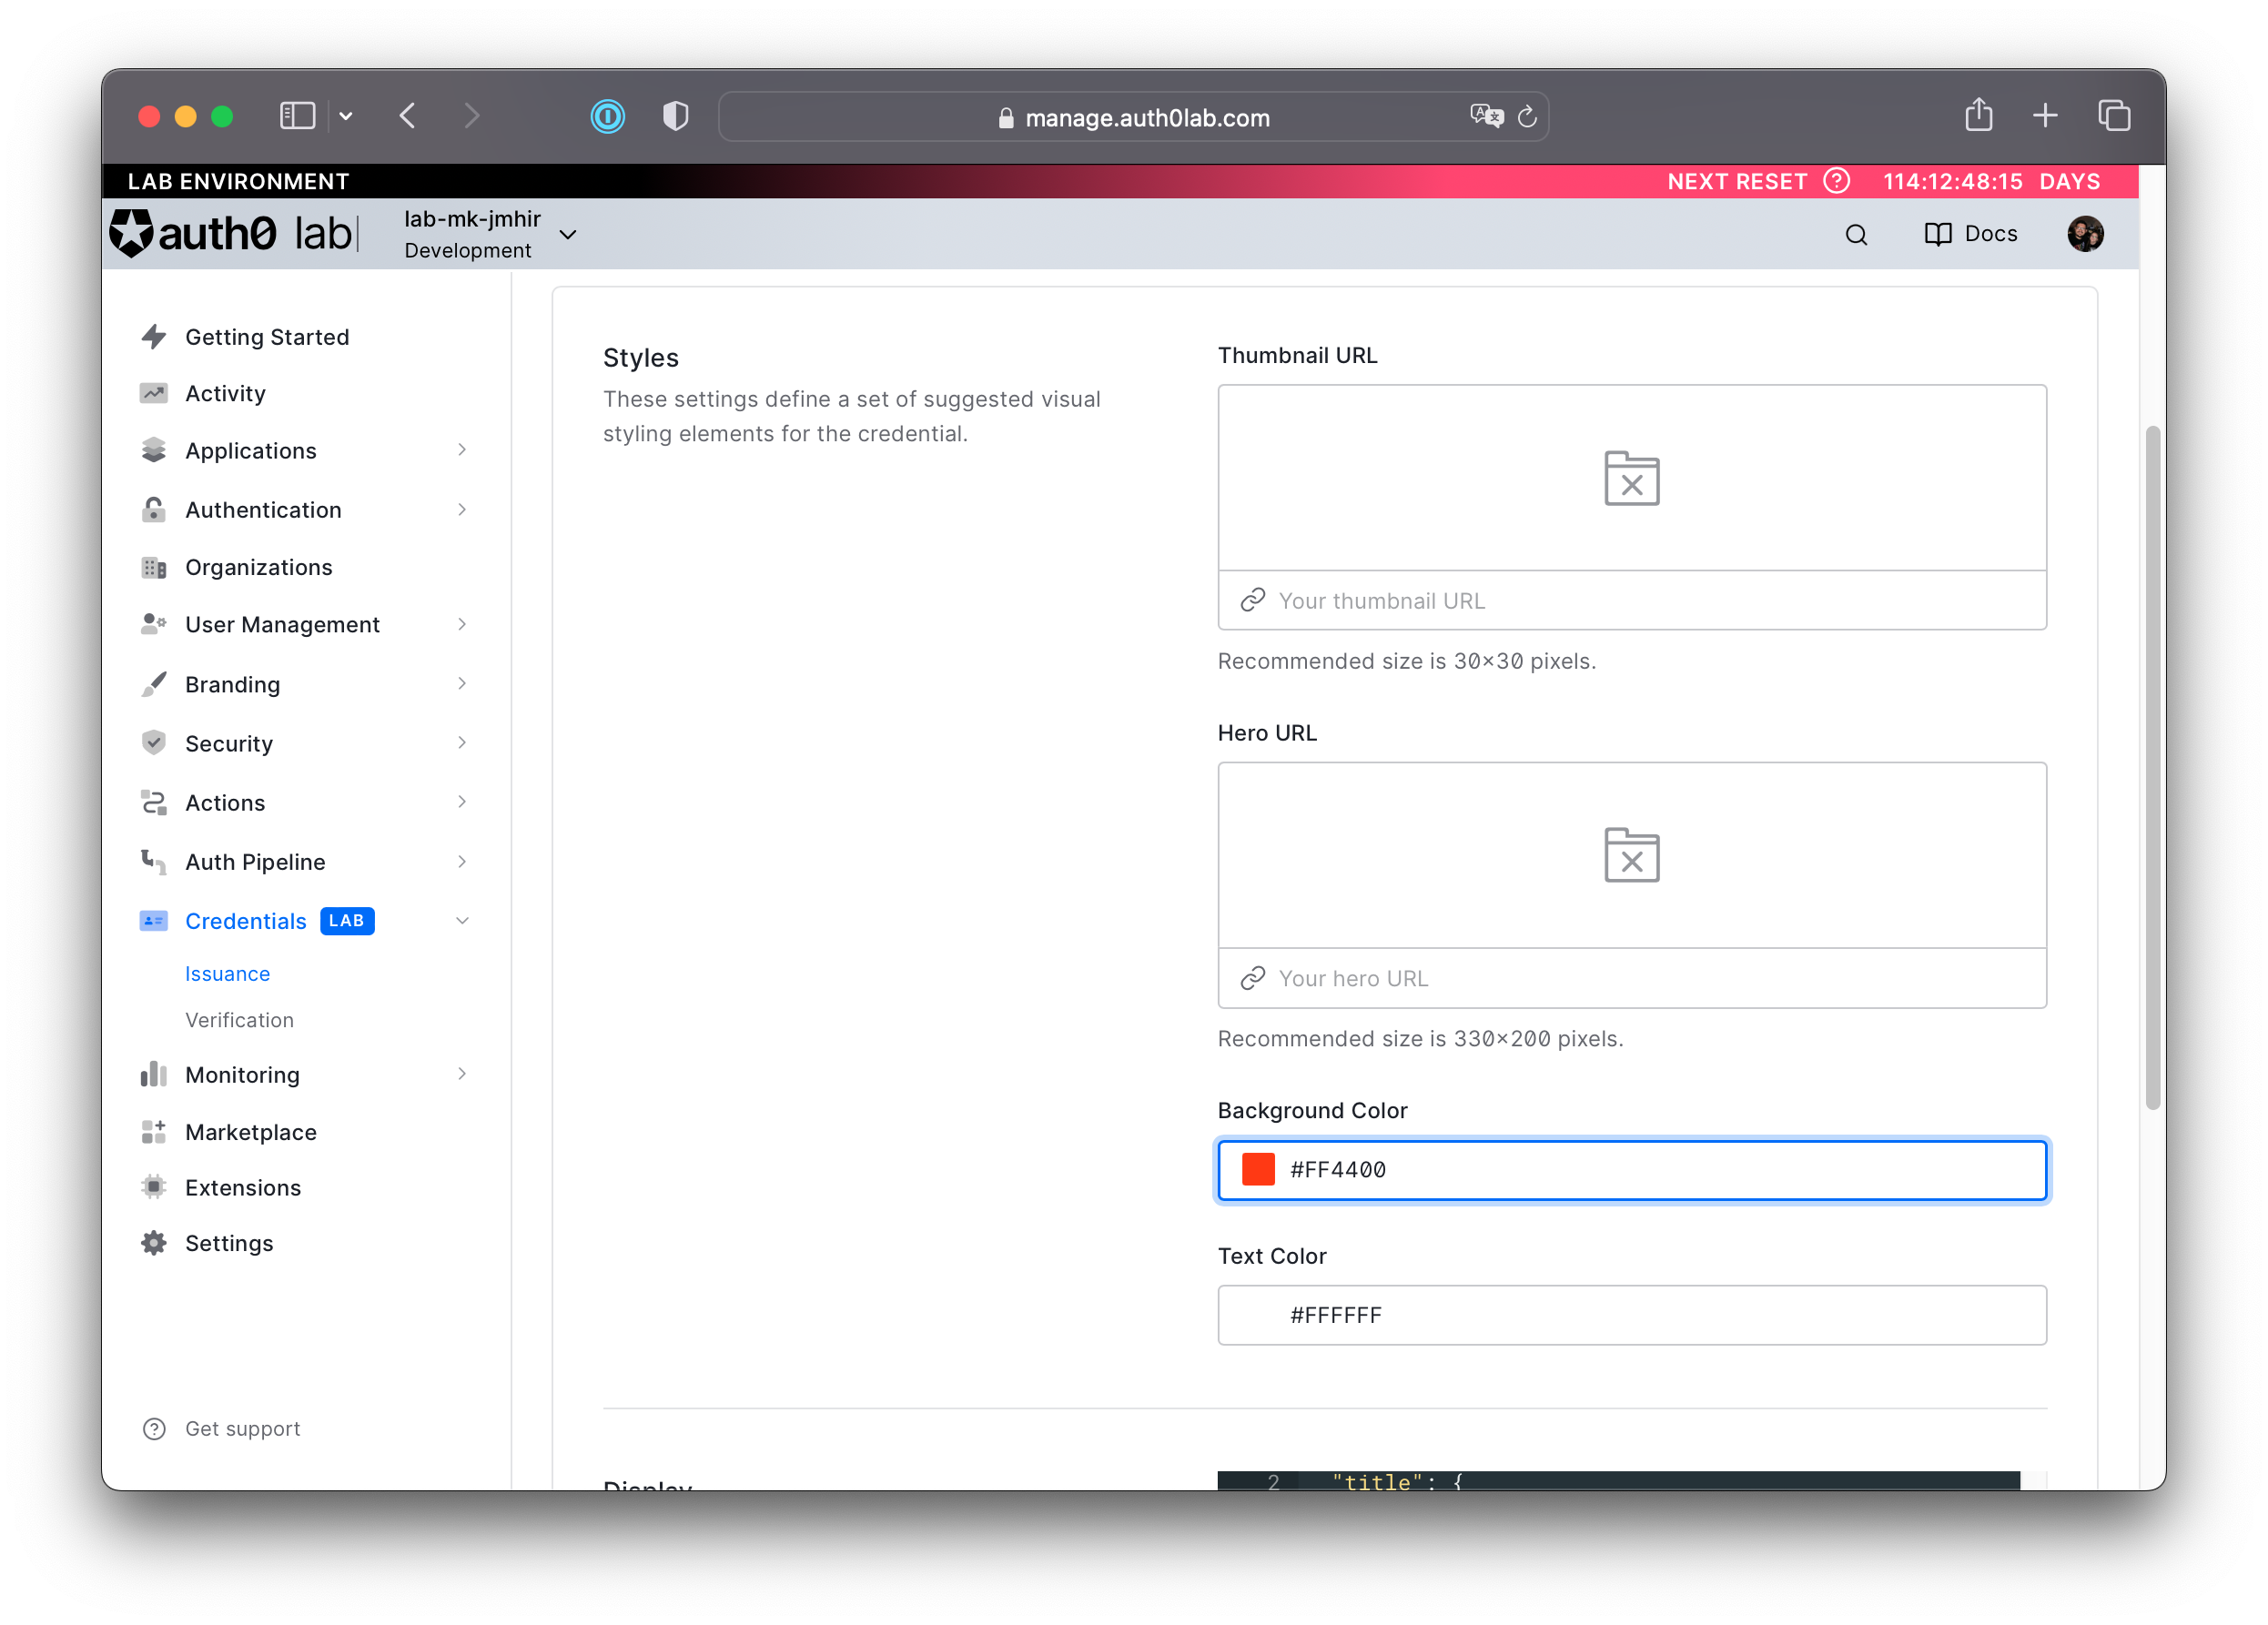
- Set the background color to
-
You can also customize which fields that show up in the graphic presentation, how they are described to the user, and metadata about the credential by utilizing the Display code box at the bottom of the page. Replace the contents of the Display input with the code from the snippet below.
{
  "title": {
    "text": "Acme University Degree"
  },
  "subtitle": {
    "text": "http://my.acmeu.com/"
  },
  "description": {
    "text": "Credential Description"
  },
  "properties": [
    {
      "path": [
        "$.familyName"
      ],
      "schema": {
        "type": "string"
      },
      "fallback": "Doe",
      "label": "Family Name"
    },
    {
      "path": [
        "$.givenName"
      ],
      "schema": {
        "type": "string"
      },
      "fallback": "John",
      "label": "Given Name"
    },
    {
      "path": [
        "$.degree.degreeType"
      ],
      "schema": {
        "type": "string"
      },
      "fallback": "Invalid Degree",
      "label": "Degree Type"
    },
    {
      "path": [
        "$.degree.degreeName"
      ],
      "schema": {
        "type": "string"
      },
      "fallback": "Invalid Degree",
      "label": "Degree Field"
    }
  ]
}
Was this helpful?
/ -
Click Save Changes.
You can learn more about display descriptors at https://identity.foundation/credential-manifest/#output-descriptor.
Create a sample user
Now create a sample user that you can use to test the credential. In this lab, use the default Database Connection (Username-Password-Authentication) that is created when you set up the tenant, but note the Verifiable Credentials features work with all types of connections.
-
Using the left nav go to User Management > Users.
-
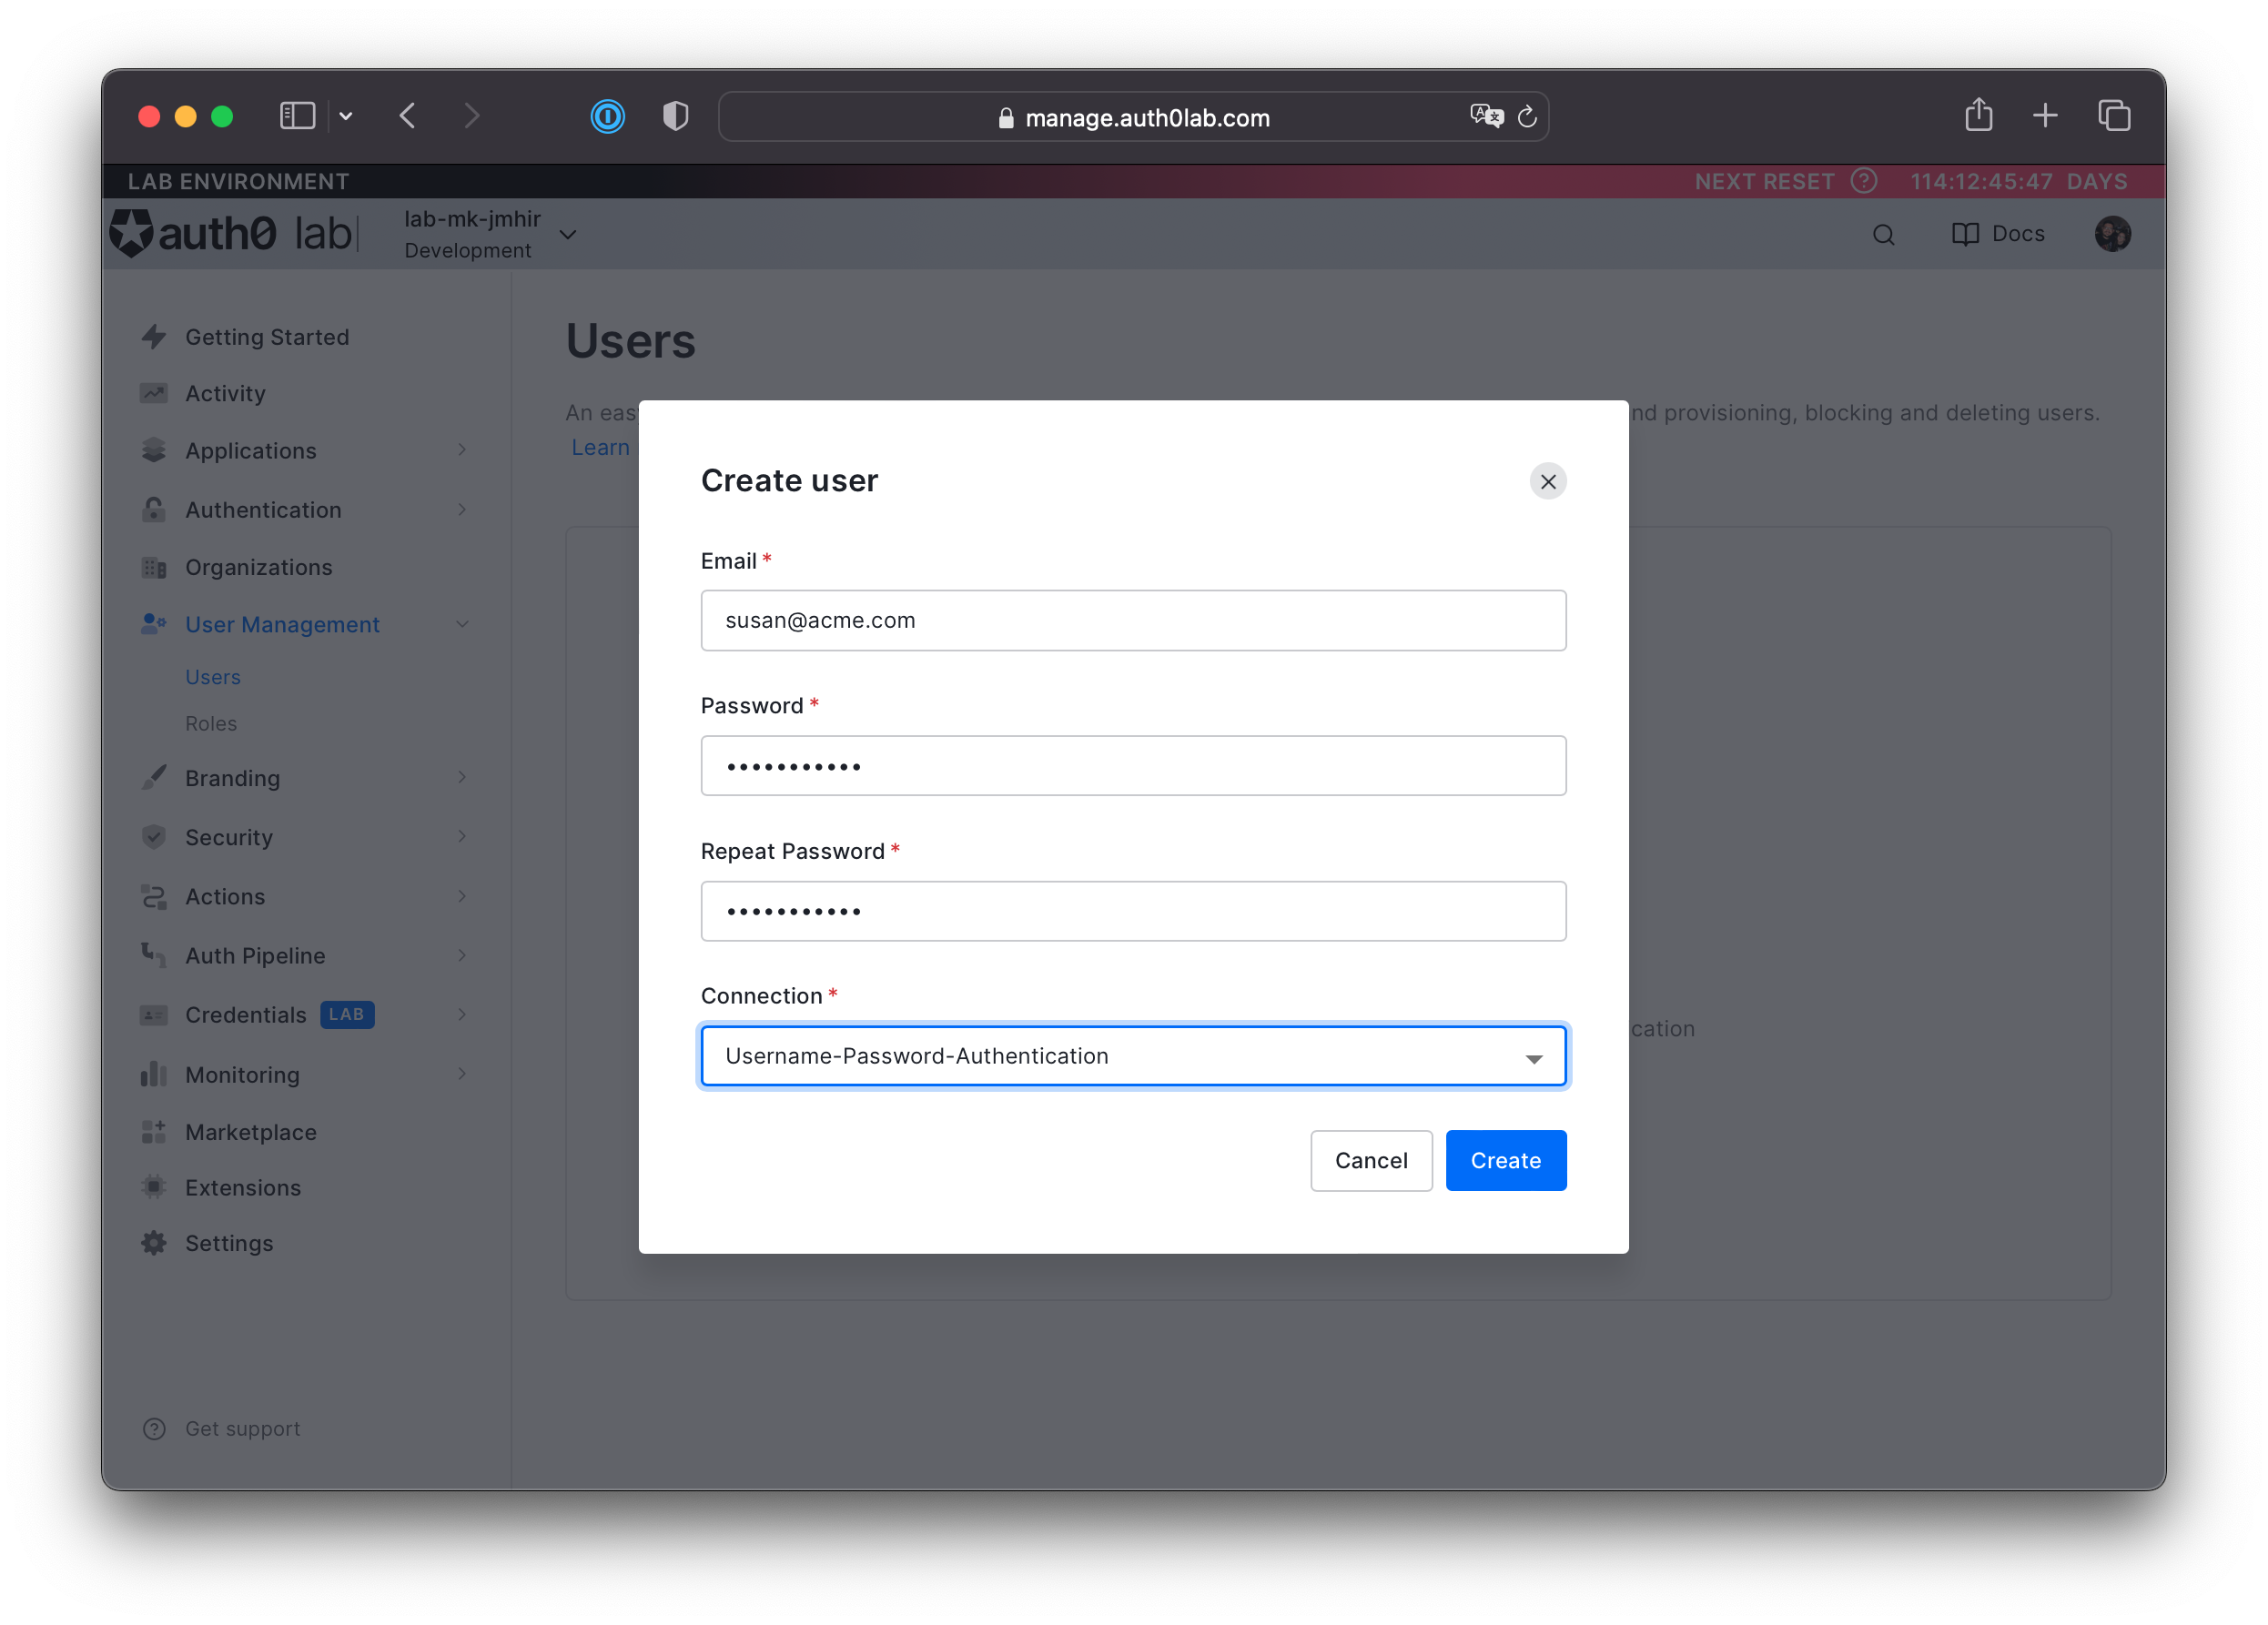
Click the + Create User button in the main view.
-
Provide the following values for each field.
- Email:
susan@acme.com - Password:
sus@nsecr3t - Connection:
Username-Password-Authentication
- Email:
-
Scroll down to the app_metadata input and add the following:
{
  "degree": {
    "type": "Bachelor of the Arts",
    "name": "Awesomeness"
  }
}
Was this helpful?
/ -
Click Save under the app_metadata input to save the changes.
Verification
In this section, you will verify that the credential is being correctly issued and displayed.
-
Using the left nav and go to Credentials (LAB) > Issuance.
-
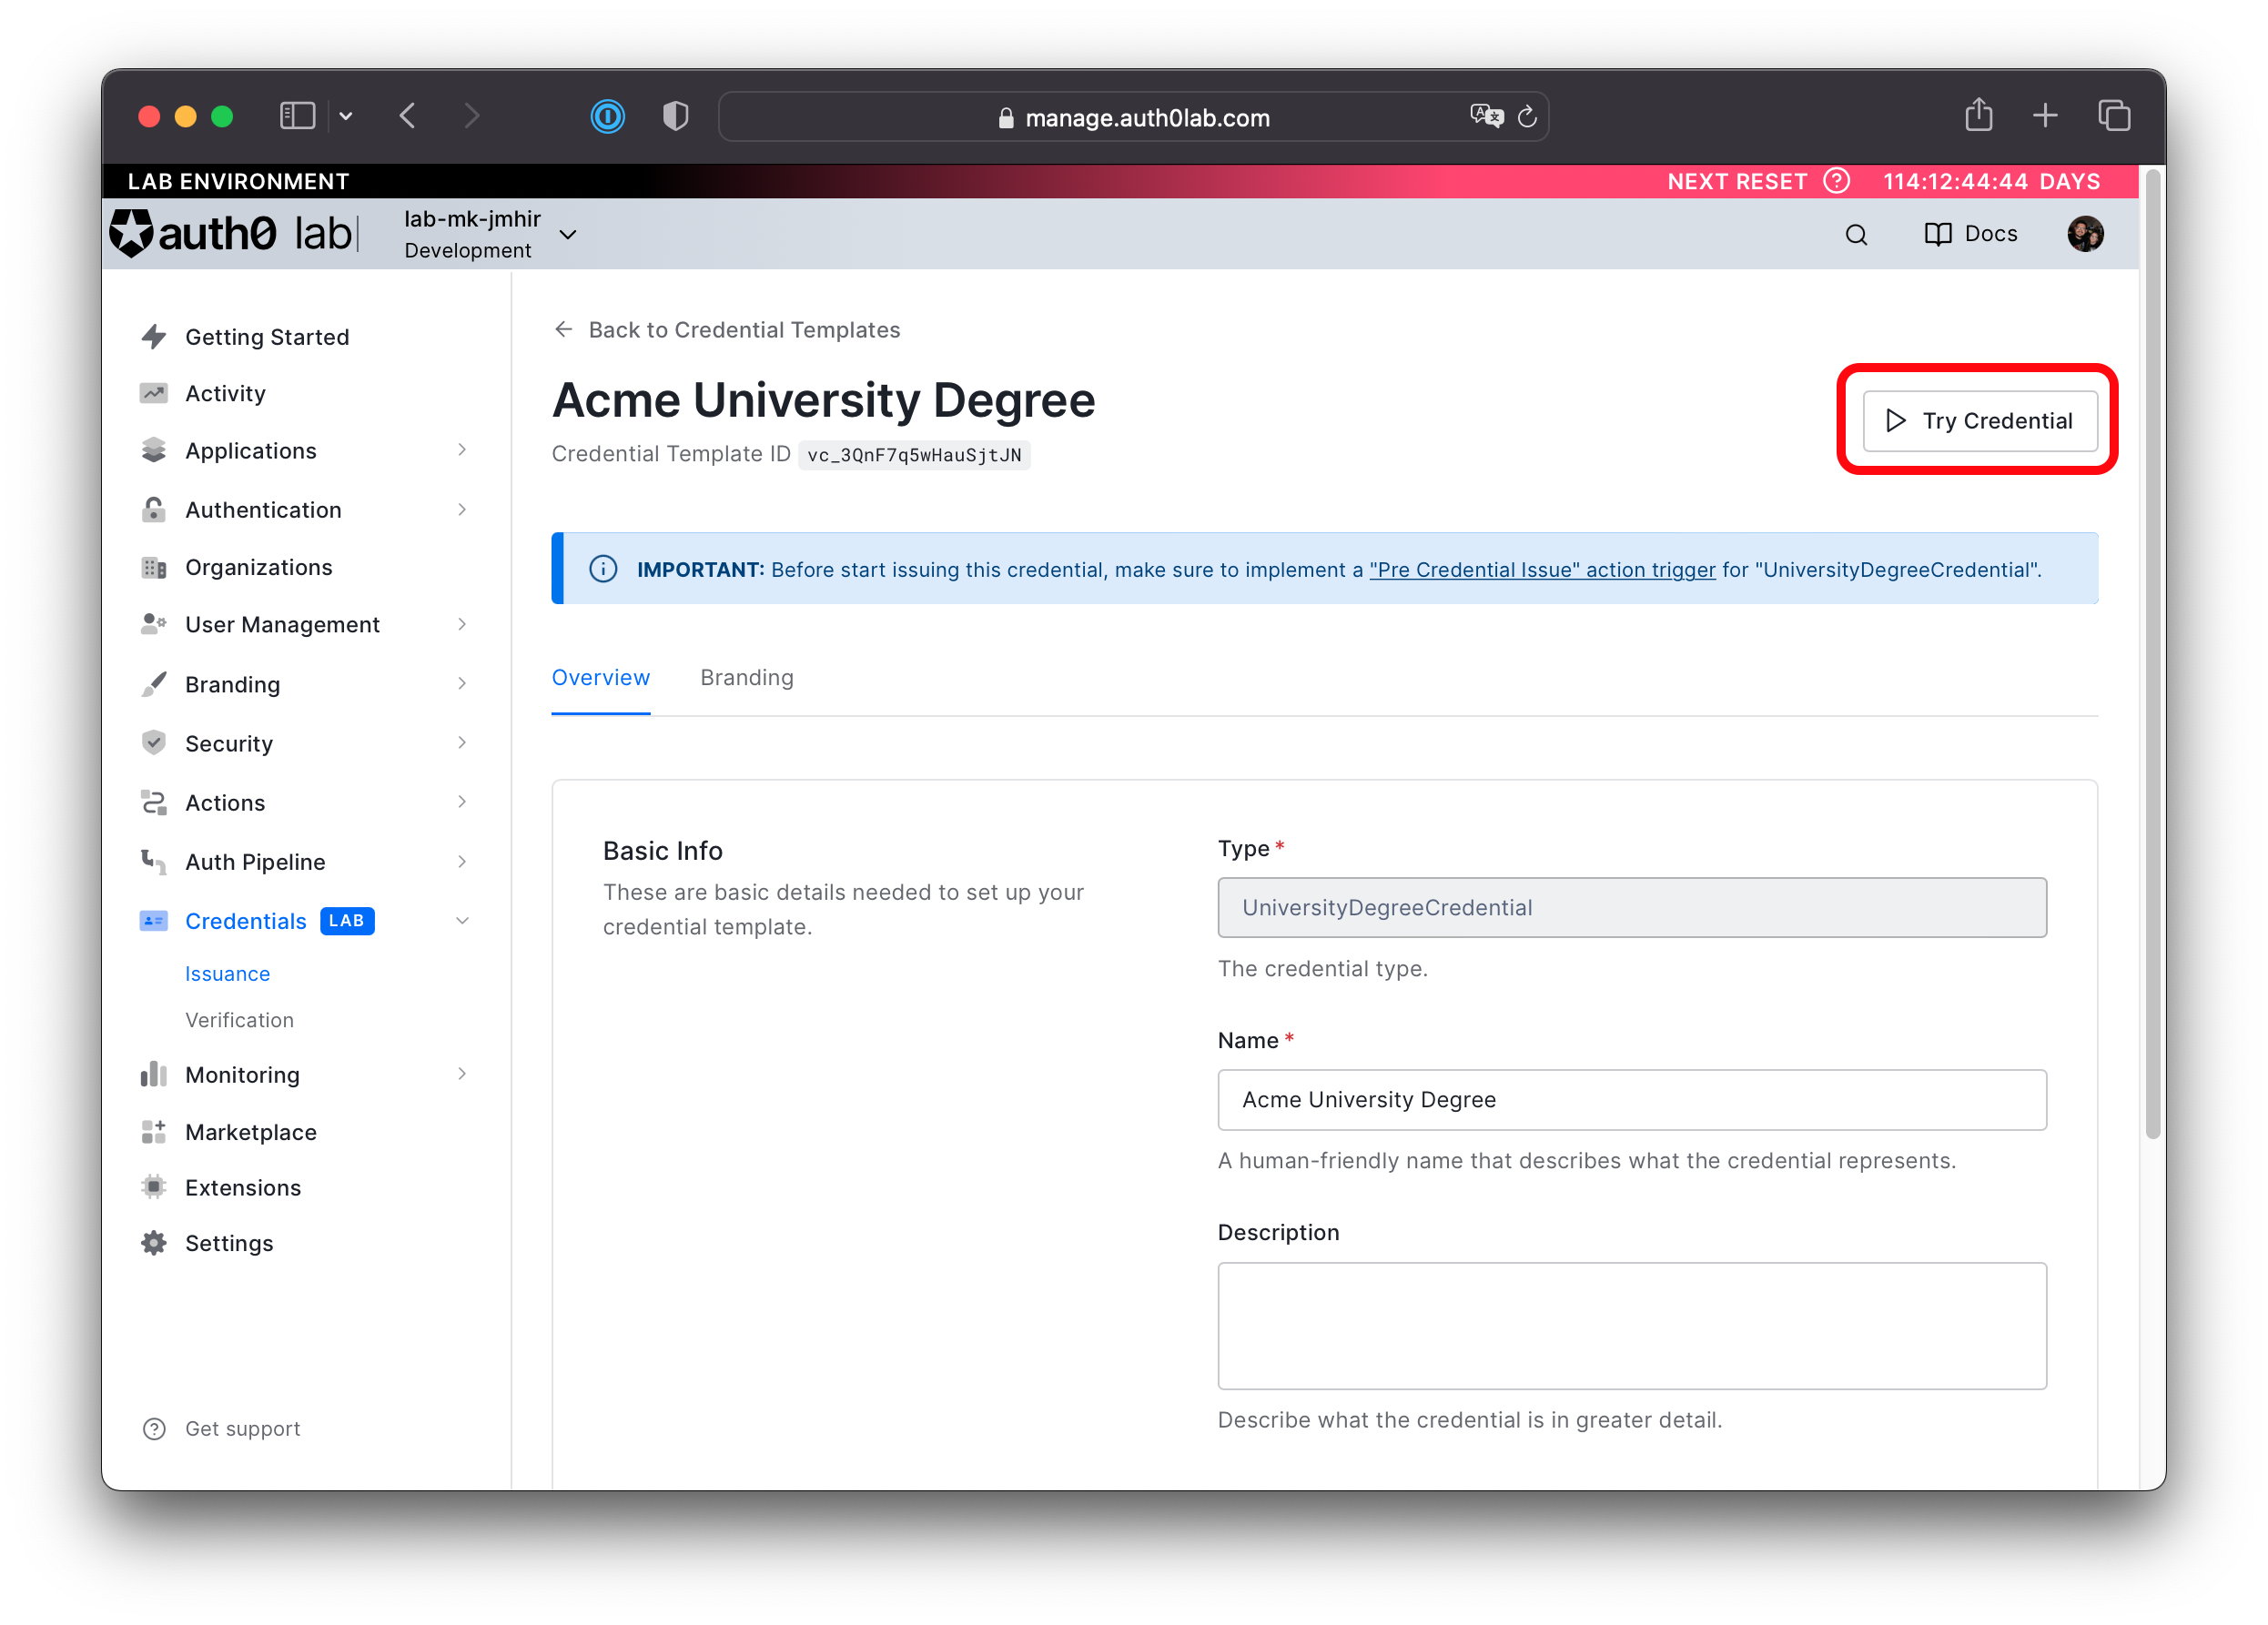
Click Acme University Degree to open the details for the credential.
-
On the top-right corner click Try Credential. This will initiate a credential issuance flow using ID Wallet.
-
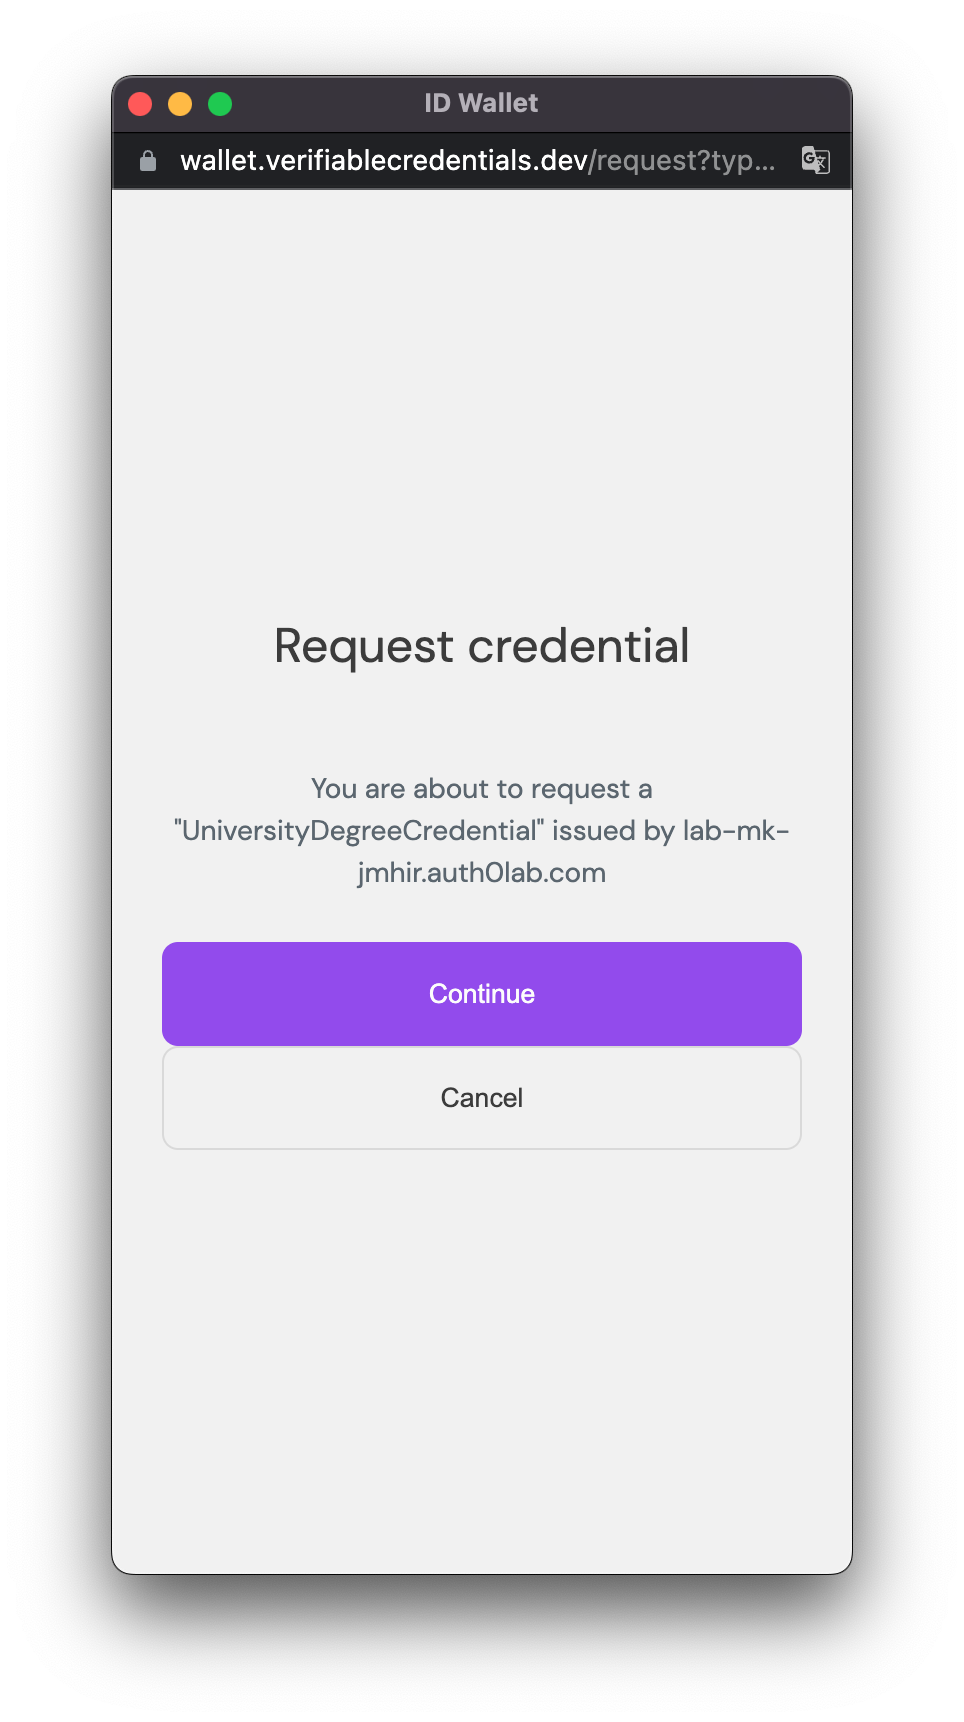
Once in ID Wallet, click Continue to request a University Degree Credential.
-
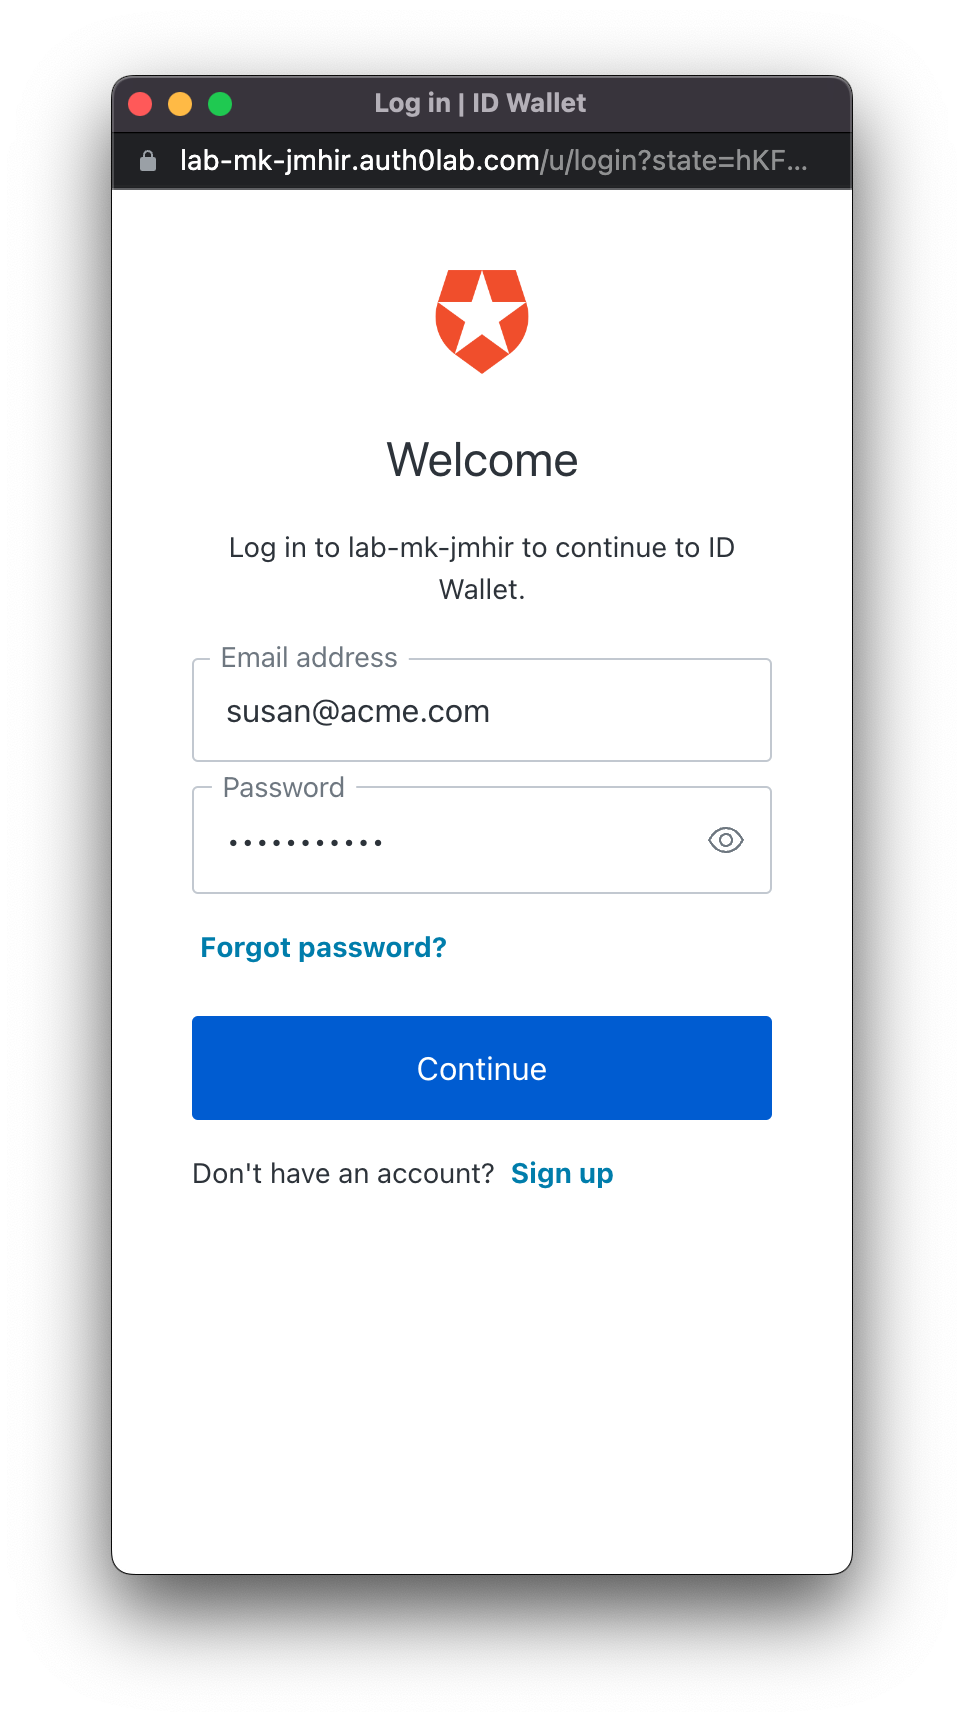
During log in, provide the details for the user created in the previous section. Email should be susan@acme.com and password sus@nsecr3t.
-
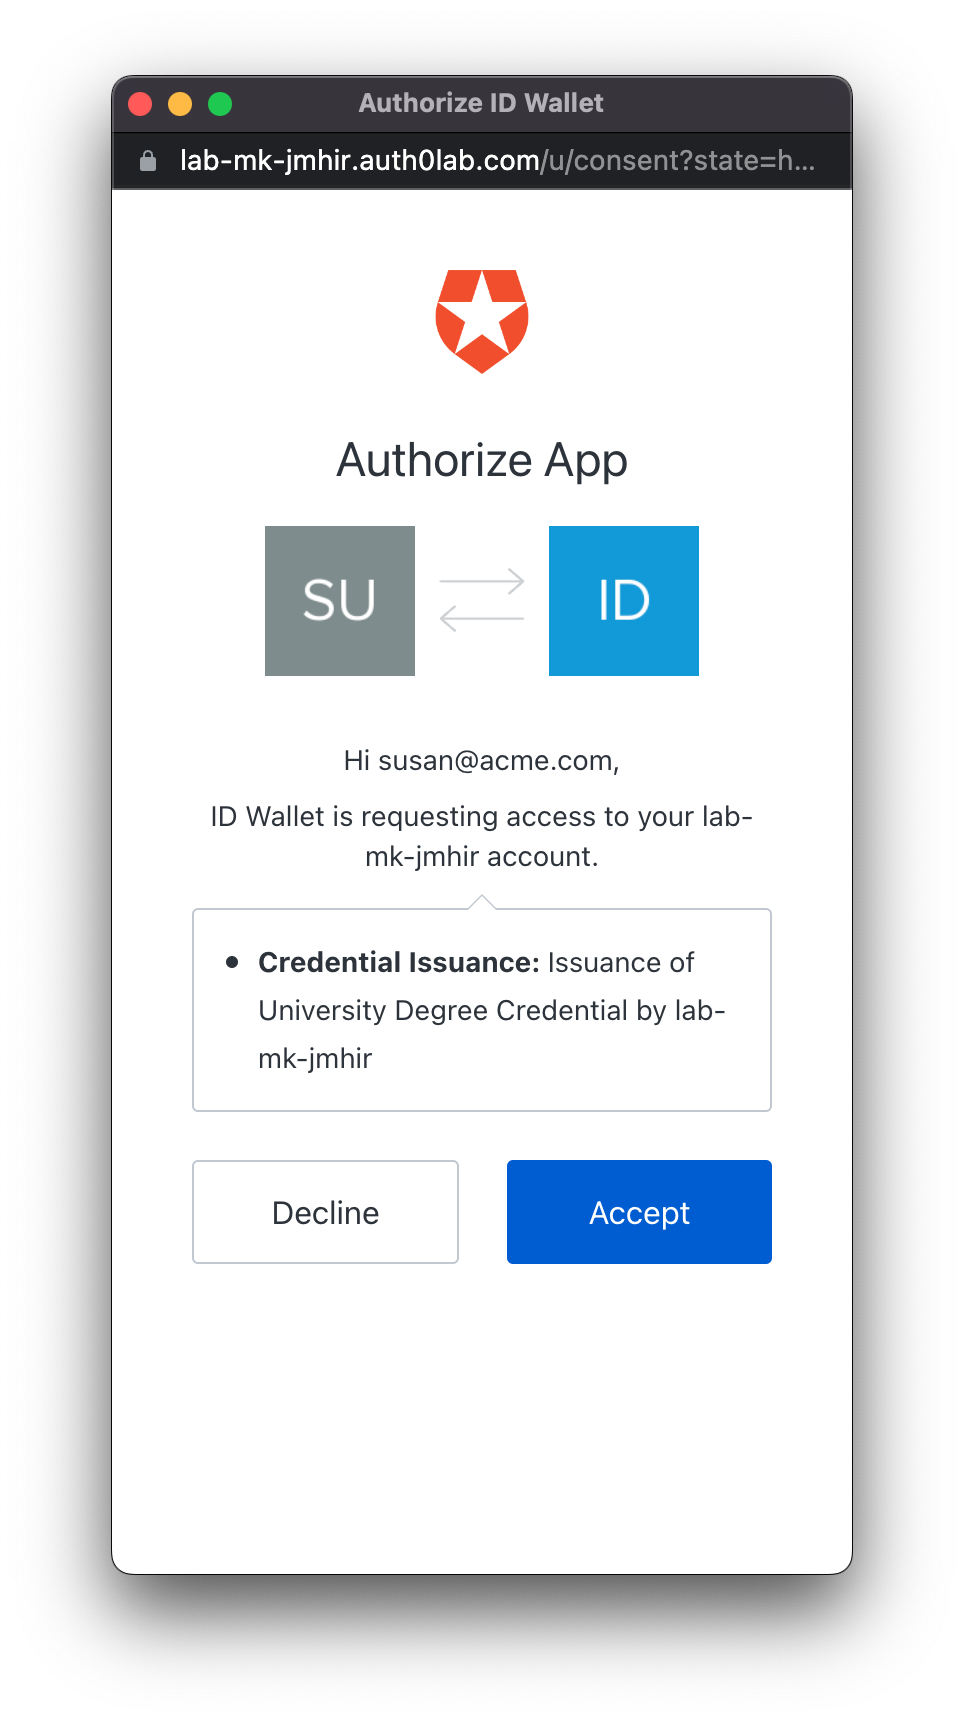
Click Accept when prompted with the Auth0 consent dialog.
-
In ID Wallet click Add credential to confirm you want to add the credential to your wallet.

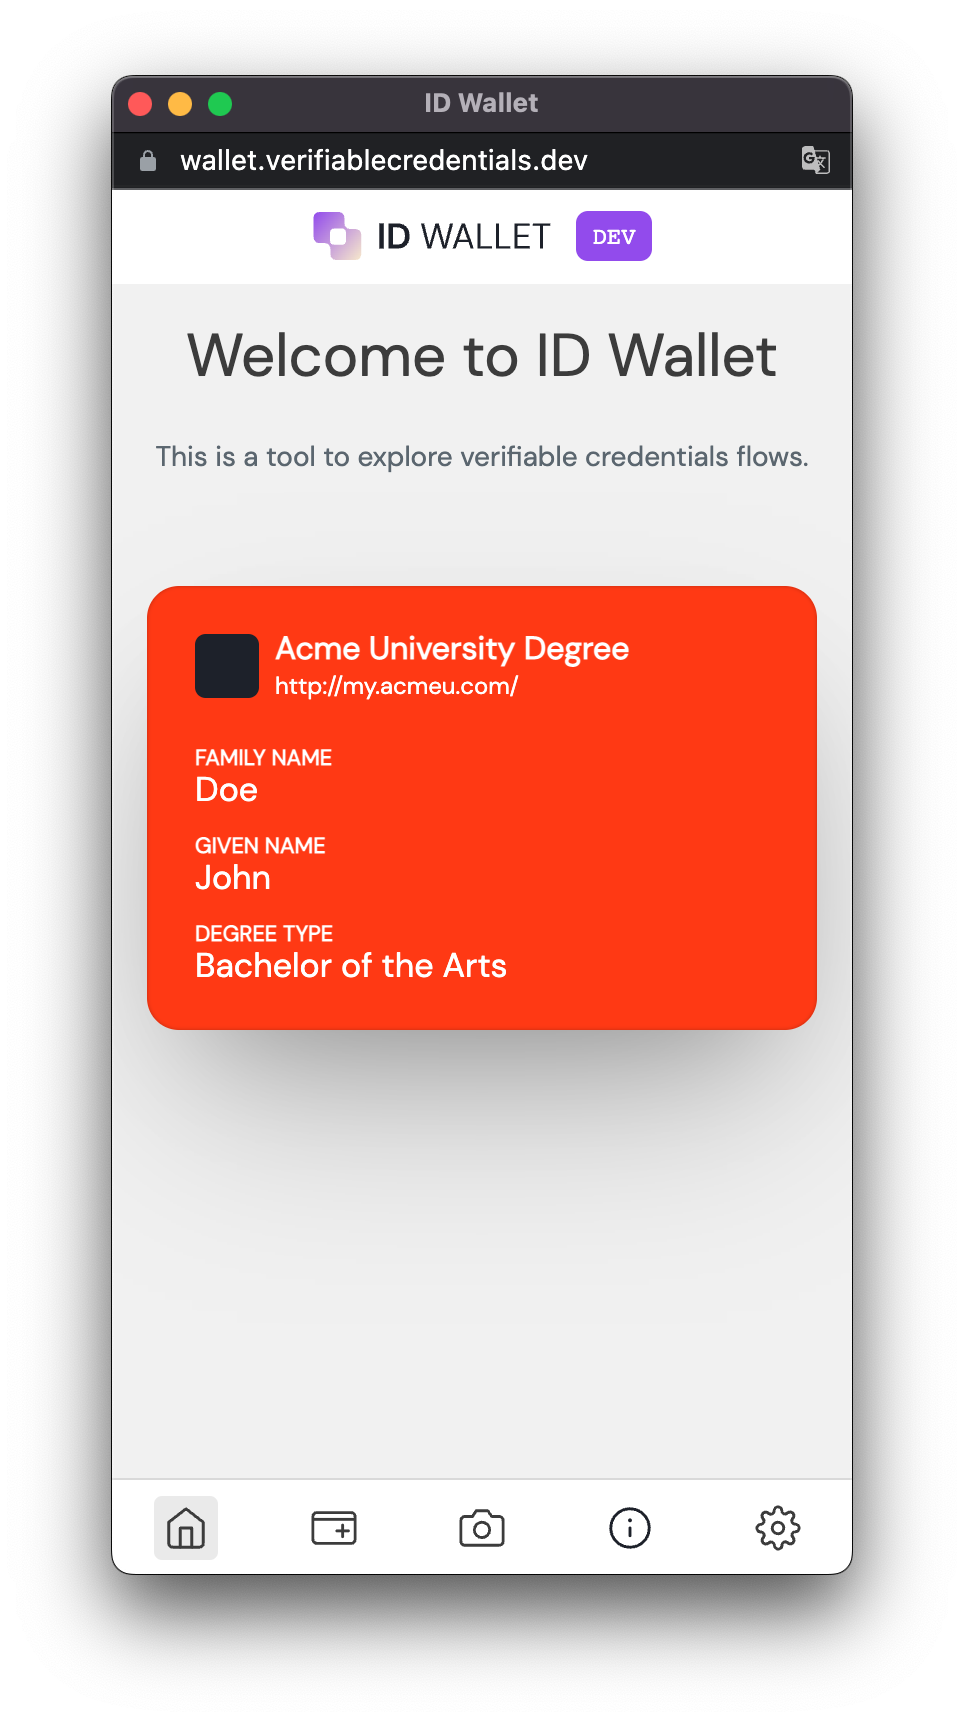
Open the credential and you will see that the degree type and degree field are those you set in the user's app_metadata and configured in the Pre Credential Issuance Action and the Display input.
Next Steps
You have seen how a developer can create a new verifiable credential with Auth0. Let us know how the experience was by leaving us feedback on our Discord server. If you have any issues with any of the steps, you can also bring them up there.
Now you can start experimenting with setting up Auth0 as a verifier of Verifiable Credentials.