Verify credentials
This article will show you how to configure an Auth0 Lab tenant to act as a verifier for verifiable credentials issued by other issuers. If you get stuck, or have questions, join us on our Discord server.
Prerequisites
- Install Node.js version 16.x locally. If you do not have Node installed, you can download it here https://nodejs.org/en/download/.
- Clone the Sample App repo.
git clone git@github.com:auth0-lab/hol-verifier-auth0.gitWas this helpful?
/ - Install dependencies for the hol-verifier-auth0 project you just cloned with npm.
npm iWas this helpful?
/ - Have a Vaccine Credential in your IDWallet. You can obtain it following the Obtaining a Credential section of the Use Credentials as a user lab.
Auth0 Lab Environment Setup
In this section, you will configure your Auth0 Lab tenant with a new application and a verifiable credential presentation template.
Create an Application
Now, you will create an application within your Auth0 Lab tenant that will receive the verifiable credential API calls from your application.
-
Navigate to the Auth0 Lab instance, and sign in with your Auth0 account. You will have to accept the terms if this is your first time at manage.auth0lab.com.
-
Using the left nav go to Applications > Applications.
-
Click + Create Application.
-
Pick Regular Web Applications and click Create.

-
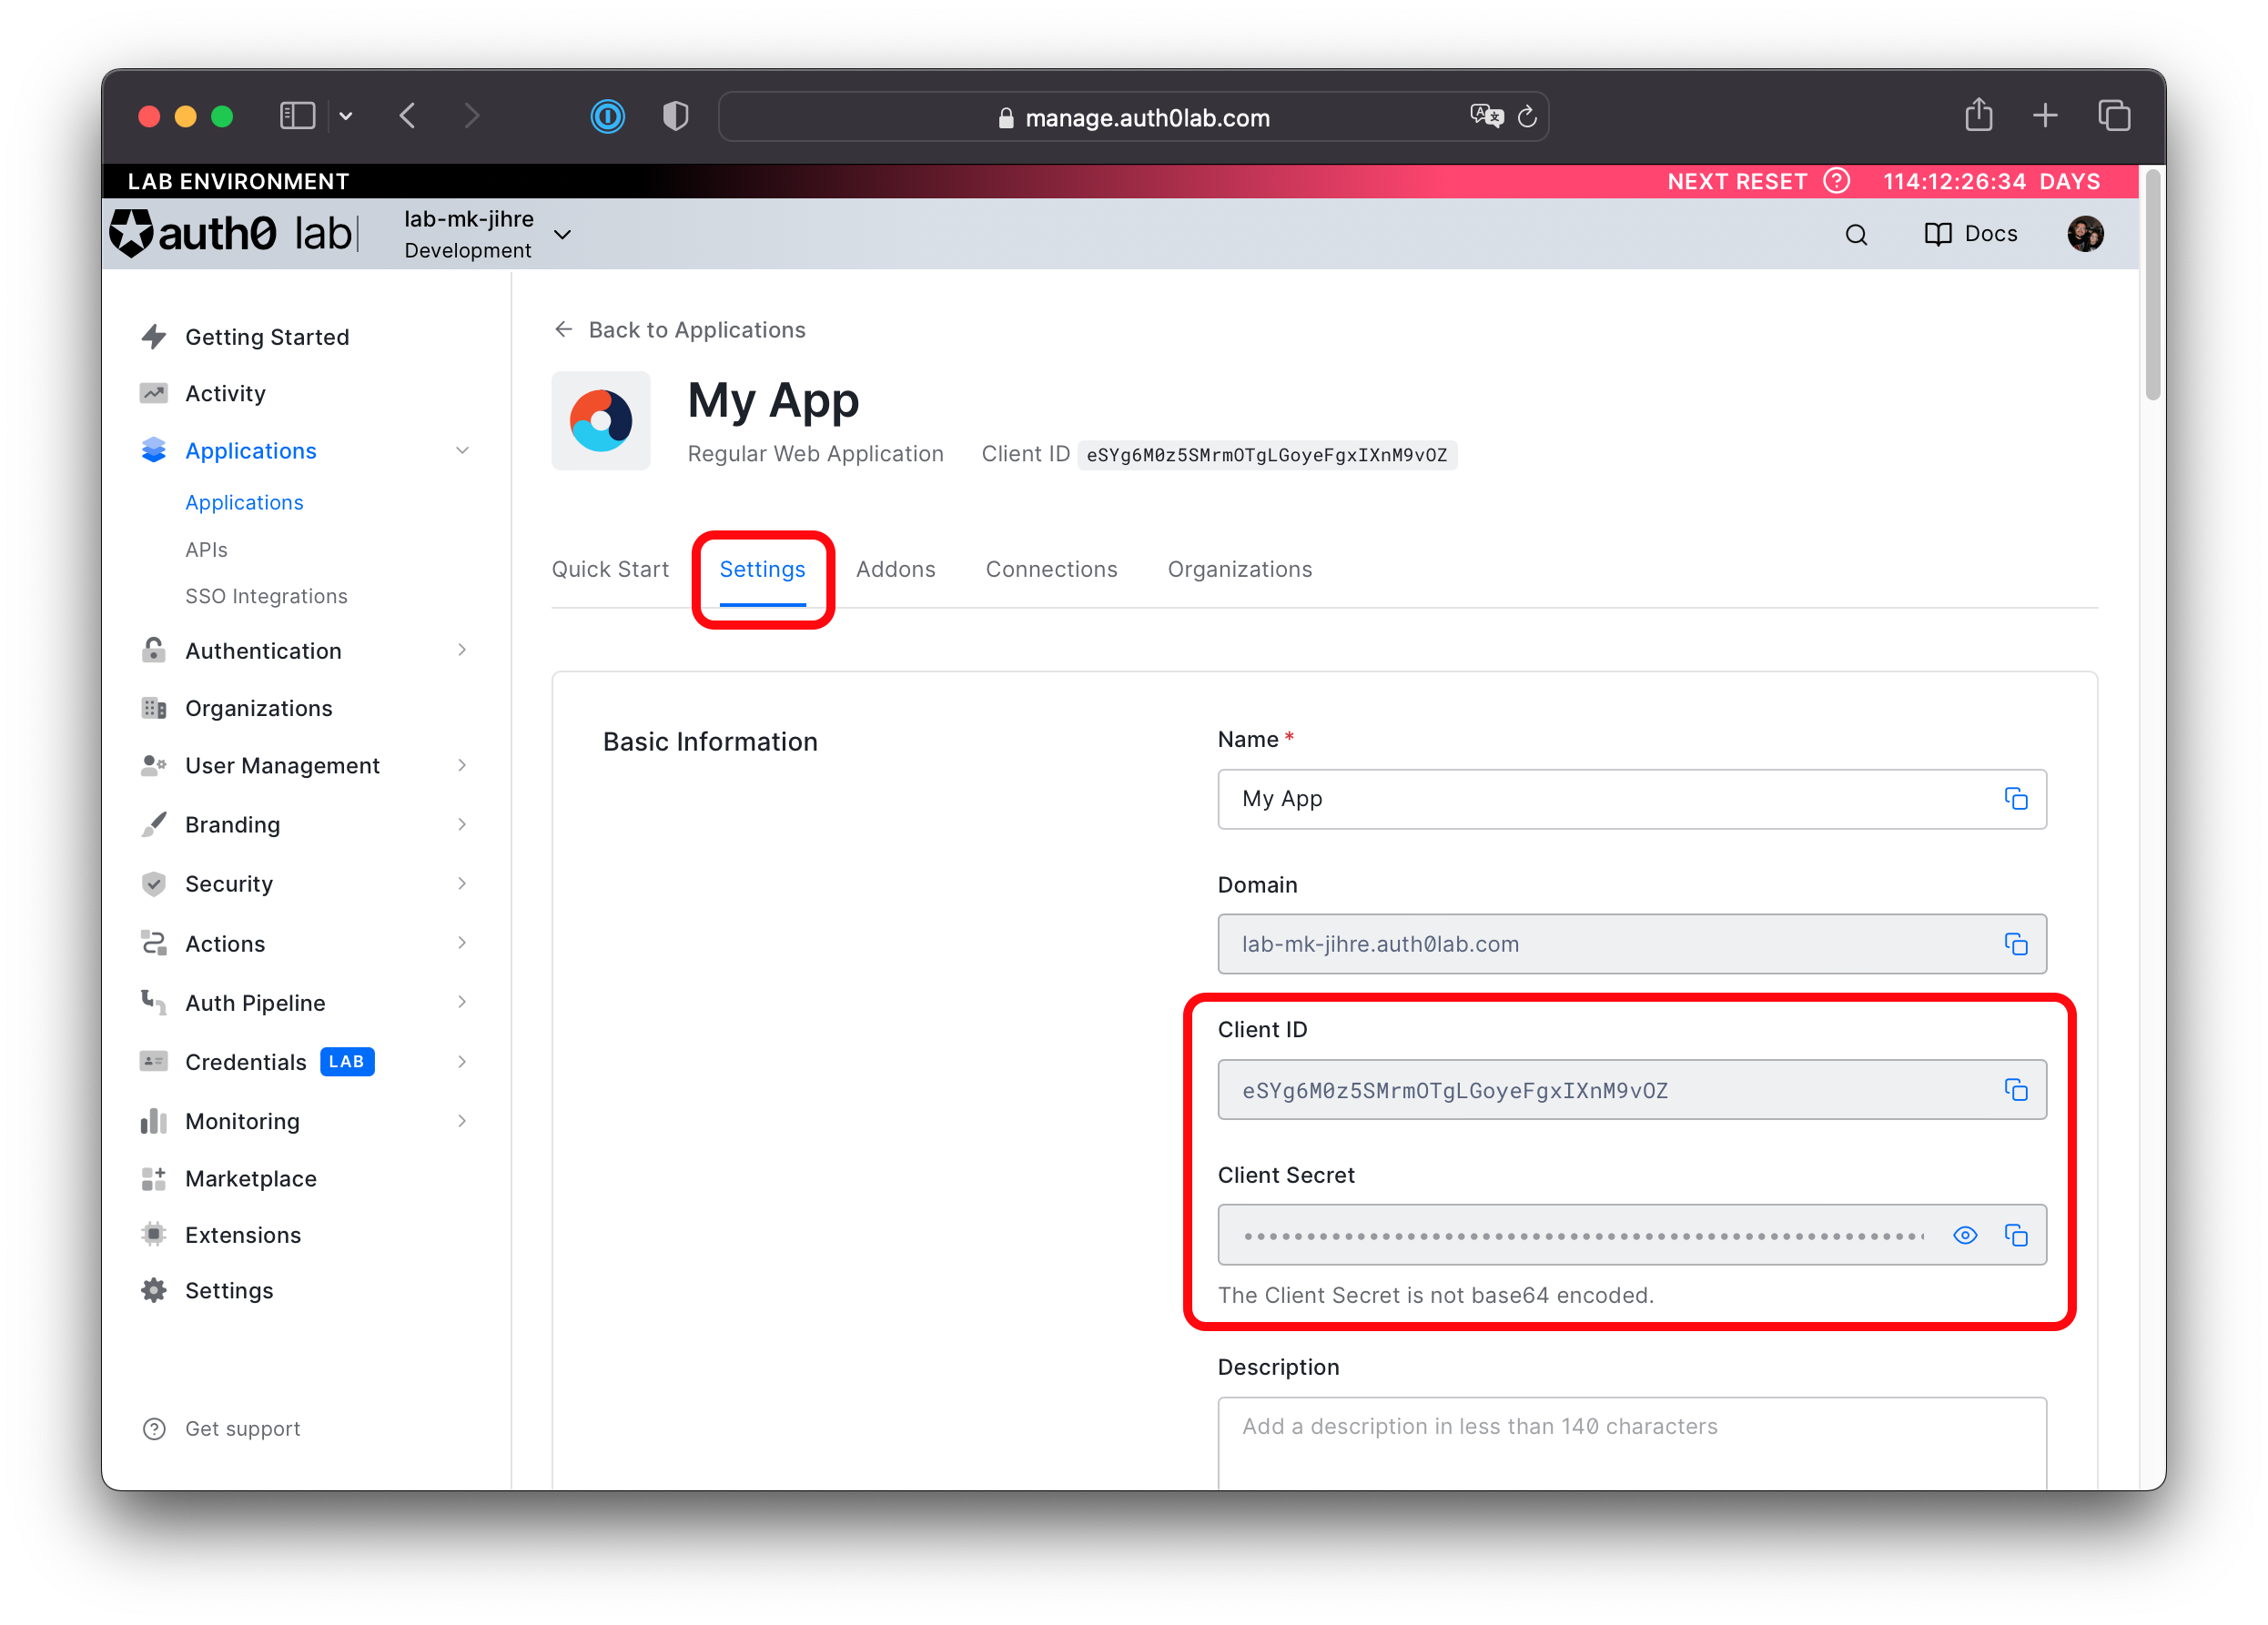
Navigate to the Settings tab and take note of the Domain, Client ID, Client Secret, as you will use them in another section.
Create a Verification Template
Here you will create a Verification Template that verifies credentials of the VaccineCard type. A Verification Template allows Auth0 to prompt and verify credentials matching a paritcular criteria.
-
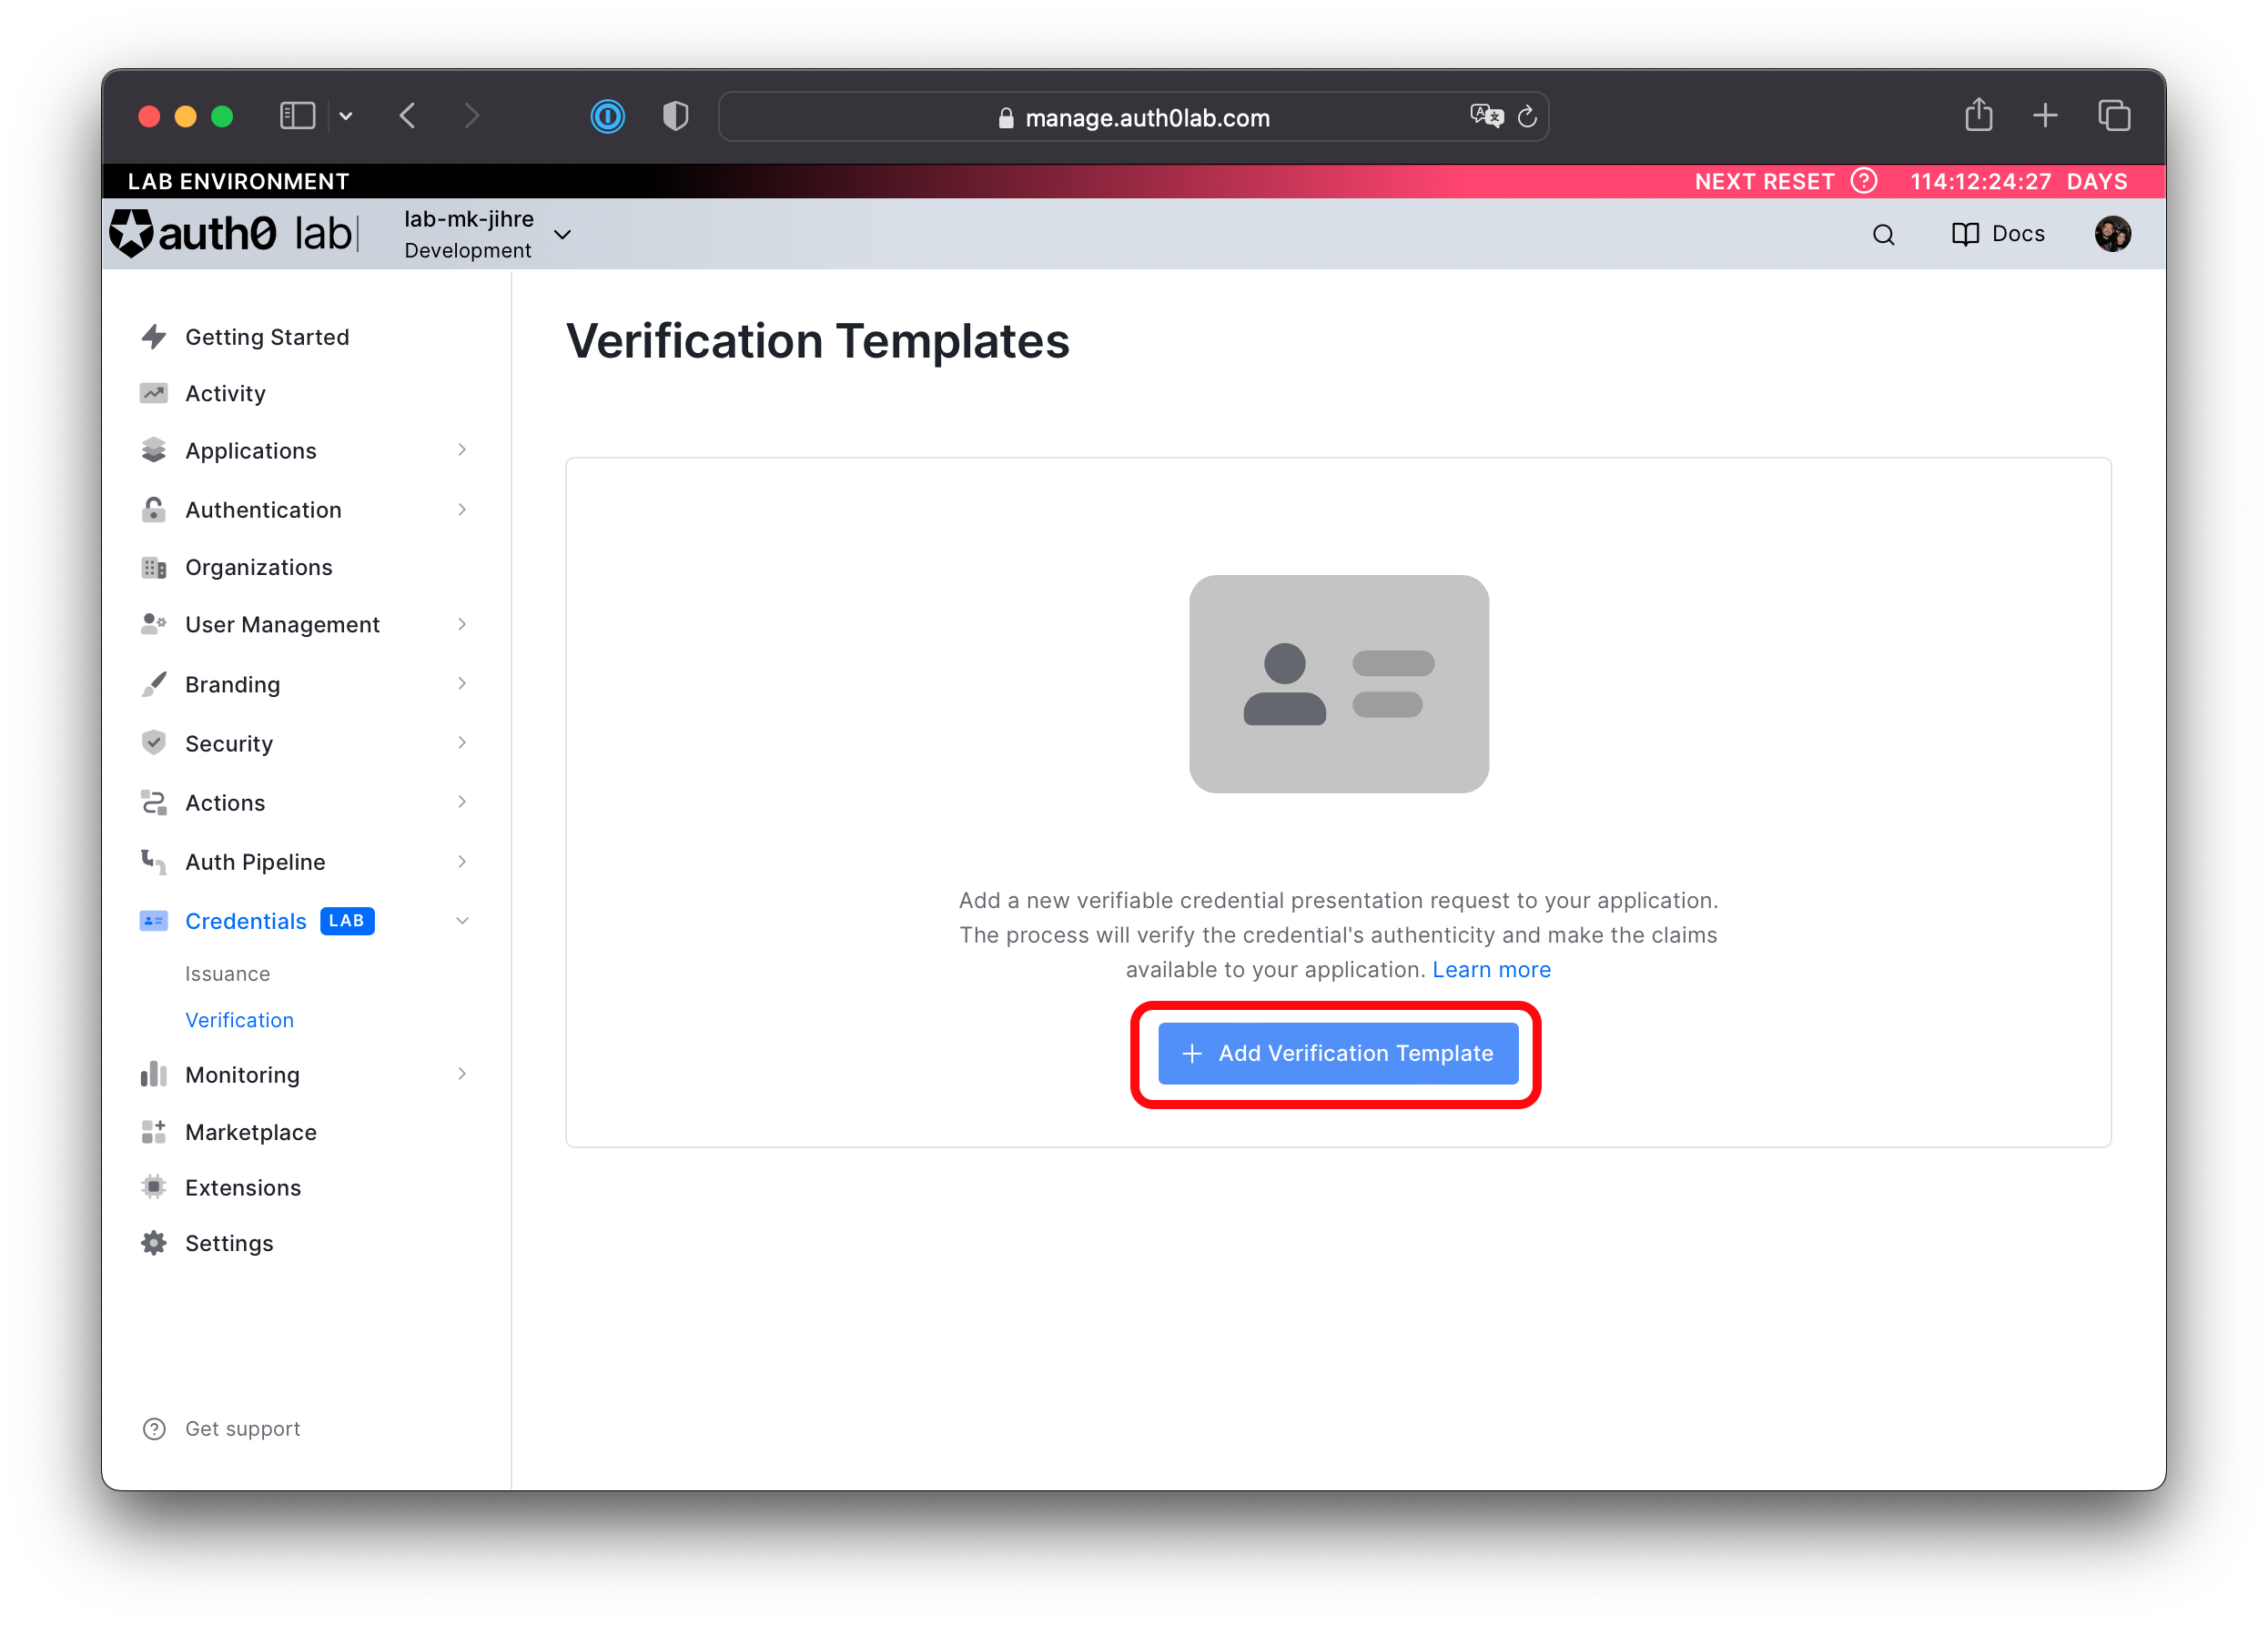
Using the left nav go to Credentials (LAB) > Verification.
-
Click + Add Verification Template.
-
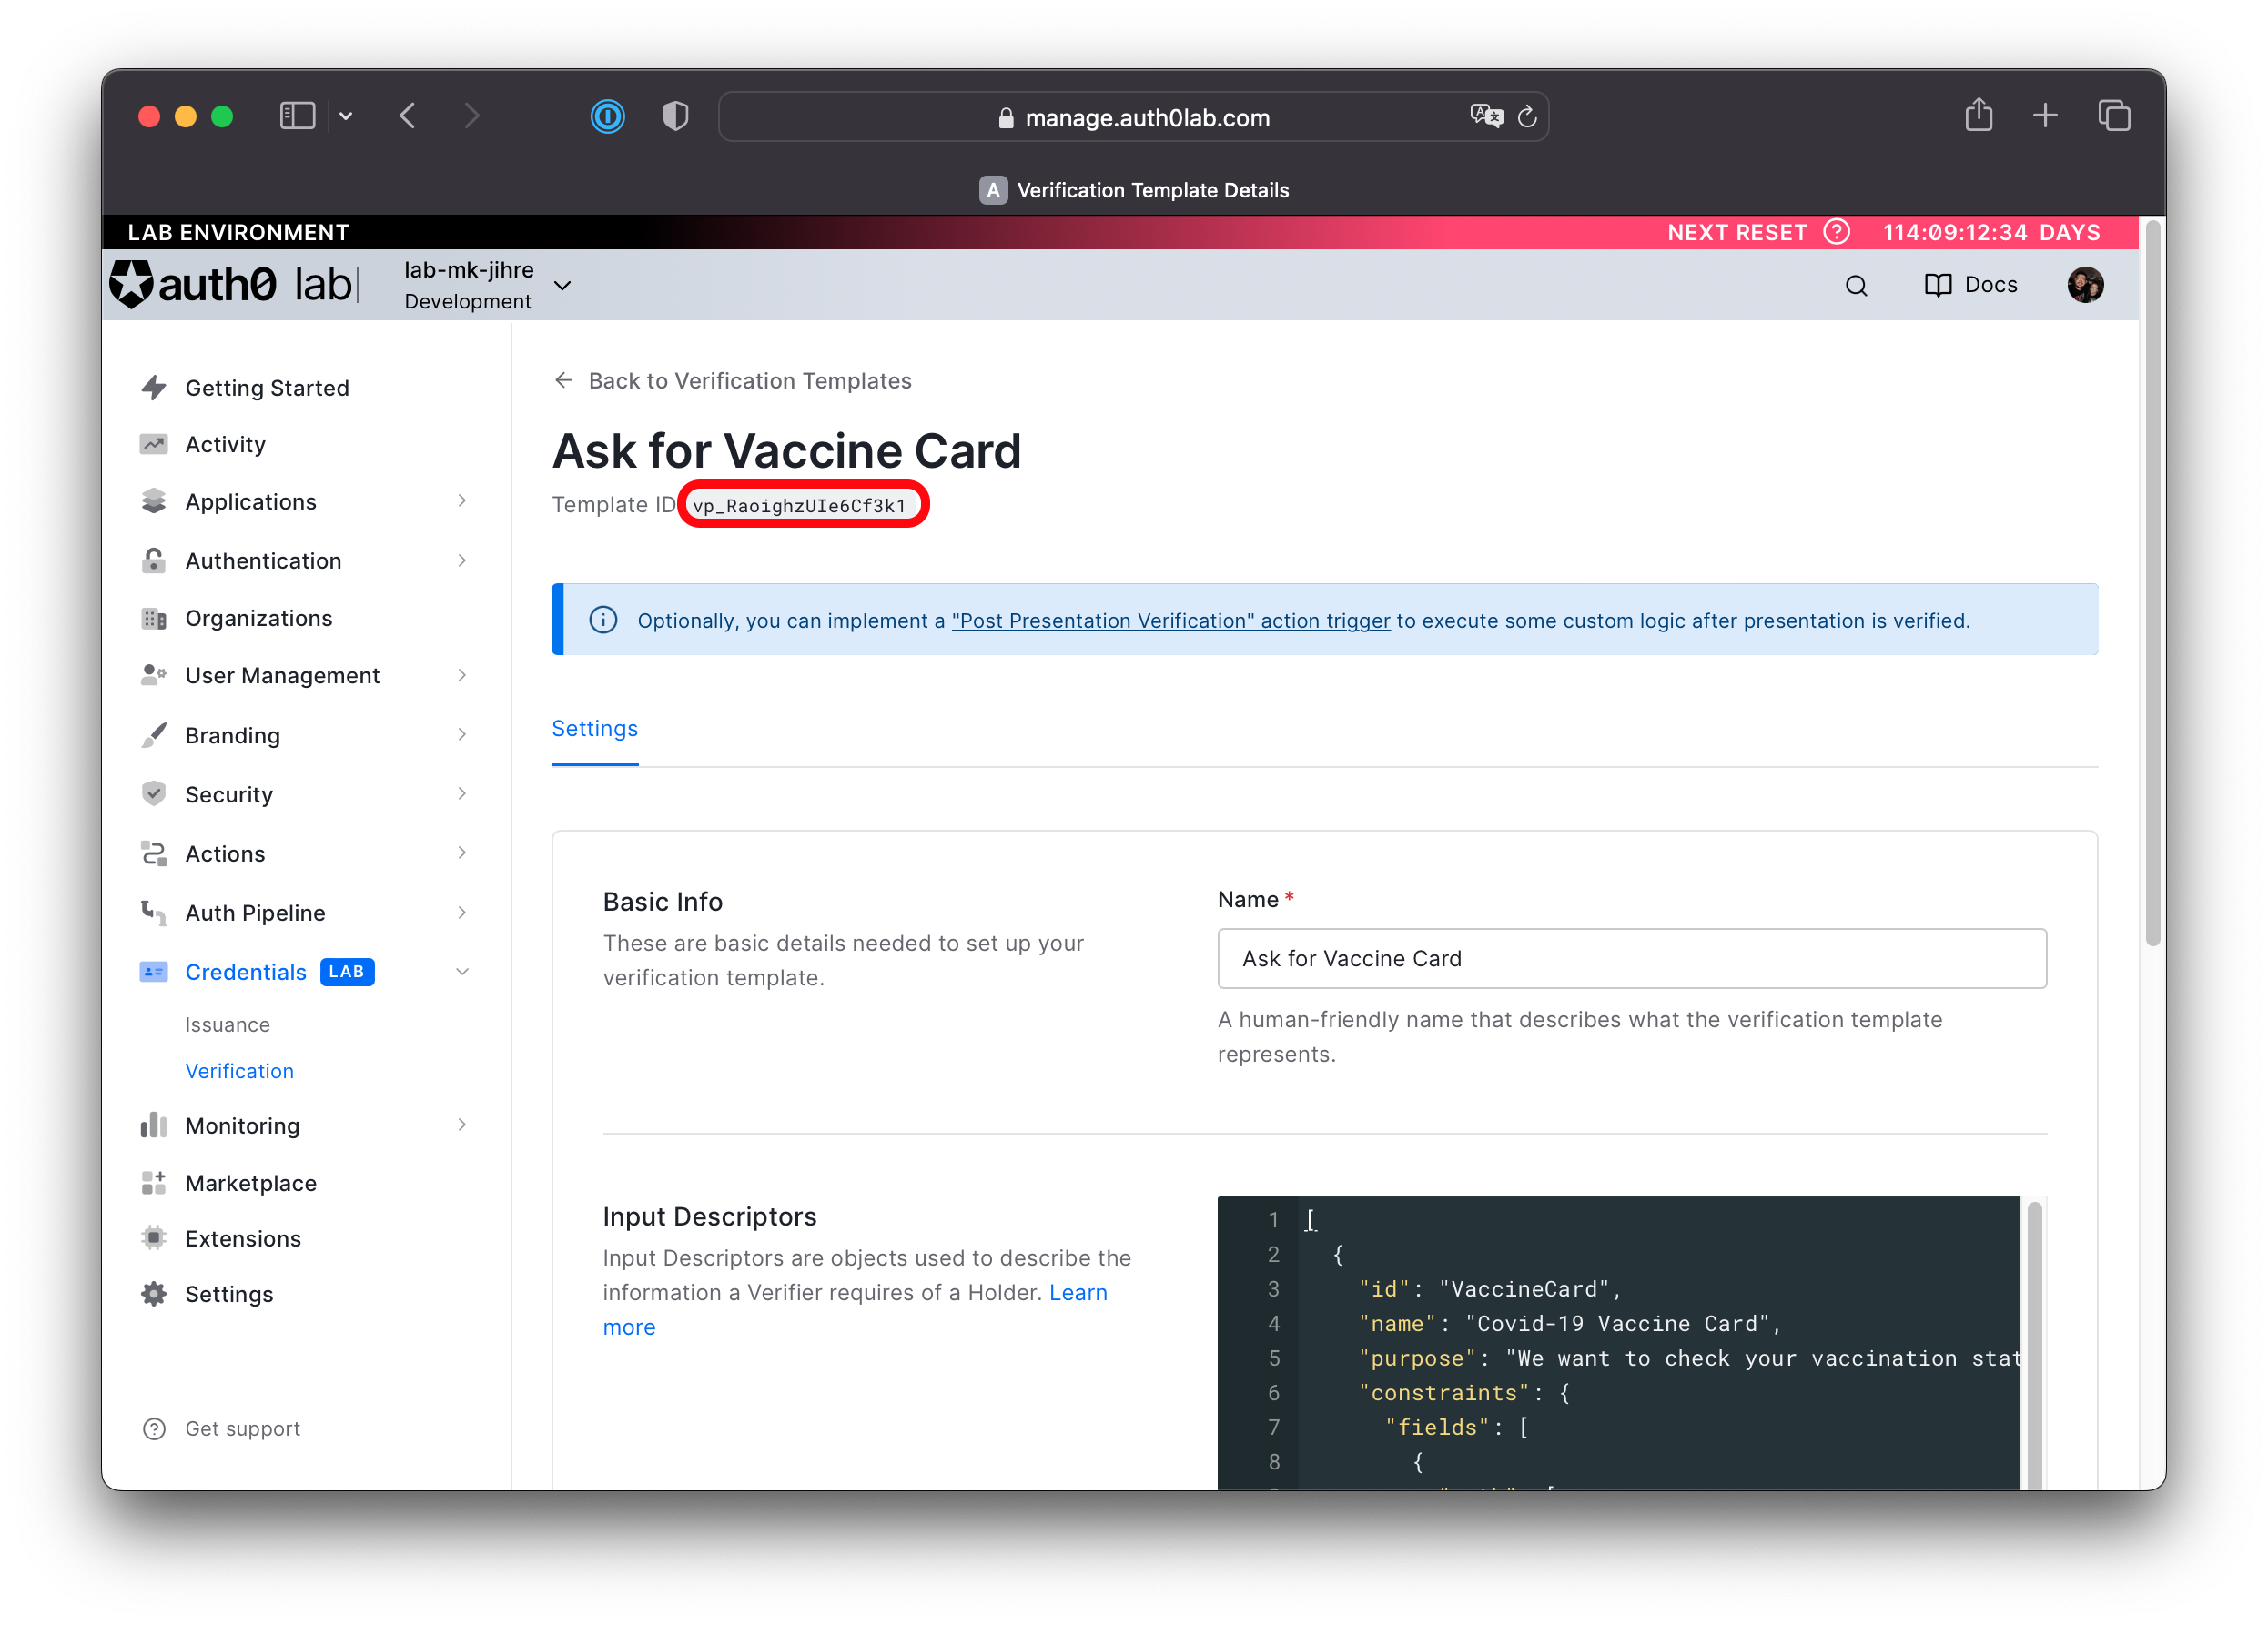
Name the template Ask for Vaccine Card.
-
Use the following code snippet for the Input Descriptors input. Input Descriptors are used to generate a prompt that matches a specific set of constraints to ensure the user submits a verifiable credential with the data your application needs. In this case, the example is asking for any credential where the last element of the type array is "VaccineCard".
[
  {
    "id": "VaccineCard",
    "name": "Covid-19 Vaccine Card",
    "purpose": "We want to check your vaccination status",
    "constraints": {
      "fields": [
        {
          "path": [
            "$.type[(@.length-1)]"
          ],
          "filter": {
            "type": "string",
            "pattern": "VaccineCard"
          }
        }
      ]
    }
  }
]
Was this helpful?
/ -
Click Add Verification Template to add the template to your Auth0 Lab tenant.
-
Copy the Template ID that is displayed below the Verification Template name and take note of it, as you will use it in another section. The Template ID is prefixed vp_.
Adding Verification to the Sample App
This section walks you through setting up Auth0 as a verifier in a web application. For this lab, we are using a Next.js application as an example.
You will add code to the sample application you cloned in the prerequisites.
Update the .env file
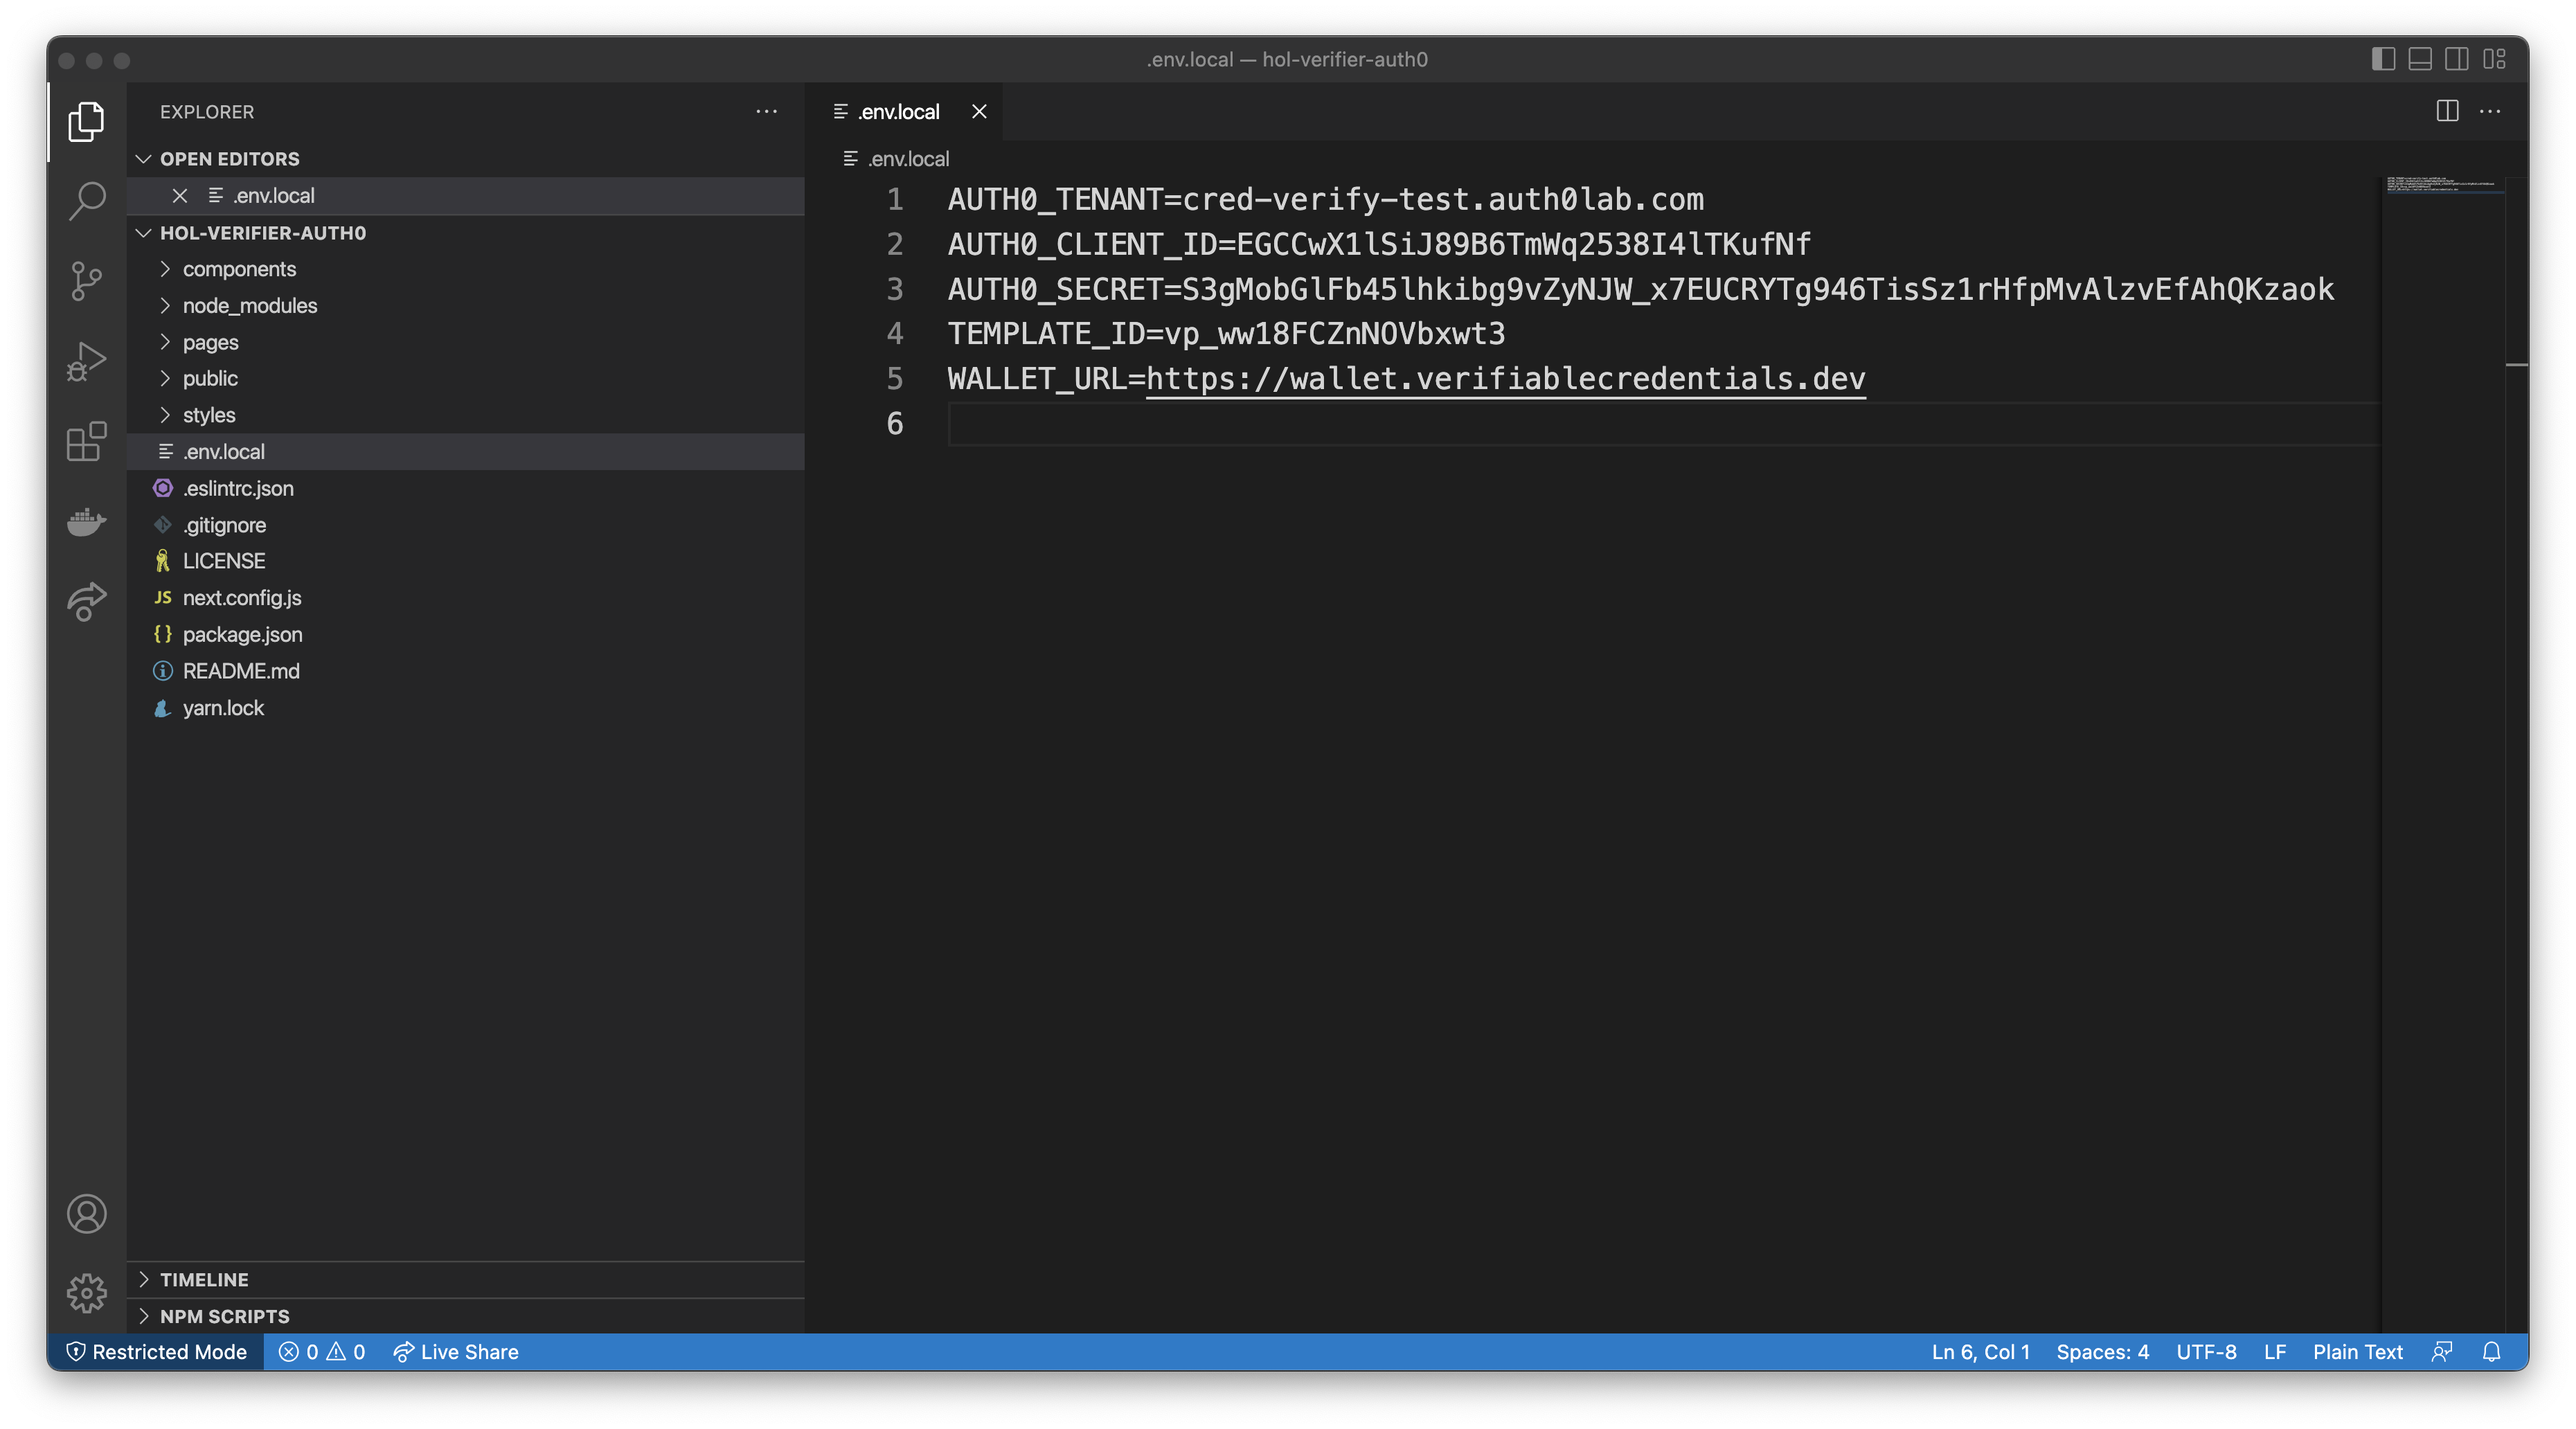
Edit the .env.local file, and set the missing values:
AUTH0_DOMAIN: the Domain that you copied in the Create an application sectionAUTH0_CLIENT_ID: the Client ID of the application you created in the Create an application sectionAUTH0_SECRET: the Client Secret of the application you created in the Create an application sectionTEMPLATE_ID: the Template ID from the template you created above in the Create a Verification Template section
For example:
App Structure
The code in its current state implements a web server with a simple UI. The UI has a button that starts the verification process.
The following high level steps describe how the app works:
- When the Start Presentation Flow button is clicked, the app starts a verification request by making an API call to Auth0. In this API call, the app sends the
clientid,clientsecretandtemplateidvariables to the API. Auth0 replies with a URL and arequest_id.
-
The
request_idis used to call back to another Auth0 API to check if the user submitted credentials. -
Then, the application periodically checks Auth0 by making a separate API call to check if the user has successfully submitted a presentation. It passes the
request_idthat was received as a response in step 1, and keeps doing it (long polling) until a response indicating the process is complete is received.
To make this flow work, you will create two endpoints in our application:
/api/verify/start/api/verify/check
When the user clicks the button to start the flow, a call needs to be made to the /api/verify/start endpoint, which will then start an interval timer on the UI to call the /api/verify/check endpoint once per second.
For simplicity, the UI is already wired up to handle calling the backend, different states, loading, error, etc. You only need to implement the two endpoints where the core logic is handled.
Create a Presentation Request
This endpoint starts a Presentation Request by making a call to the Auth0 API. The API returns a URL with the presentation request information for the user's wallet to consume.
A Presentation Request keeps track in Auth0 that the sample app requested a credential from a user.
-
Create a new folder named api in the api the pages folder.
-
Create a new folder named verify in the api folder you created in the previous step.
-
Create a new file named start.js in the pages/api/verify folder.
-
You will need to make API calls to Auth0. Add the following snippet to the start.js file. The snippet imports the node-fetch module, which you will use to make HTTP calls to the Auth0 API.
import fetch from "node-fetch";Was this helpful?
/ -
Assign the environment variables from the .env.local file to variables. By default, Next.js parses this file and sets the variables on the
process.envobject.const AUTH0_DOMAIN = process.env.AUTH0_DOMAIN; const AUTH0_CLIENT_ID = process.env.AUTH0_CLIENT_ID; const AUTH0_SECRET = process.env.AUTH0_SECRET; const TEMPLATE_ID = process.env.TEMPLATE_ID; if (!AUTH0_DOMAIN) throw new Error("AUTH0_DOMAIN not set"); if (!AUTH0_CLIENT_ID) throw new Error("AUTH0_CLIENT_ID not set"); if (!AUTH0_SECRET) throw new Error("AUTH0_SECRET not set"); if (!TEMPLATE_ID) throw new Error("TEMPLATE_ID not set");Was this helpful?
/ -
Add the function to handle the HTTP request. This is mostly Next.js boilerplate. The relevant part is the call to
run()that will do the bulk of the work.export default async function handler(req, res) { try { const result = await run(); res.status(200).json(result); } catch (err) { res.status(500).send({ error: err.message }); } }Was this helpful?
/ -
Define the
run()function. It makes a POST HTTP request to the Auth0 verification API to start a Verifiable Presentation request and returns an object with three variables from the response.url: the URL the user's wallet submits a credential presentation torequest_id: the unique identifier of the presentation request in the Auth0 tenantexpires at: timestamp when the presentation request is no longer valid
async function run() {
 const result = await fetch(`https://${AUTH0_DOMAIN}/vcs/presentation-request`, {
   method: "post",
   headers: {
     Accept: "application/json",
     "Content-Type": "application/json",
   },
   body: JSON.stringify({
     client_id: AUTH0_CLIENT_ID,
     client_secret: AUTH0_SECRET,
     template_id: TEMPLATE_ID,
   }),
 });
 const { url, request_id, expires_at } = await result.json();

 // the url is the "QR Code" that a wallet would scan
 return { url, request_id, expires_at };
}
Was this helpful?
/
Check the Presentation Request's status
Once a Presentation Request has been created, the sample verifier app needs to know if the user submitted a credential to Auth0. The app does this by calling the /api/verify/check endpoint periodically. This endpoint calls an Auth0 API to check the status of the request. If the presentation was successful, the API will return the JSON from the presentation.
-
Create a new file named check.js in the pages/api/verify folder.
-
Import the node-fetch library, load the environment variables. This code is identical to the previous section:
import fetch from "node-fetch";

const AUTH0_DOMAIN = process.env.AUTH0_DOMAIN;
const AUTH0_CLIENT_ID = process.env.AUTH0_CLIENT_ID;
const AUTH0_SECRET = process.env.AUTH0_SECRET;
const TEMPLATE_ID = process.env.TEMPLATE_ID;

if (!AUTH0_DOMAIN) throw new Error("AUTH0_DOMAIN not set");
if (!AUTH0_CLIENT_ID) throw new Error("AUTH0_CLIENT_ID not set");
if (!AUTH0_SECRET) throw new Error("AUTH0_SECRET not set");
if (!TEMPLATE_ID) throw new Error("TEMPLATE_ID not set");
Was this helpful?
/ -
The HTTP handler will be very similar to the previous one. However,
request_idmust be extracted from the POST body, so the sample app can query Auth0 for the status of the Presentation Request. Then, pass therequest_idto the run() function where most of the work will be done:export default async function handler(req, res) { try { const id = req.body.request_id; const result = await run(id); res.status(200).json(result); } catch (err) { res.status(500).send({ error: err.message }); } }Was this helpful?
/ -
Implement the
runfunction. It uses the ID of the Presentation Request (request_id) to check the status of that request in Auth0 and returns the result.async function run(id) { if (!id) throw new Error("request_id not found"); const result = await fetch( `https://${AUTH0_DOMAIN}/vcs/presentation-request/${id}/status`, { method: "post", headers: { "Content-Type": "application/json", }, body: JSON.stringify({ client_id: AUTH0_CLIENT_ID, client_secret: AUTH0_SECRET, template_id: TEMPLATE_ID, }), } ); const data = await result.json(); if (data.presentation) { data.presentation = JSON.parse(data.presentation); } return data; }Was this helpful?
/
Verify it Works
That is all that is needed to implement verification through Auth0. To test the flow follow these steps.
- In a terminal, run
npm run dev. This should start the app on localhost:3000.
$ npm run dev

> hol-verifier@0.1.0 dev
> next dev

ready - started server on 0.0.0.0:3000, url: http://localhost:3000
info  - Loaded env from /Users/alex/projects/auth0/vc/hol-verifier-auth0/.env.local
event - compiled client and server successfully in 423 ms (173 modules)
Was this helpful?
-
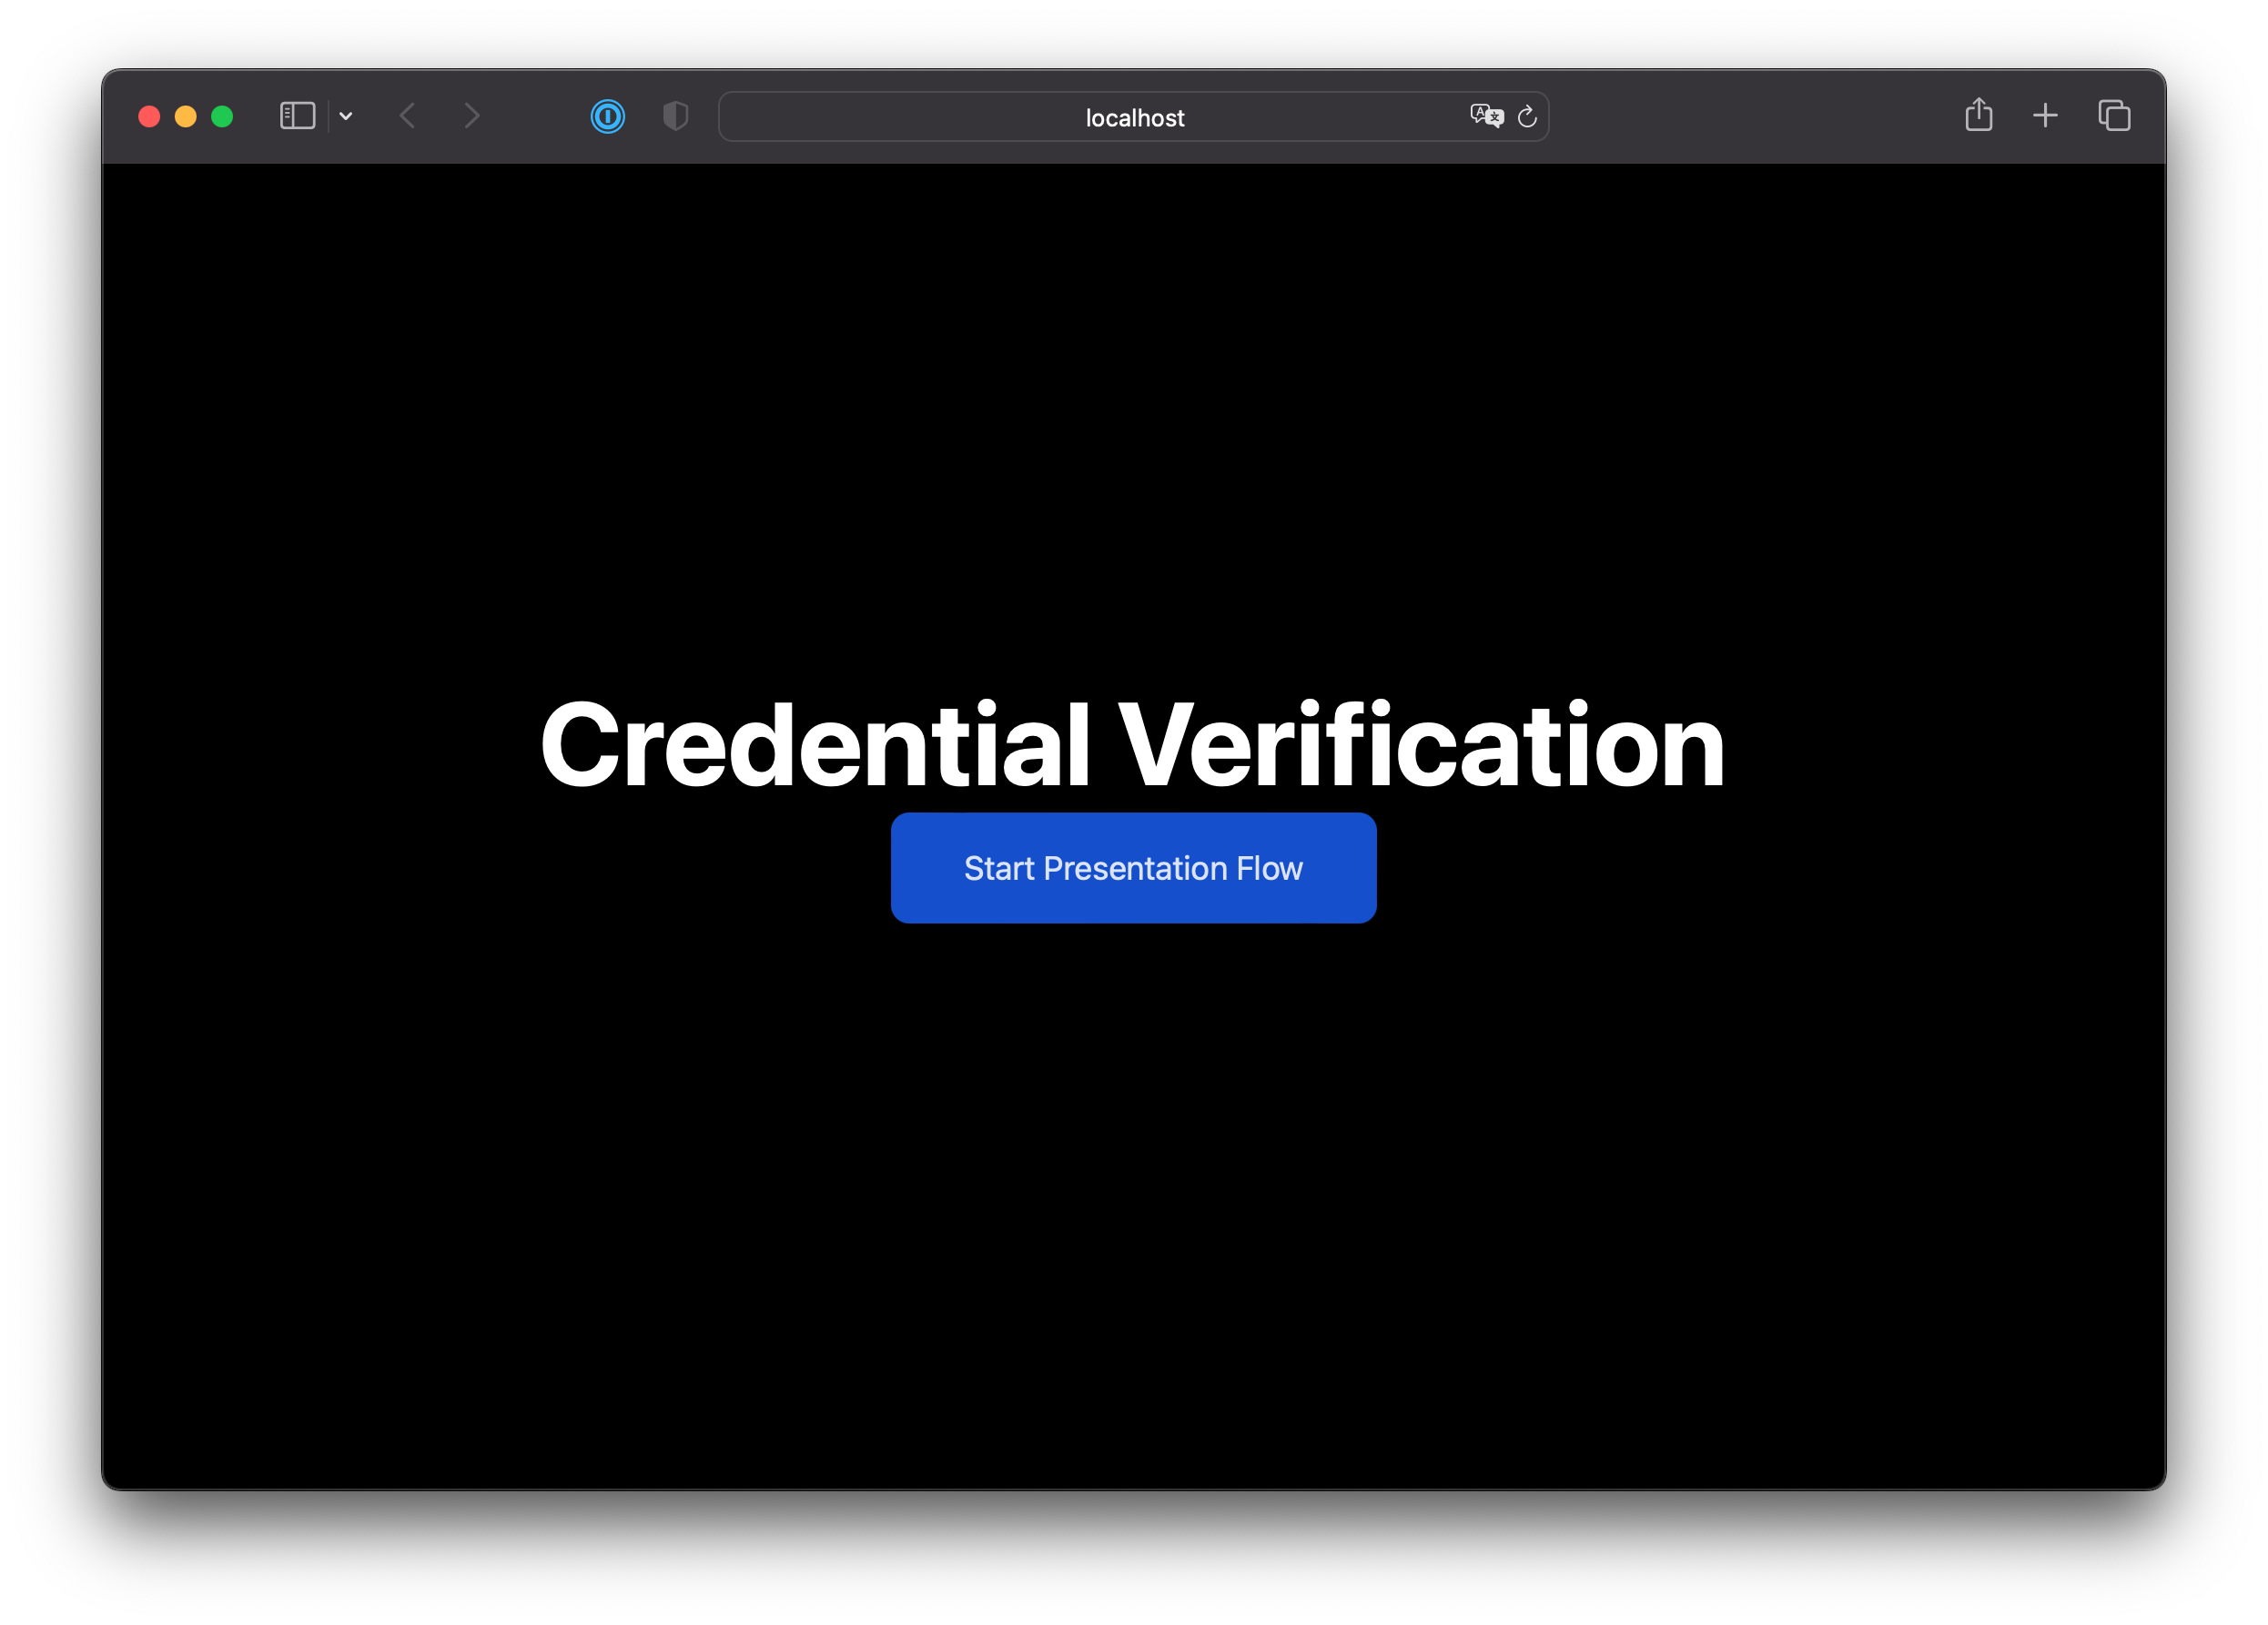
Open the application at http://localhost:3000/.
-
Click Start Presentation Flow.
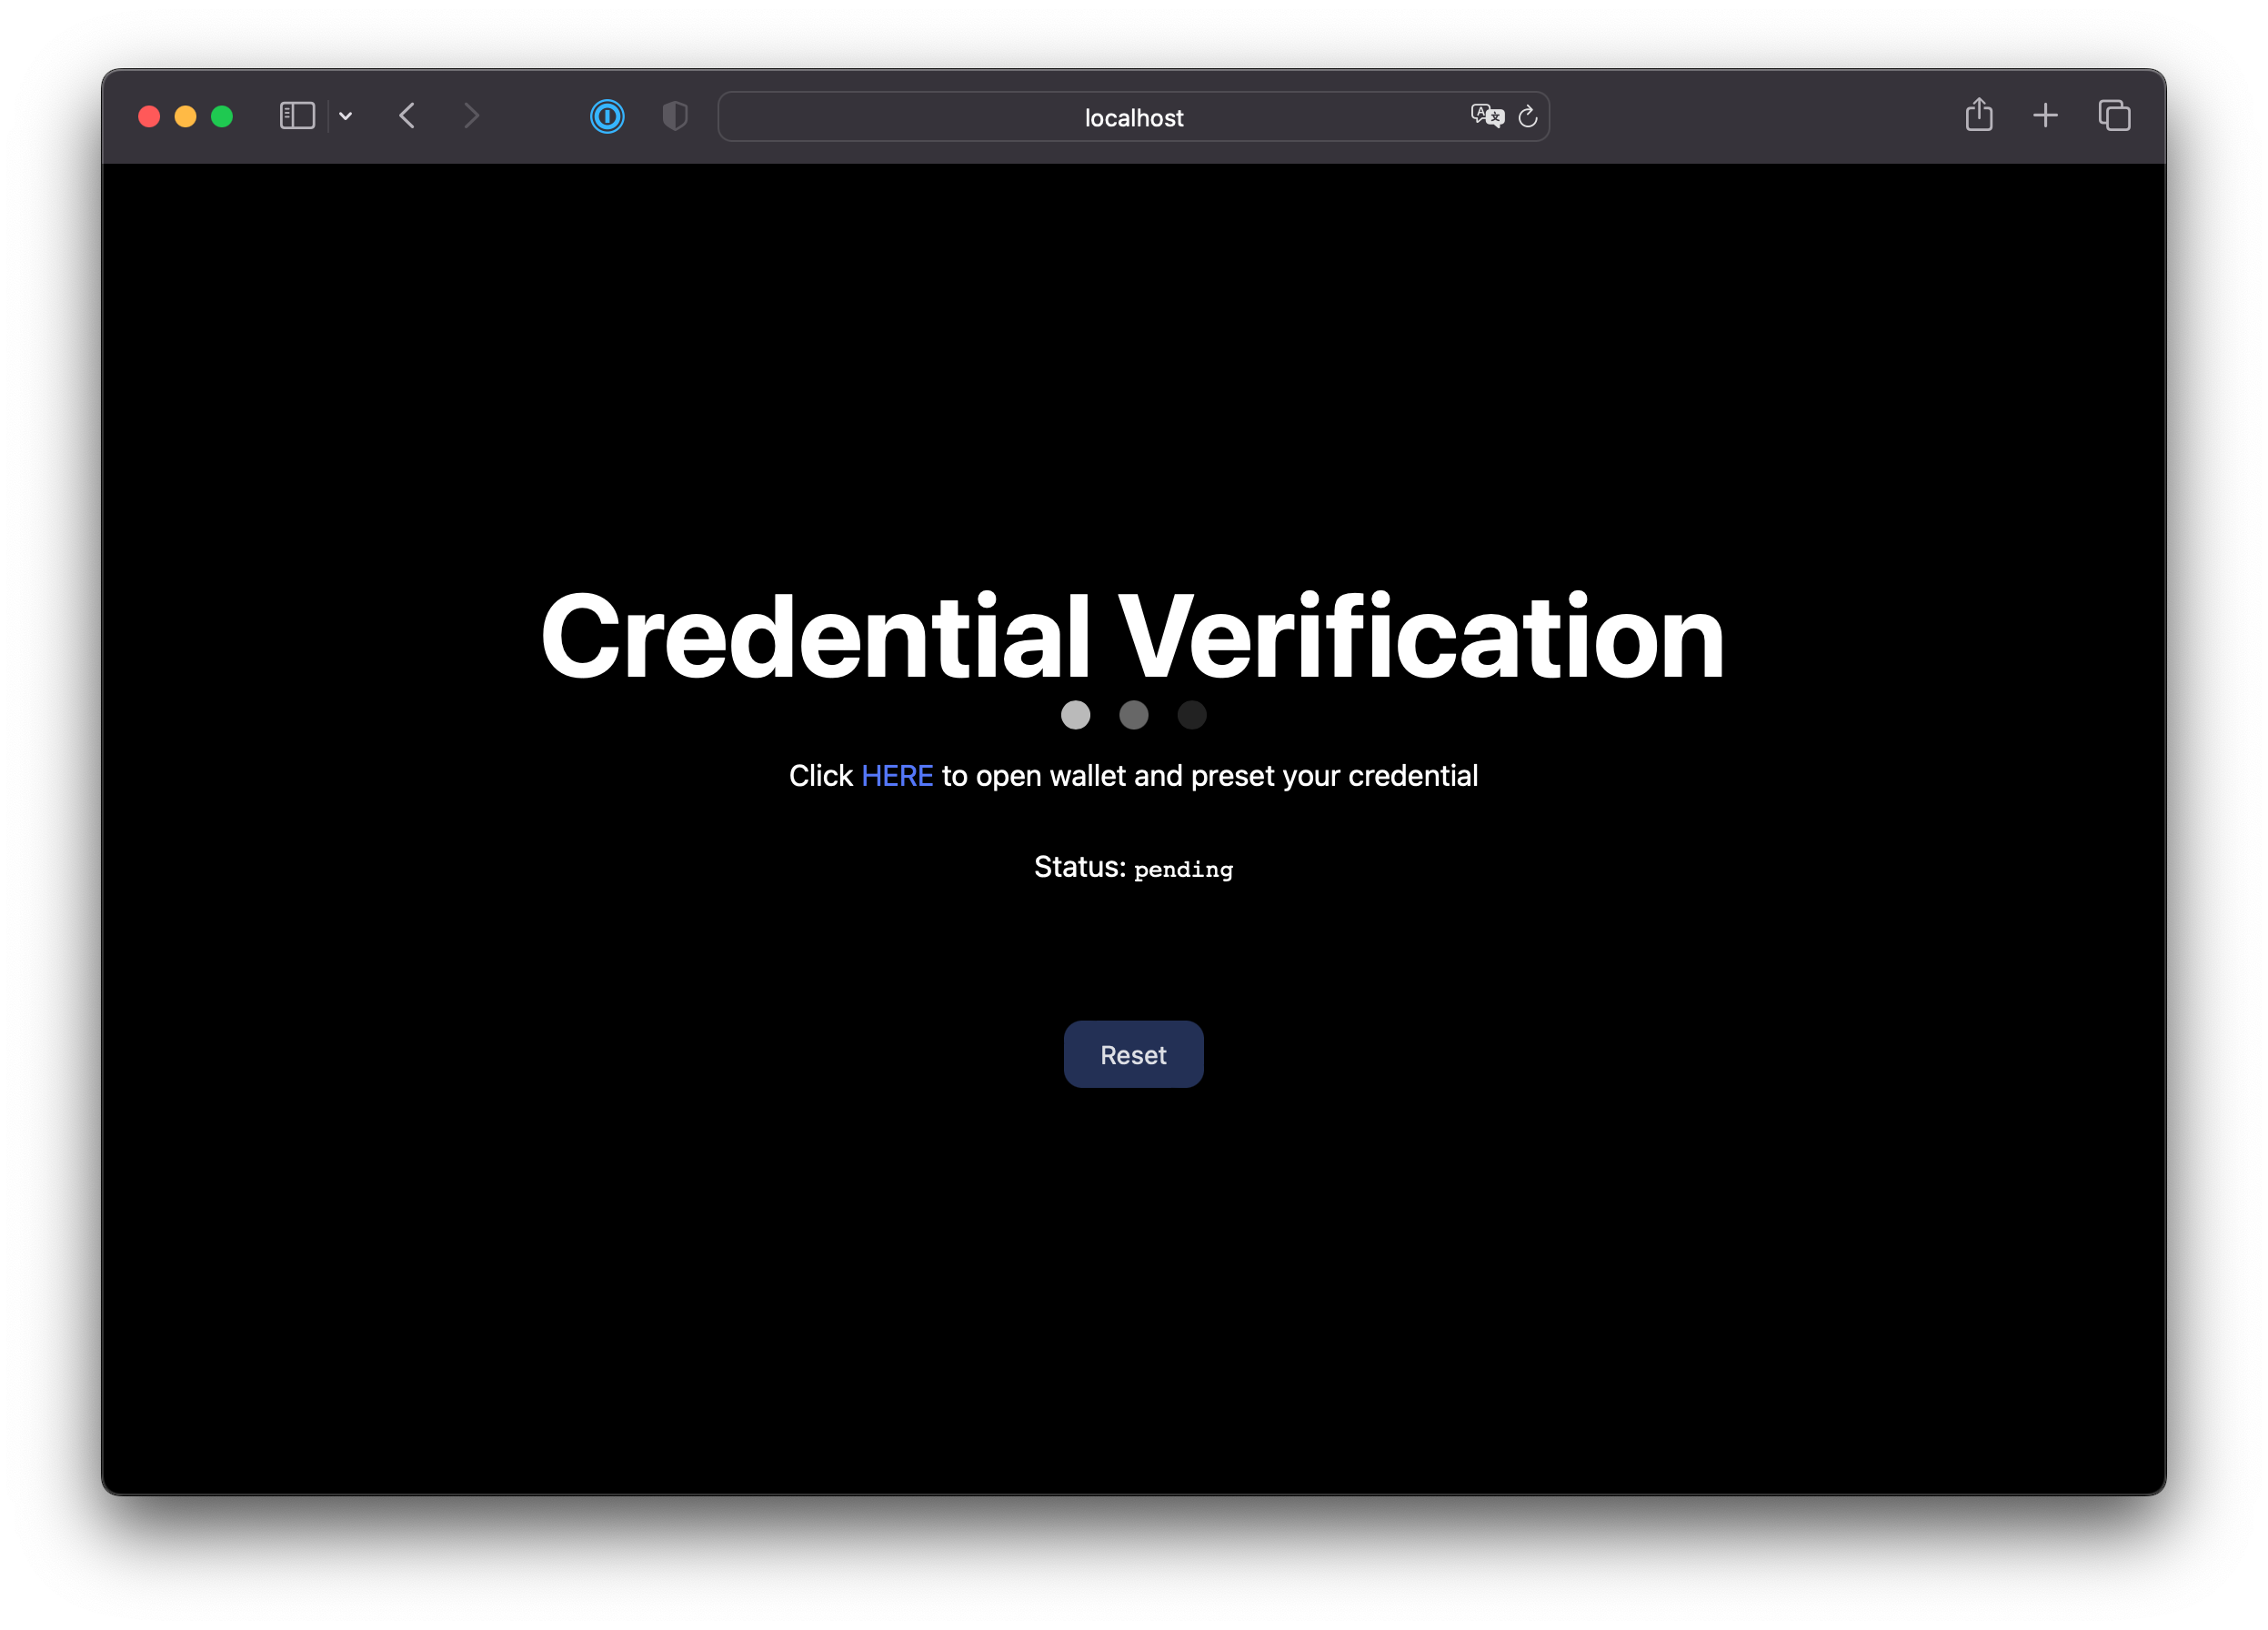
-
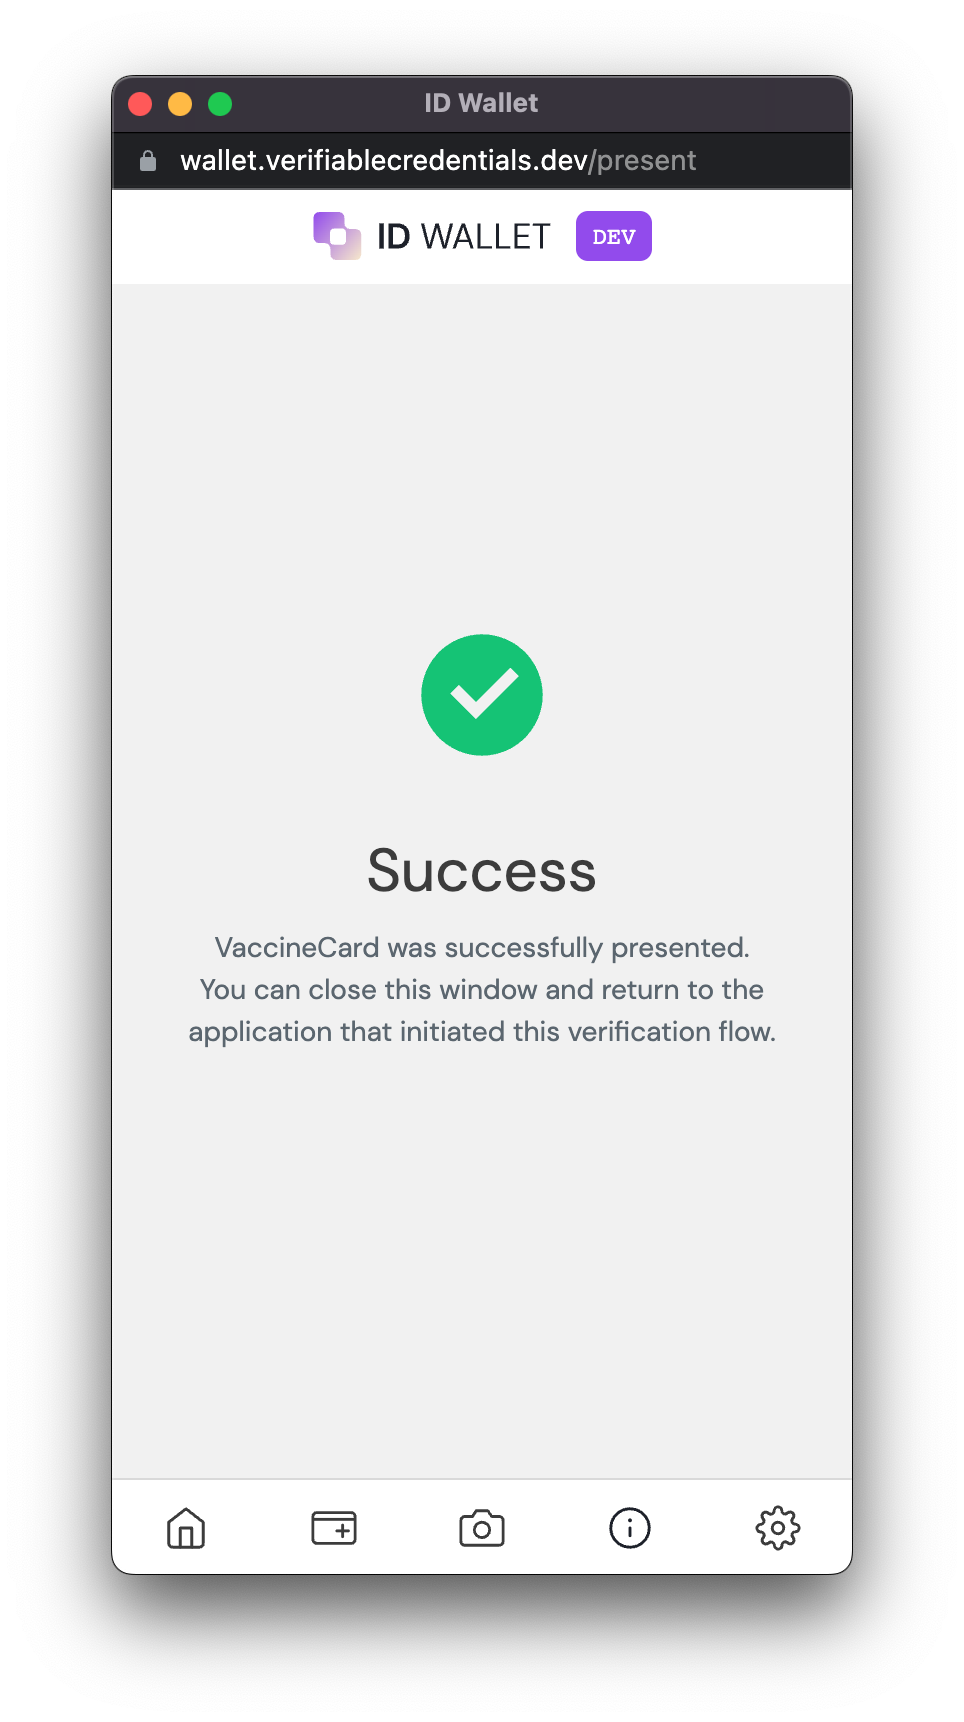
Once ready, click HERE. ID Wallet will open in another tab, where you should have a VacccineCard credential in your wallet after following the prerequisities.
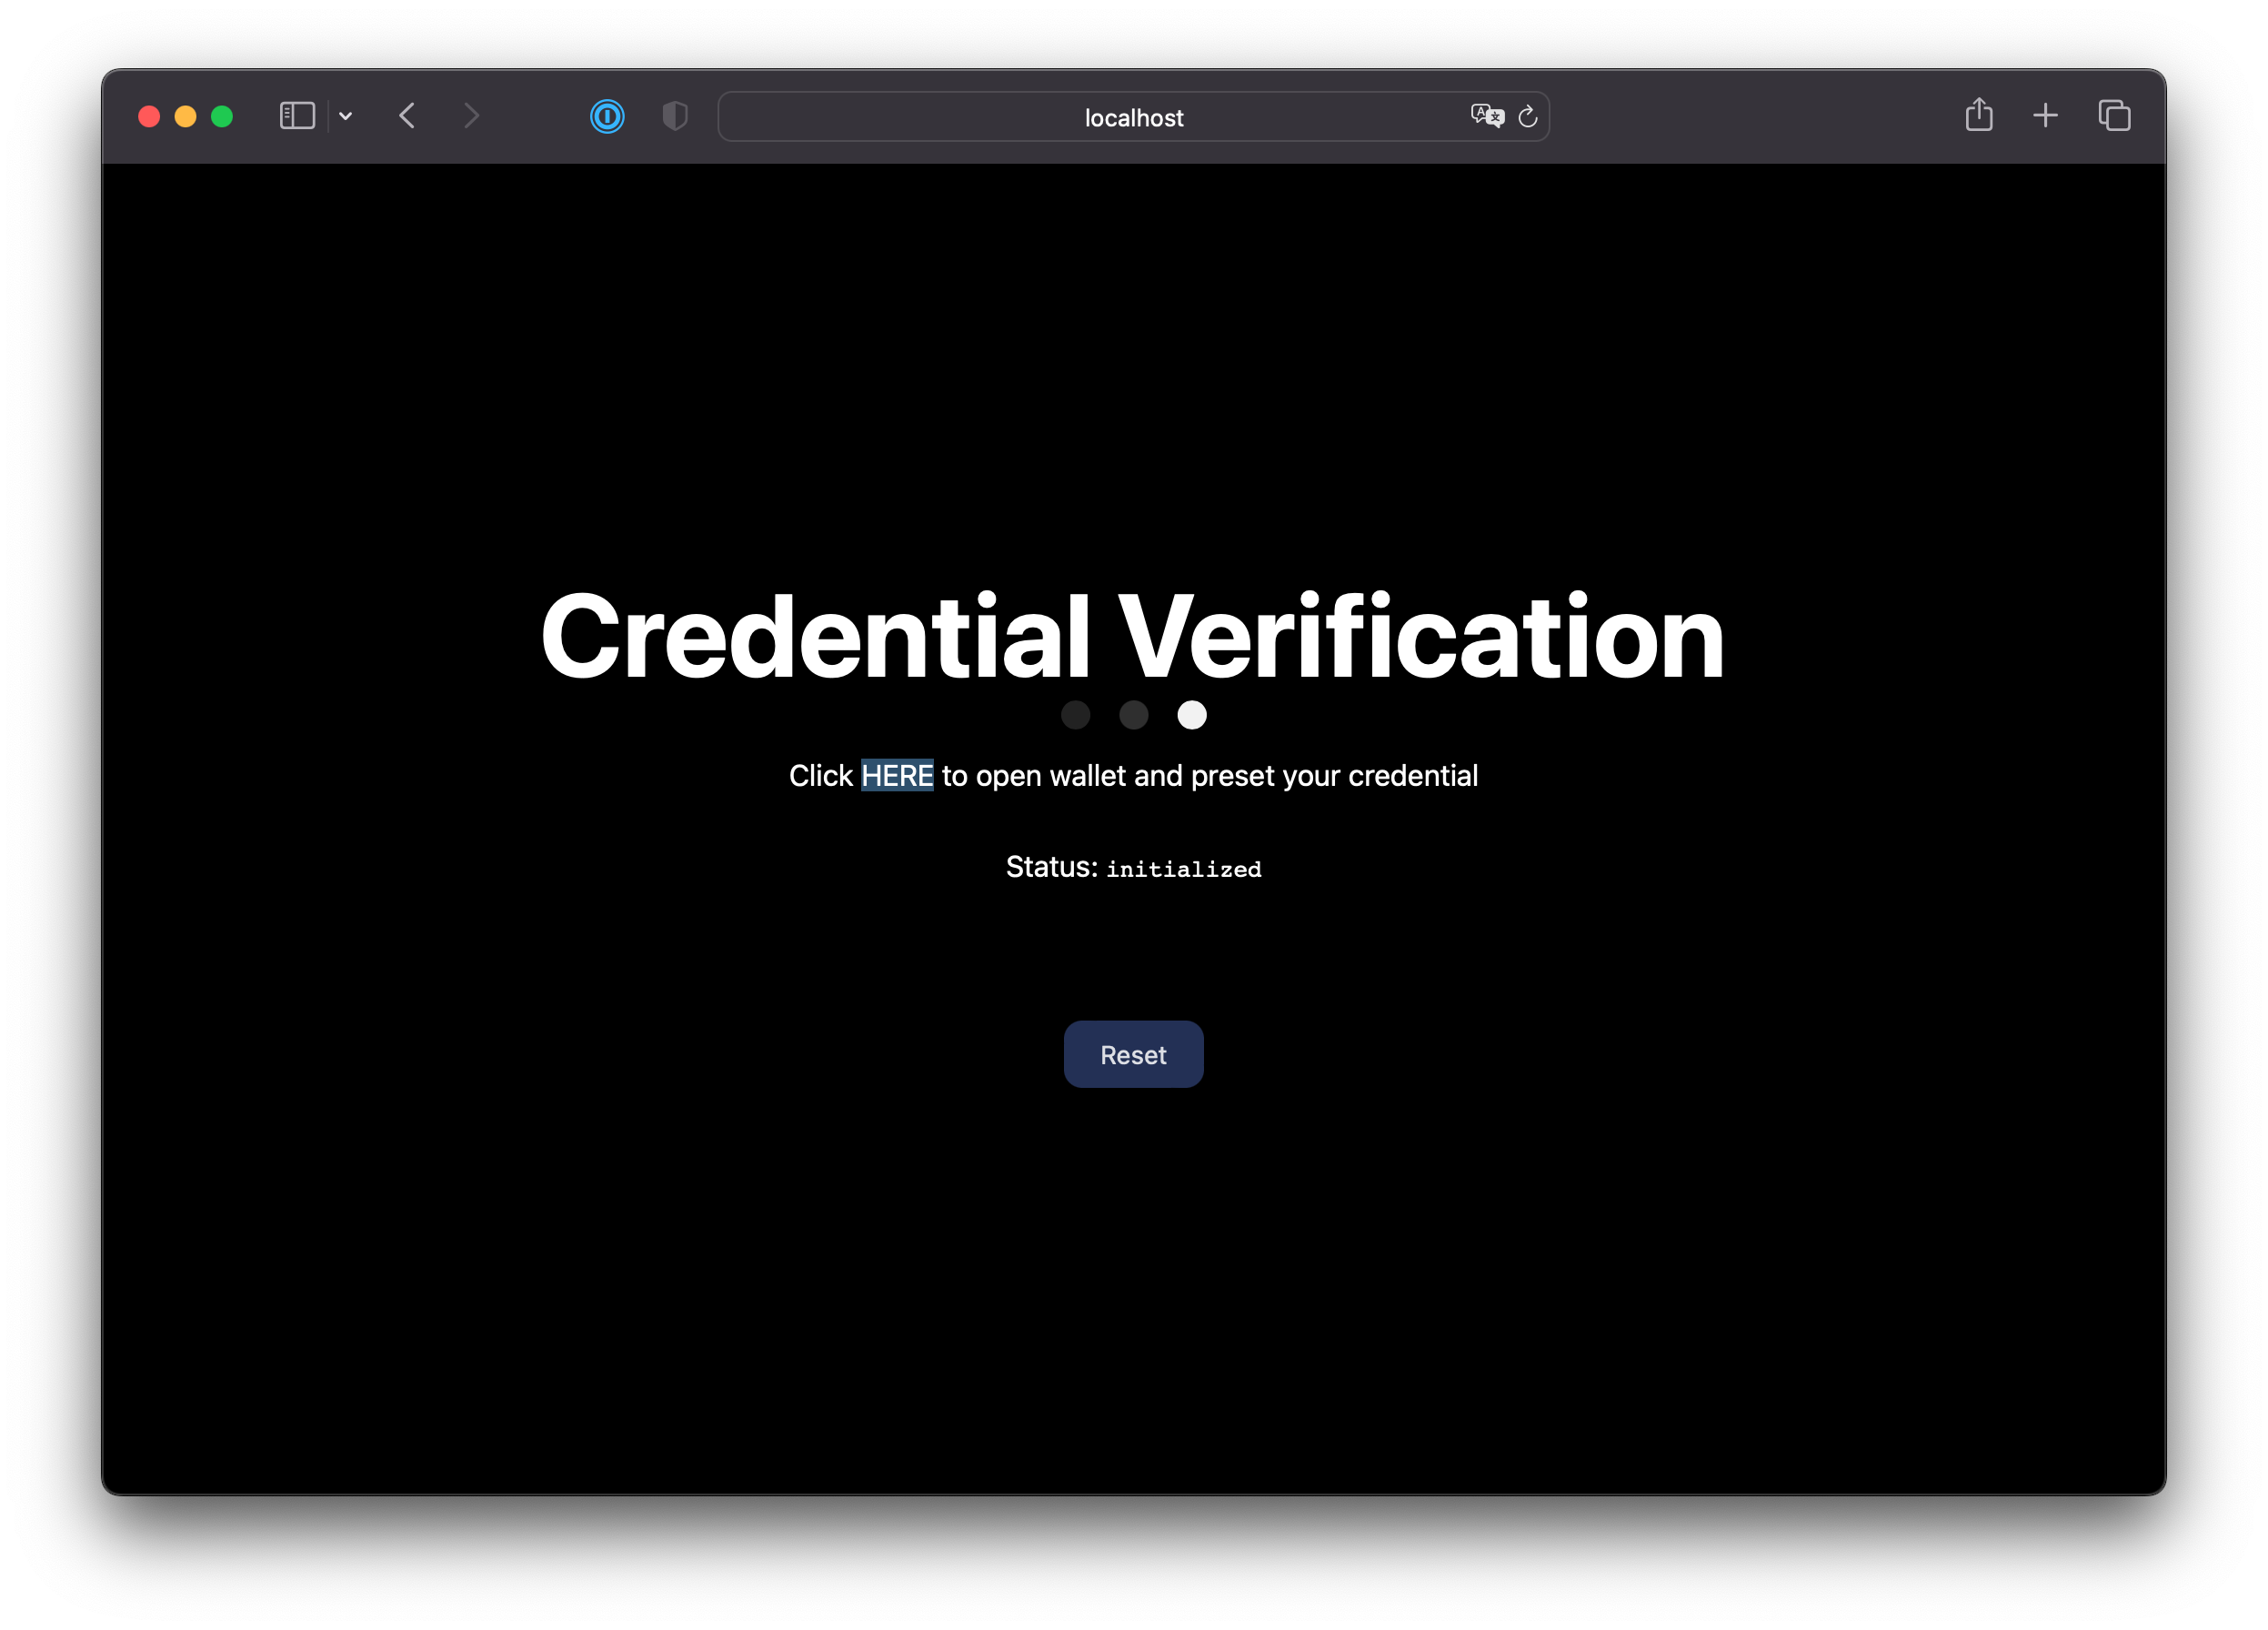
-
(Optional) Switch back to the tab where the sample verifier app is running. The status changed from pending to initialized, indicating that Auth0 has started the presentation flow with the wallet.
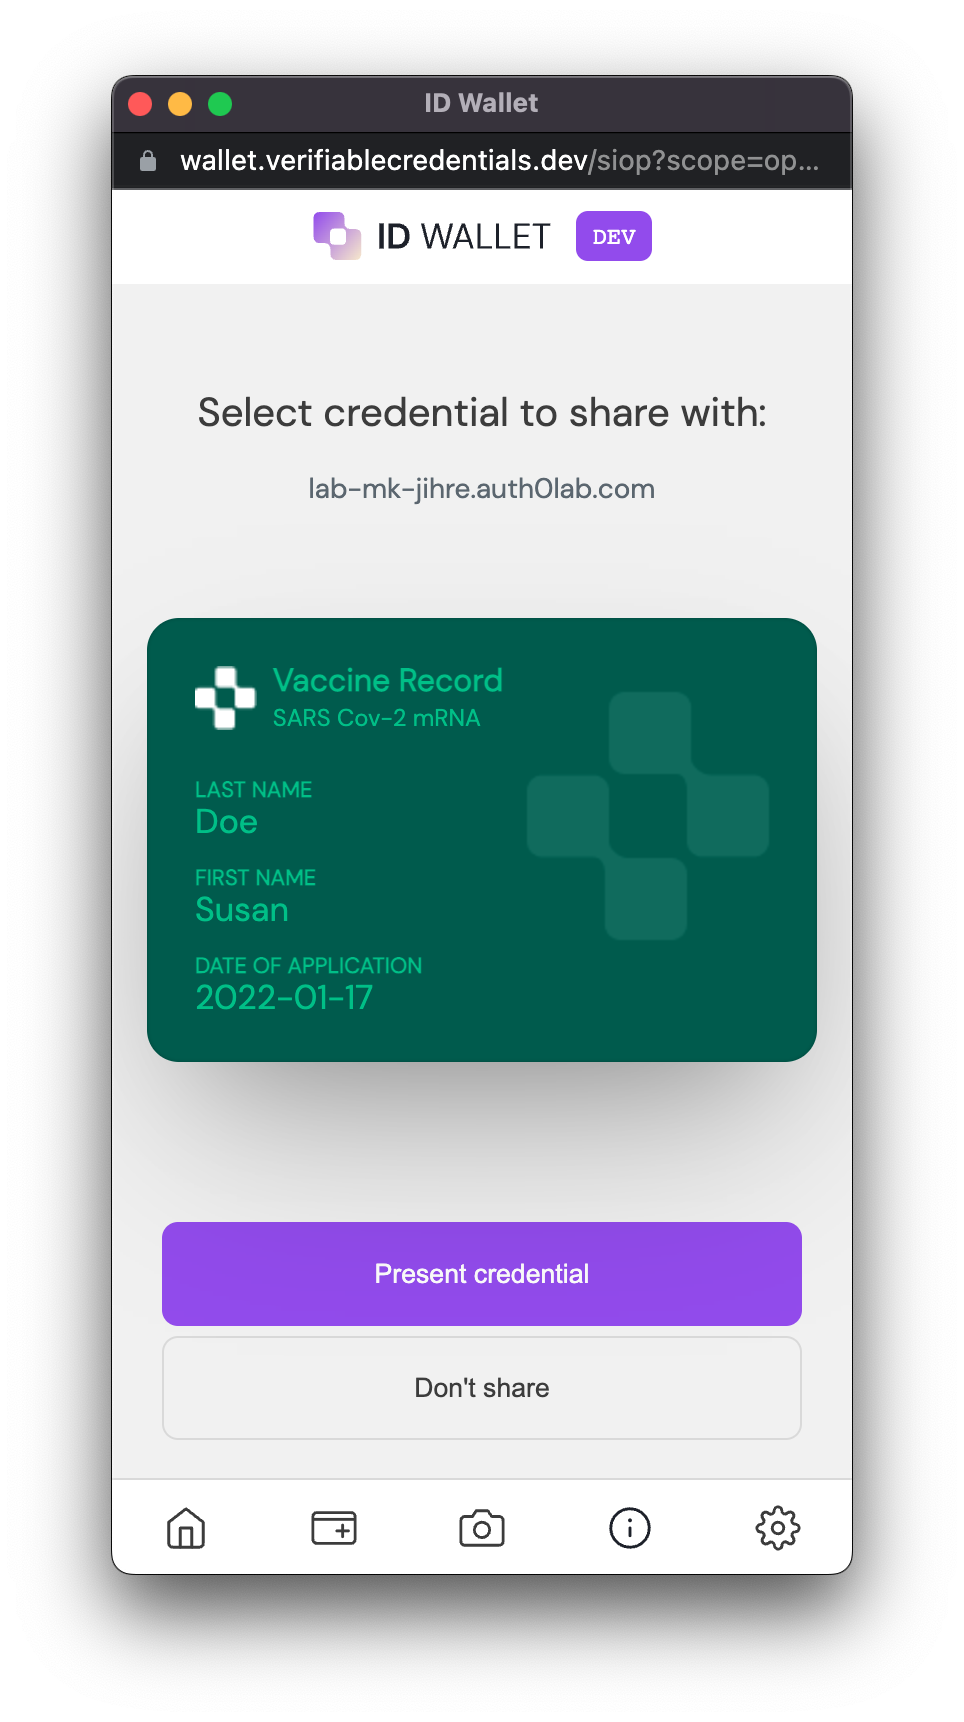
-
Click Present Credential. You can close the tab once you see the success screen:
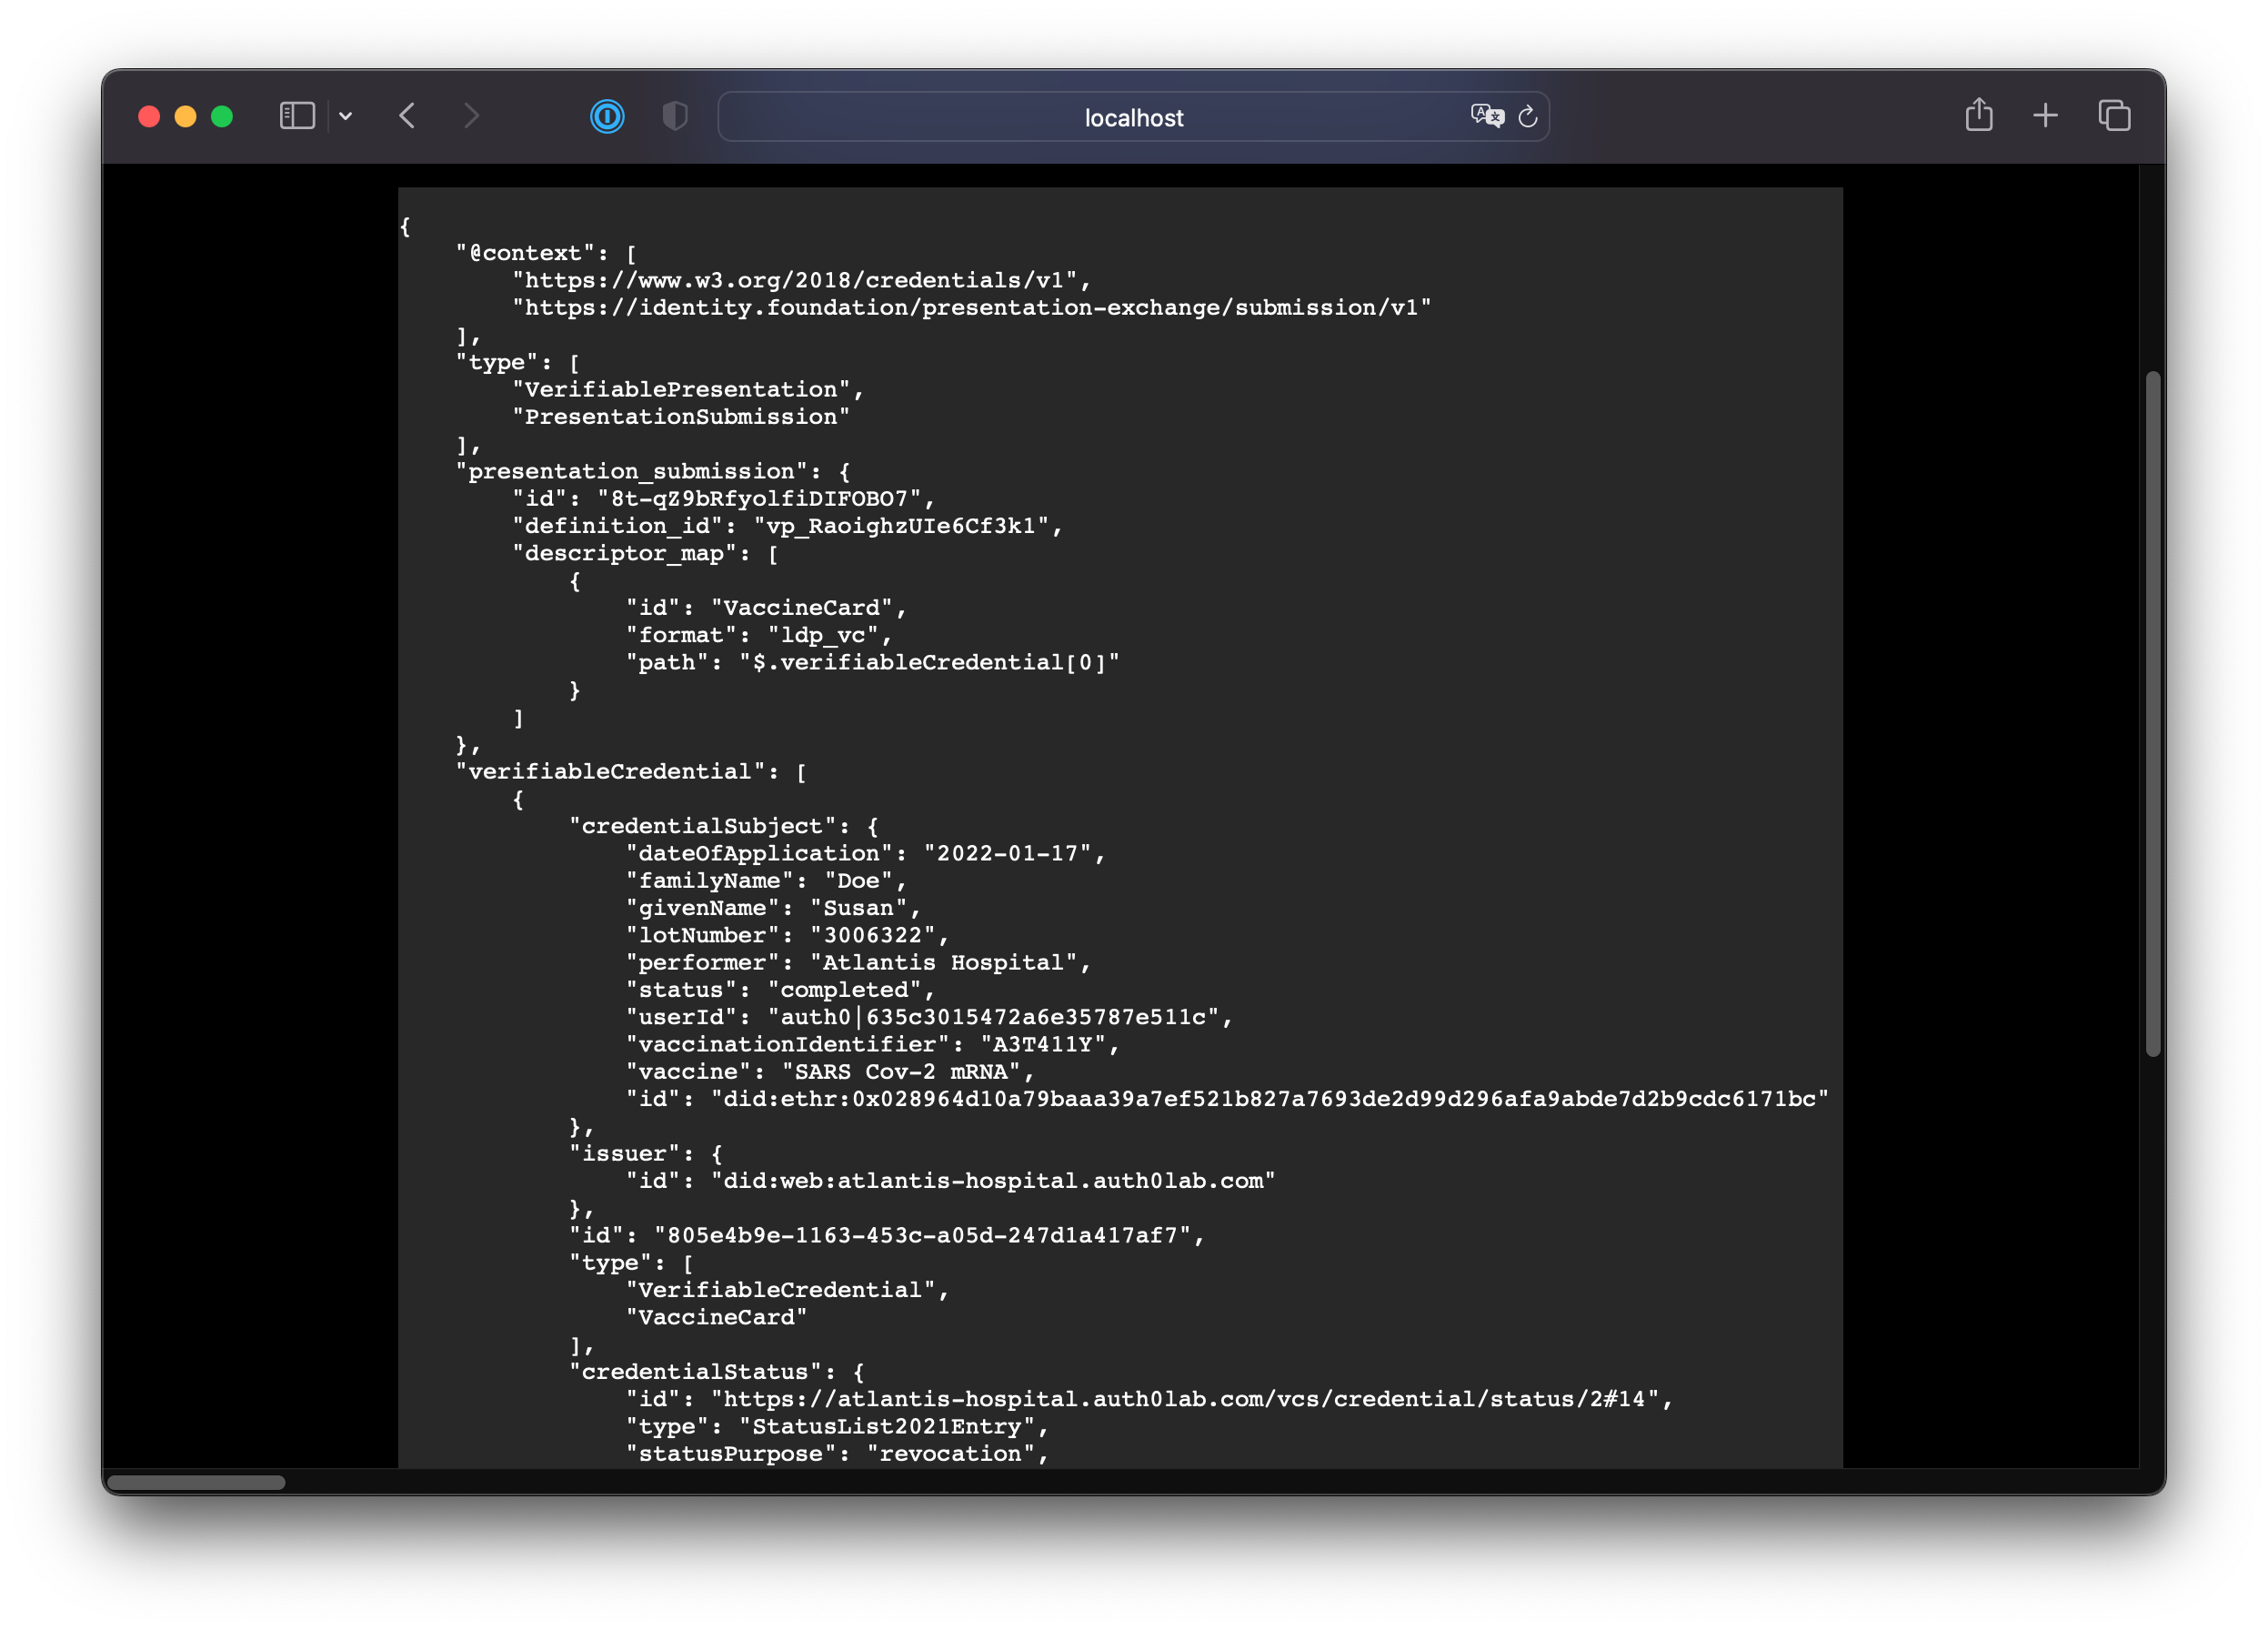
Back in the app, you will see the JSON contents of the Verifiable Presentation received from the wallet. You can explore the contents and see that there is a credentialSubject object that contains the data from the original credential.
Wrap Up and Next Steps
The full completed code for this lab is available on the endstate branch of the repo: https://github.com/auth0-lab/hol-verifier-auth0/tree/endstate
You have seen how a developer can add verifiable credential verification to their application with Auth0. Let us know how the experience was by leaving us feedback on our Discord server. If you have any issues with any of the steps, you can also bring them up there.
If you would like to see a version of this app that does not rely on Auth0, please checkout this repo: auth0-lab/hol-verifier-local.
Now you can start experimenting with your own use cases. Let us know what you are building!