Connect Your Auth0 Application with Okta Workforce Enterprise Connection
The Okta Workforce Enterprise connection is an officially-supported, streamlined integration, and the preferred method to implement Okta as an Identity Provider (IdP) in Auth0.
This integration allows your customers to manage their employees' access to your application with Okta.
Additionally, if you are using Auth0 for customer identity management and Okta for workforce identity management internally, this integration is effective way to manage your identity spaces.
If the Okta Workforce Enterprise connection does not support your use case, you can configure Okta as a SAML IdP or configure a custom authorization server to serve your needs.
Create Okta OIDC app integration
To learn how to create an Okta OIDC app integration, read Create OIDC app integrations on Okta Help Center.
Use the following settings when you set up your Okta OIDC app integration:
Select OIDC as the Sign-in method.
Select Web application as the Application type, and set the following parameters:
Field Description Name The name of your application. Sign-in Redirect URIs https://{YOUR_AUTH0_TENANT}.{YOUR_TENANT_REGION}.auth0.com/login/callbackTrusted Origins https://{yourDomain}Find your Auth0 domain name for redirects
If your Auth0 domain name is not shown above and you are not using our custom domains feature, your domain name is a concatenation of your tenant name, your regional subdomain, and
auth0.com, separated by the dot (.) symbol.For example, if your tenant name is
exampleco-enterprises, and your tenant is in the US region, your Auth0 domain name would beexampleco-enterprises.us.auth0.comand your Redirect URI would behttps://exampleco-enterprises.us.auth0.com/login/callback.However, if your tenant is in the US region and was created before June 2020, then your Auth0 domain name would be
exampleco-enterprises.auth0.comand your Redirect URI would behttps://exampleco-enterprises.auth0.com/login/callback.If you are using custom domains, your Redirect URI would be
https://<YOUR CUSTOM DOMAIN>/login/callback.Record the Client ID and Client Secret that Okta generates for your app integration.
Add test user to Okta app integration
Create a test user in your Okta Directory to test your app integration:
In your Okta Admin Dashboard, navigate to Directory > People.
Select Add Person.
Enter user test details, including a password.
Save the test user.
In the Directory, select the new user
Navigate to the Applications tab for the user and choose Assign Applications.
Select the application name you created in the previously.
Create Okta Workforce Enterprise connection in Auth0
Ensure you have the Client ID and Client Secret of your Okta OIDC app integration available:
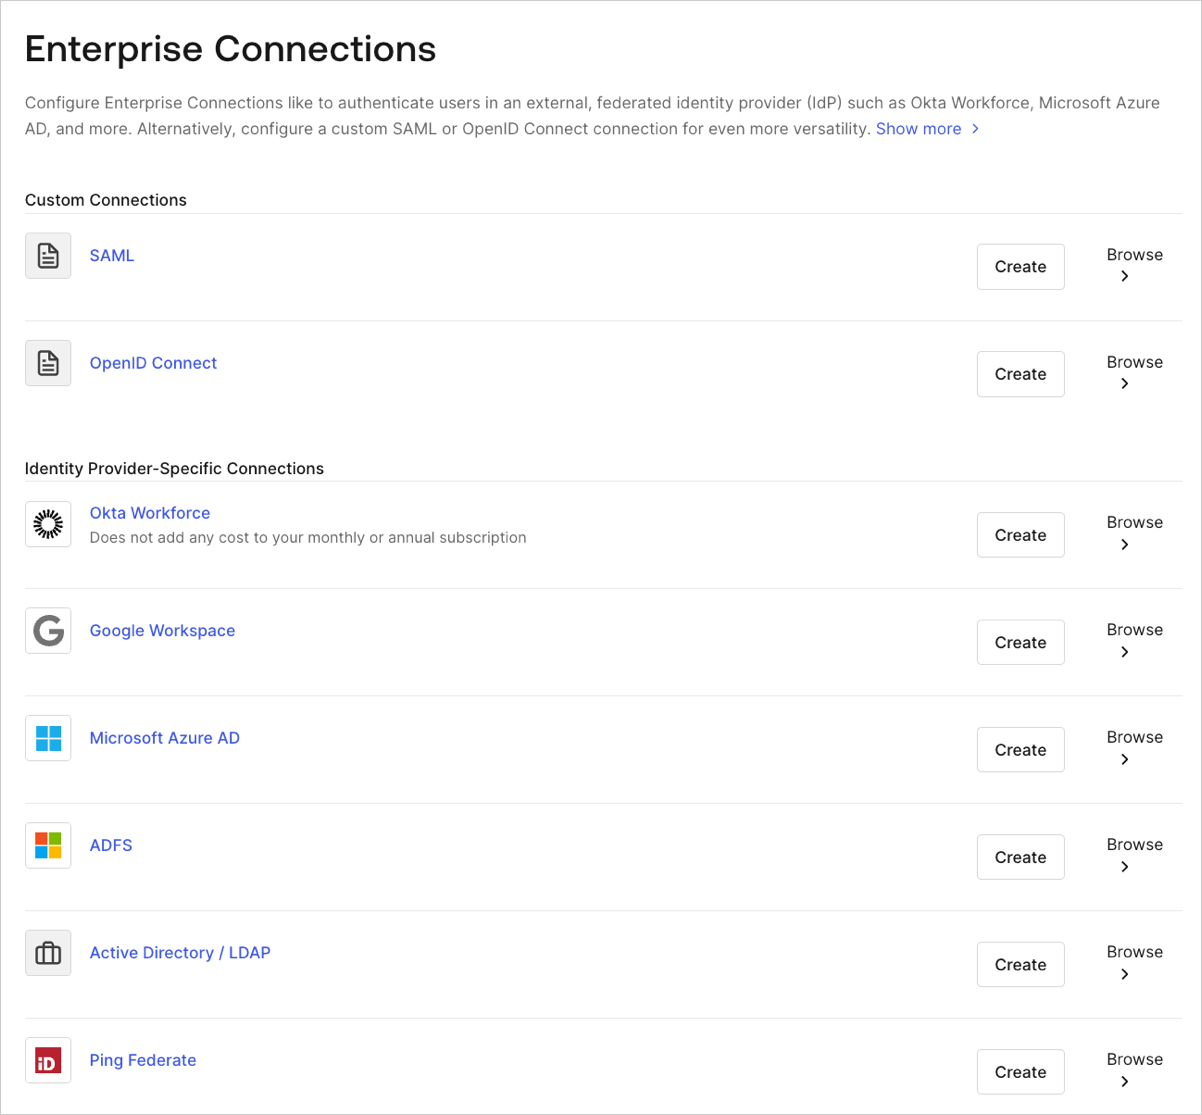
Go to Auth0 Dashboard > Authentication > Enterprise, locate Okta Workforce, and then select the + button.
Enter details for your connection, and then select Create:
Field Description Connection name Logical identifier for your connection; it must be unique for your tenant. Once set, this name can't be changed. Okta Domain Okta's domain name for your organization. Client ID Unique identifier for your registered Okta application. Enter the saved value of the Client ID for the app you just registered in the Okta admin console. Client Secret String used to gain access to your registered Okta application. Enter the saved value of the Client Secret for the app you just registered in the Okta admin console. In the Provisioning view, configure how user profiles get created and updated in Auth0.
Field Description Sync user profile attributes at each login When enabled, Auth0 automatically syncs user profile data with each user login, thereby ensuring that changes made in the connection source are automatically updated in Auth0. Sync user profiles using SCIM When enabled, Auth0 allows user profile data to be synced using SCIM. For more information, see Configure Inbound SCIM. Switch to the Login Experience view, and configure how your users log in with this connection:
Field Description Home Realm Discovery Compares a user's email domain with the provided identity provider domains. For more information, read Configure Identifier First Authentication Display connection button This option displays the following choices to customize your application's connection button. Button display name (Optional) Text used to customize the login button for Universal Login. When set the button reads: "Continue with {Button display name}". Button logo URL (Optional) URL of image used to customize the login button for Universal Login. When set, the Universal Login login button displays the image as a 20px by 20px square.

Enable connection for Auth0 applications
To use your new Okta Workforce Enterprise connection, you must enable the connection for your Auth0 Applications.
Test the connection
Now you're ready to test your connection.
Configure Global Token Revocation
This connection type supports a Global Token Revocation endpoint, which allows a compliant identity provider to revoke Auth0 user sessions, revoke refresh tokens, and trigger back-channel logout for applications using a secure back-channel.
This feature can be used with Okta's Universal Logout.
For more information and configuration instructions, see Universal Logout.