Auth0 Universal Login
Auth0 Universal Login defines your login flow, which is the key feature of an Authorization Server. Each time a user needs to prove their identity, your applications redirect to Universal Login and Auth0 will do what is needed to guarantee the user's identity.
By choosing Universal Login, you don't have to do any integration work to handle the various flavors of authentication. You can start off using a simple username and password. You can also add other features such as social login and multi-factor authentication (MFA). All of this is dynamic and adjustable in real-time without requiring application-level changes because all functionality is driven by the web pages served by the centralized Authentication Server. Your application will benefit from any improvements Auth0 makes in the login flow without the need for you to change your code.
Create a consistent, branded login experience by customizing the login page appearance and behavior from the Auth0 Dashboard including the logo and colors. For more advanced use cases, you can change the code of each page.
To learn more about the differences between Universal Login and embedded login, read Centralized Universal Login vs. Embedded Login.
Choose login experience
Choose between two experiences in Universal Login.
The New Universal Login experience does not require JavaScript to work and offers a simpler and faster experience for end-users.
The Classic Universal Login Experience uses JavaScript controls for each page.
On the Dashboard, in Branding > Universal Login you can select which login experience to use for default, non-customized pages:

Choose an experience to learn more about:
To read a comparison of the two implementations, read New Universal Login vs. Classic Universal Login.
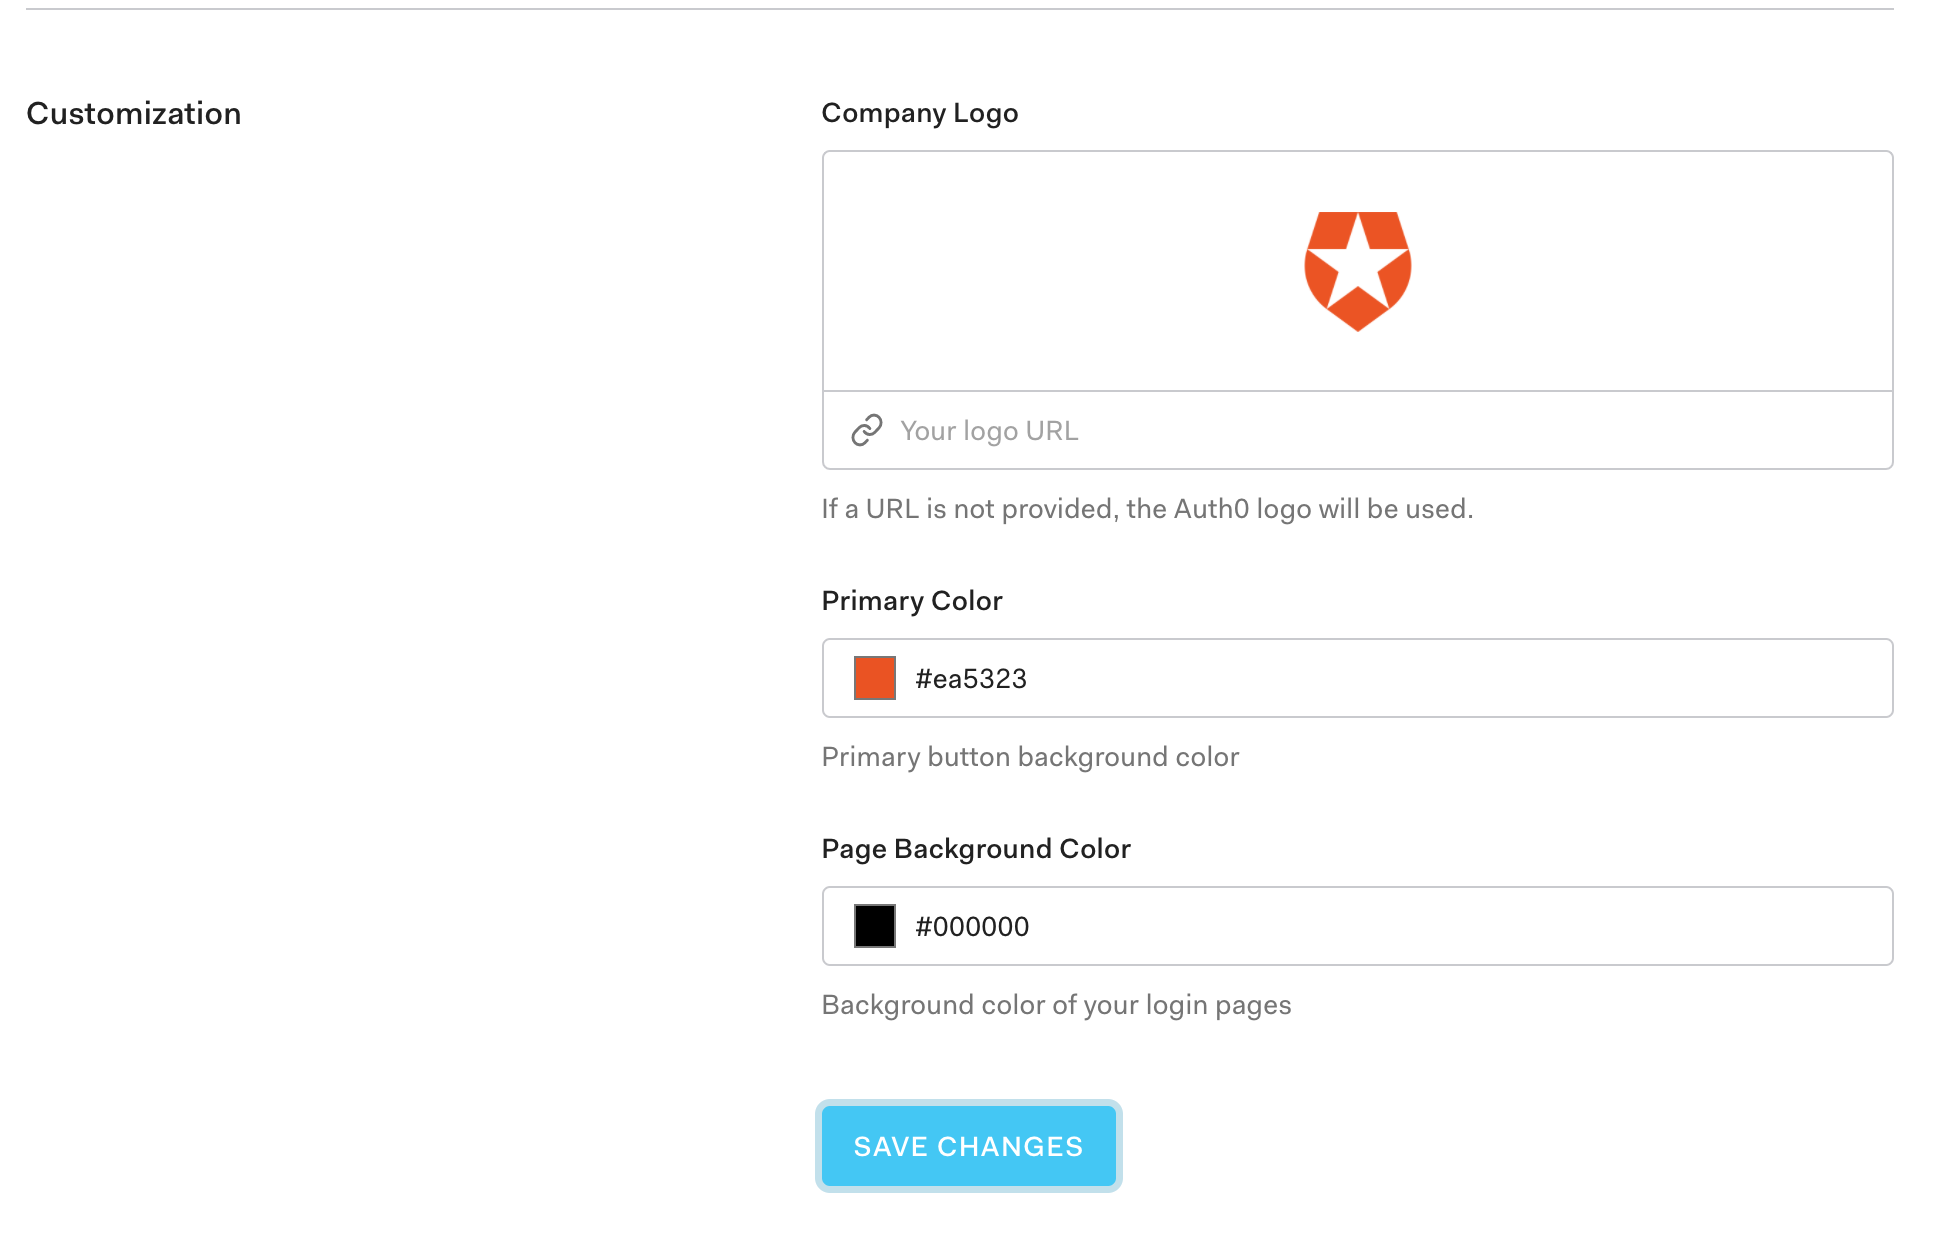
Customize login page
In the Dashboard, go to Branding > Universal Login to view your login page settings. Here you can customize how the initial login screen is displayed, add your logo, and enter colors for the login button or page background.
Implement Universal Login
In addition to configuring Universal Login for your tenant's applications, you will also need to complete a few other steps:
Go to Dashboard > Authentication and choose a connection type to configure such as a database or social connection.
Go to Dashboard > Applications > Applications and configure your application settings. Configure your application's code to call the
/authorizeendpoint to trigger Universal Login and handle the response. You can either do this directly or use one of our SDKs to make the process easier.
Go to the login page
You can go to the login page from any browser:
https://{yourDomain}/authorize?
  response_type=code|token&
  client_id={yourClientId}&
  connection=CONNECTION&
  redirect_uri={https://yourApp/callback}&
  state=STATE
Was this helpful?
You can (optionally) specify a connection, but you must specify a state and choose whether you want a code or token response (the choice you make depends on your app type and the flow you are using). Finally, make sure to fill in the domain, client ID, and redirect URI if they haven't been pre-filled. To learn more, read Prevent Attacks and Redirect Users With OAuth 2.0 State Parameters.
Use the SPA SDK
If you are already using the Auth0 Single-Page App SDK, using the auth0.loginWithRedirect() or auth0.loginWithPopup() methods will bring you to the Authorize endpoint.
<button id="login">Login</button>
$('#login').click(async () => {
      await auth0.loginWithRedirect();
    });
Was this helpful?
Use the Quickstart guides
To learn how to set up your application to use Universal Login, read our Quickstarts. Choose the approach that best fits your technologies, and the Quickstarts walk you through the implementation.