Integrate User ID Verification Services Using Rules
Auth0 allows integration with third-party vendors that offer identity verification. Such integration can be done by either connecting the third-party vendor as a federated identity provider using either a custom OIDC Connection, SAML protocols, or Auth0 Rules.
To learn more, read Connect to an OpenID Connect Identity Provider, SAML Identity Provider Configuration Settings, or Auth0 Rules.
In this example, you will integrate with OnFido, a third-party vendor providing Document ID and Facial Biometrics Verification, using a redirect rule in Auth0.
For more information on redirects in Auth0, read Redirect Users from Within Rules.
Prerequisites
Before connecting your Auth0 app to OnFido, you must sign up for and configure your account with OnFido.
User ID verification login experience
The authentication flow contains the following steps:
An app initiates an authentication request to Auth0.
Auth0 routes the request to an Identity Provider through a configured connection.
The user authenticates successfully.
The ID Token and/or Access Token is passed through the Rules pipeline, then sent to the app.
The user will see the following screens when the third-party verification service is part of the authentication flow.
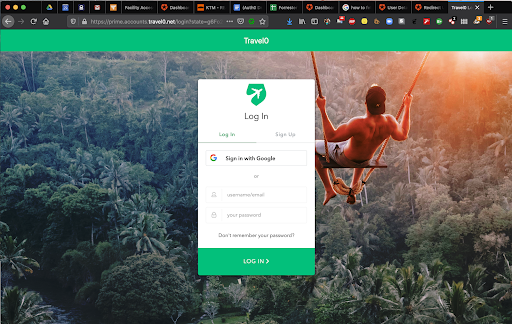
The user chooses to login with Google.
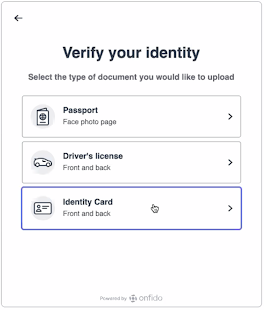
The login process then prompts the user to select a document to use to verify their identity.
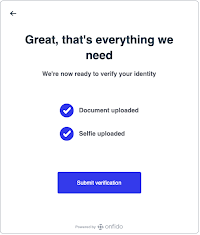
After the user performs the steps to verify their identity, uploading documents and/or images, the verification service determines if the credentials are valid and then continues.
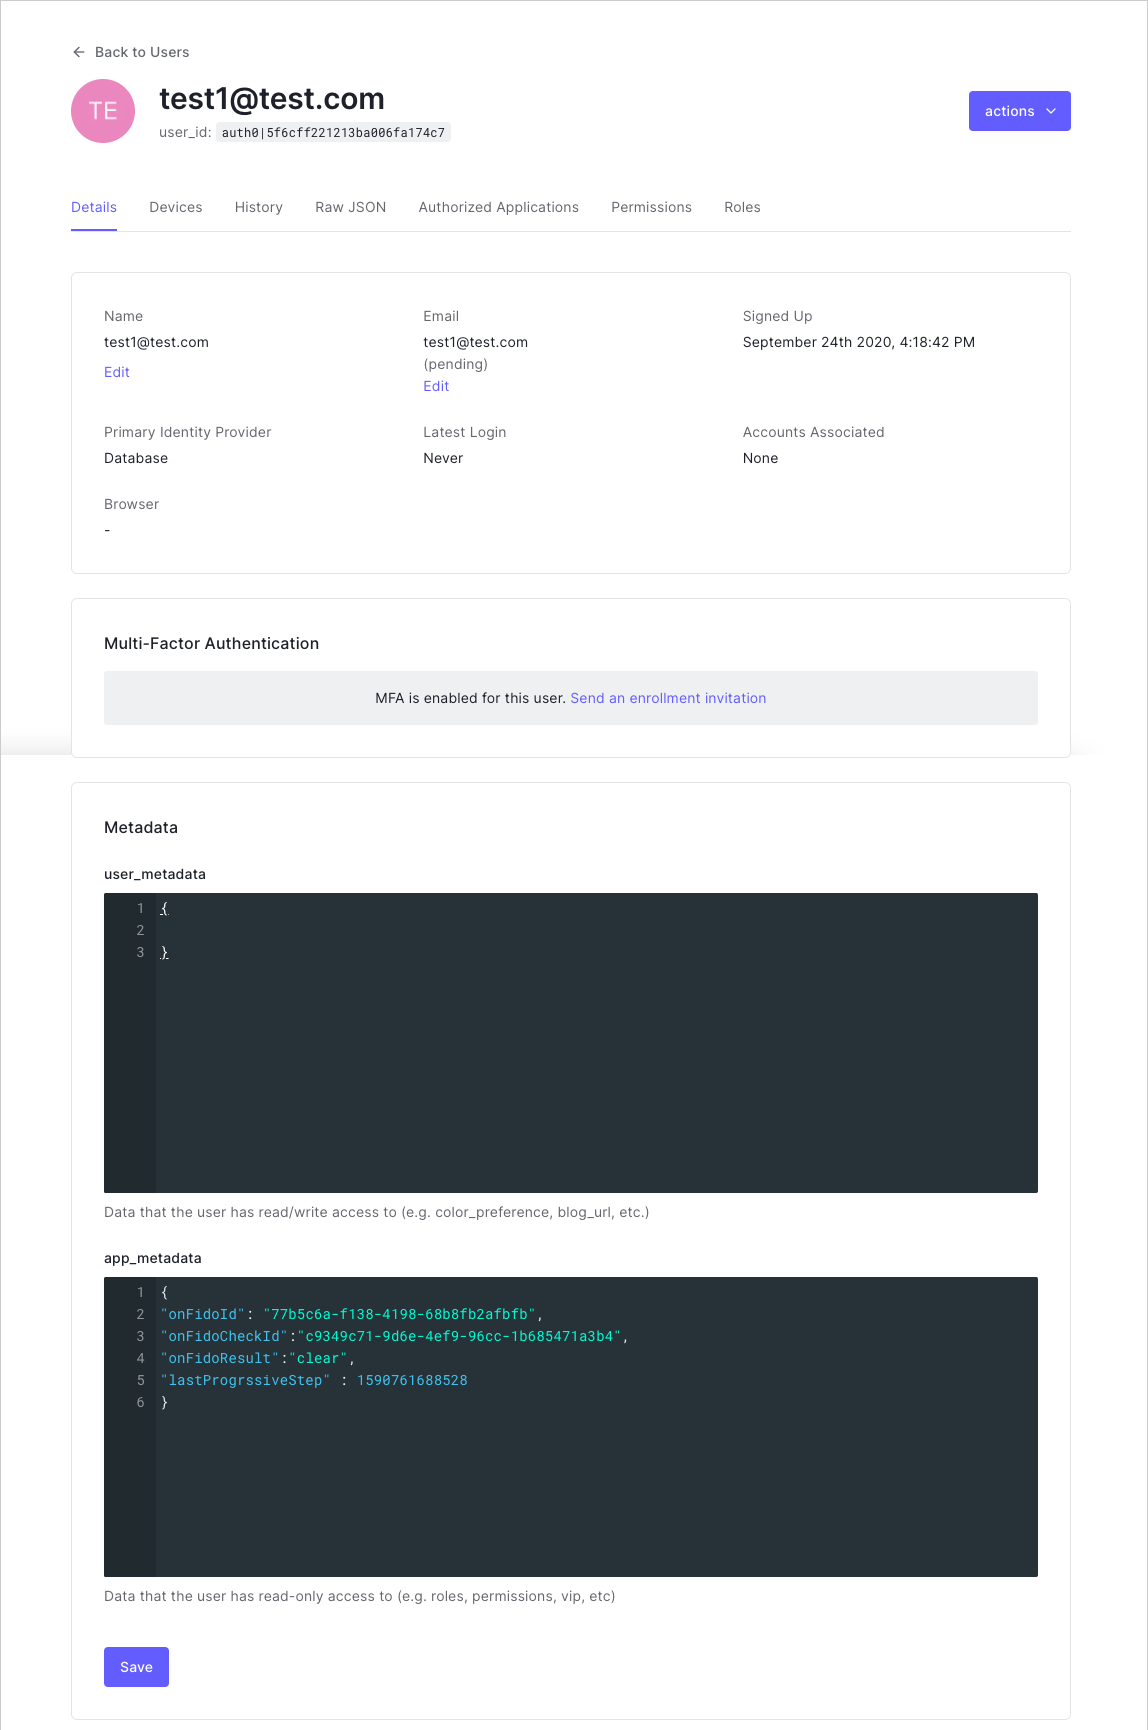
Metadata example
The information of the OnFido verification is then stored in a user’s app metadata within the Auth0 user profile.