Install Single Sign-On Dashboard Extension
Before you start
Create an SSO Dashboard application in Auth0.
Copy the Client ID value of your SSO Dashboard application.
Use the Single Sign-On (SSO) Dashboard Extension to manage SSO login for your users on multiple enterprise applications. To learn more, view this extension on GitHub.
Install extension
You can install the SSO Dashboard extension through the Auth0 Dashboard:
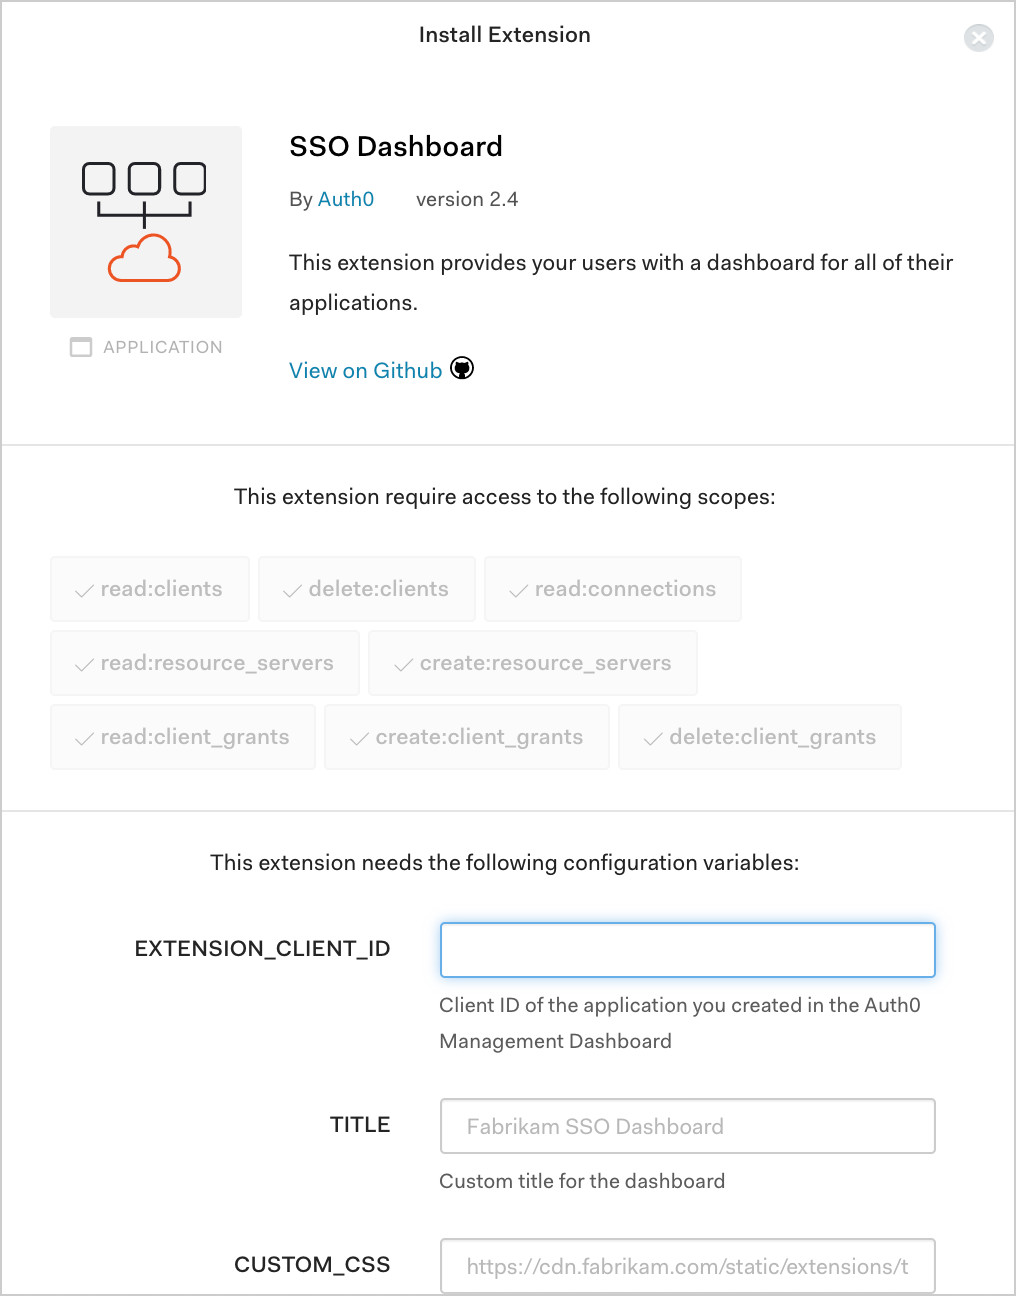
Go to Auth0 Dashboard > Extensions, and select SSO Dashboard from the list of provided extensions. The Install Extension window will open:

Set the following configuration variables:
Variable Required Description EXTENSION_CLIENT_IDRequired Client ID of the Auth0 application you created for the extension. TITLEOptional Custom title that will appear at the top of the SSO Dashboard page. CUSTOM_CSSOptional Path to a custom CSS file to style the look of your SSO Dashboard page. FAVICON_PATHOptional Path to a custom favicon. AUTH0_CUSTOM_DOMAINOptional Custom domain configured with Auth0. Select Install.
If you navigate to Auth0 Dashboard > Applications > Applications, you'll notice that an application named auth0-sso-dashboard was created automatically. This application is used by the extension to authorize access to the Management API, and you must not modify it.
Use extension
Go to Auth0 Dashboard > Extensions, and select the Installed Extensions view.
Select SSO Dashboard. When you first select your installed extension, you will be asked to grant it the required permissions. Once you agree, you will be directed to your custom SSO Dashboard, which will display the Title you provided at the top of the page. If you provided a custom CSS file, that styling will also be applied.
To log in to the SSO Dashboard:
For Admins, use:
https://{yourTenant}.YOUR_REGION_KEY.webtask.io/auth0-sso-dashboard/admins/loginFor Users, use:
https://{yourTenant}.YOUR_REGION_KEY.webtask.io/auth0-sso-dashboard/loginRegion Region Key US-1 us12US-3 usEU eu12AU au12JP-1 jp
