Create Custom Log Streams Using Webhooks
Webhooks allow events to be delivered to an external web server. Auth0 offers several integrations that automatically push events to third-party log management and analysis systems. If however your third-party system isn't supported, you can set up a custom webhook integration.
Configure API endpoint
You'll build an API that serves a single route (such as /api/logs) that accepts HTTP POST requests.
Configure log stream
Go to Dashboard > Monitoring > Streams and click Create Stream.
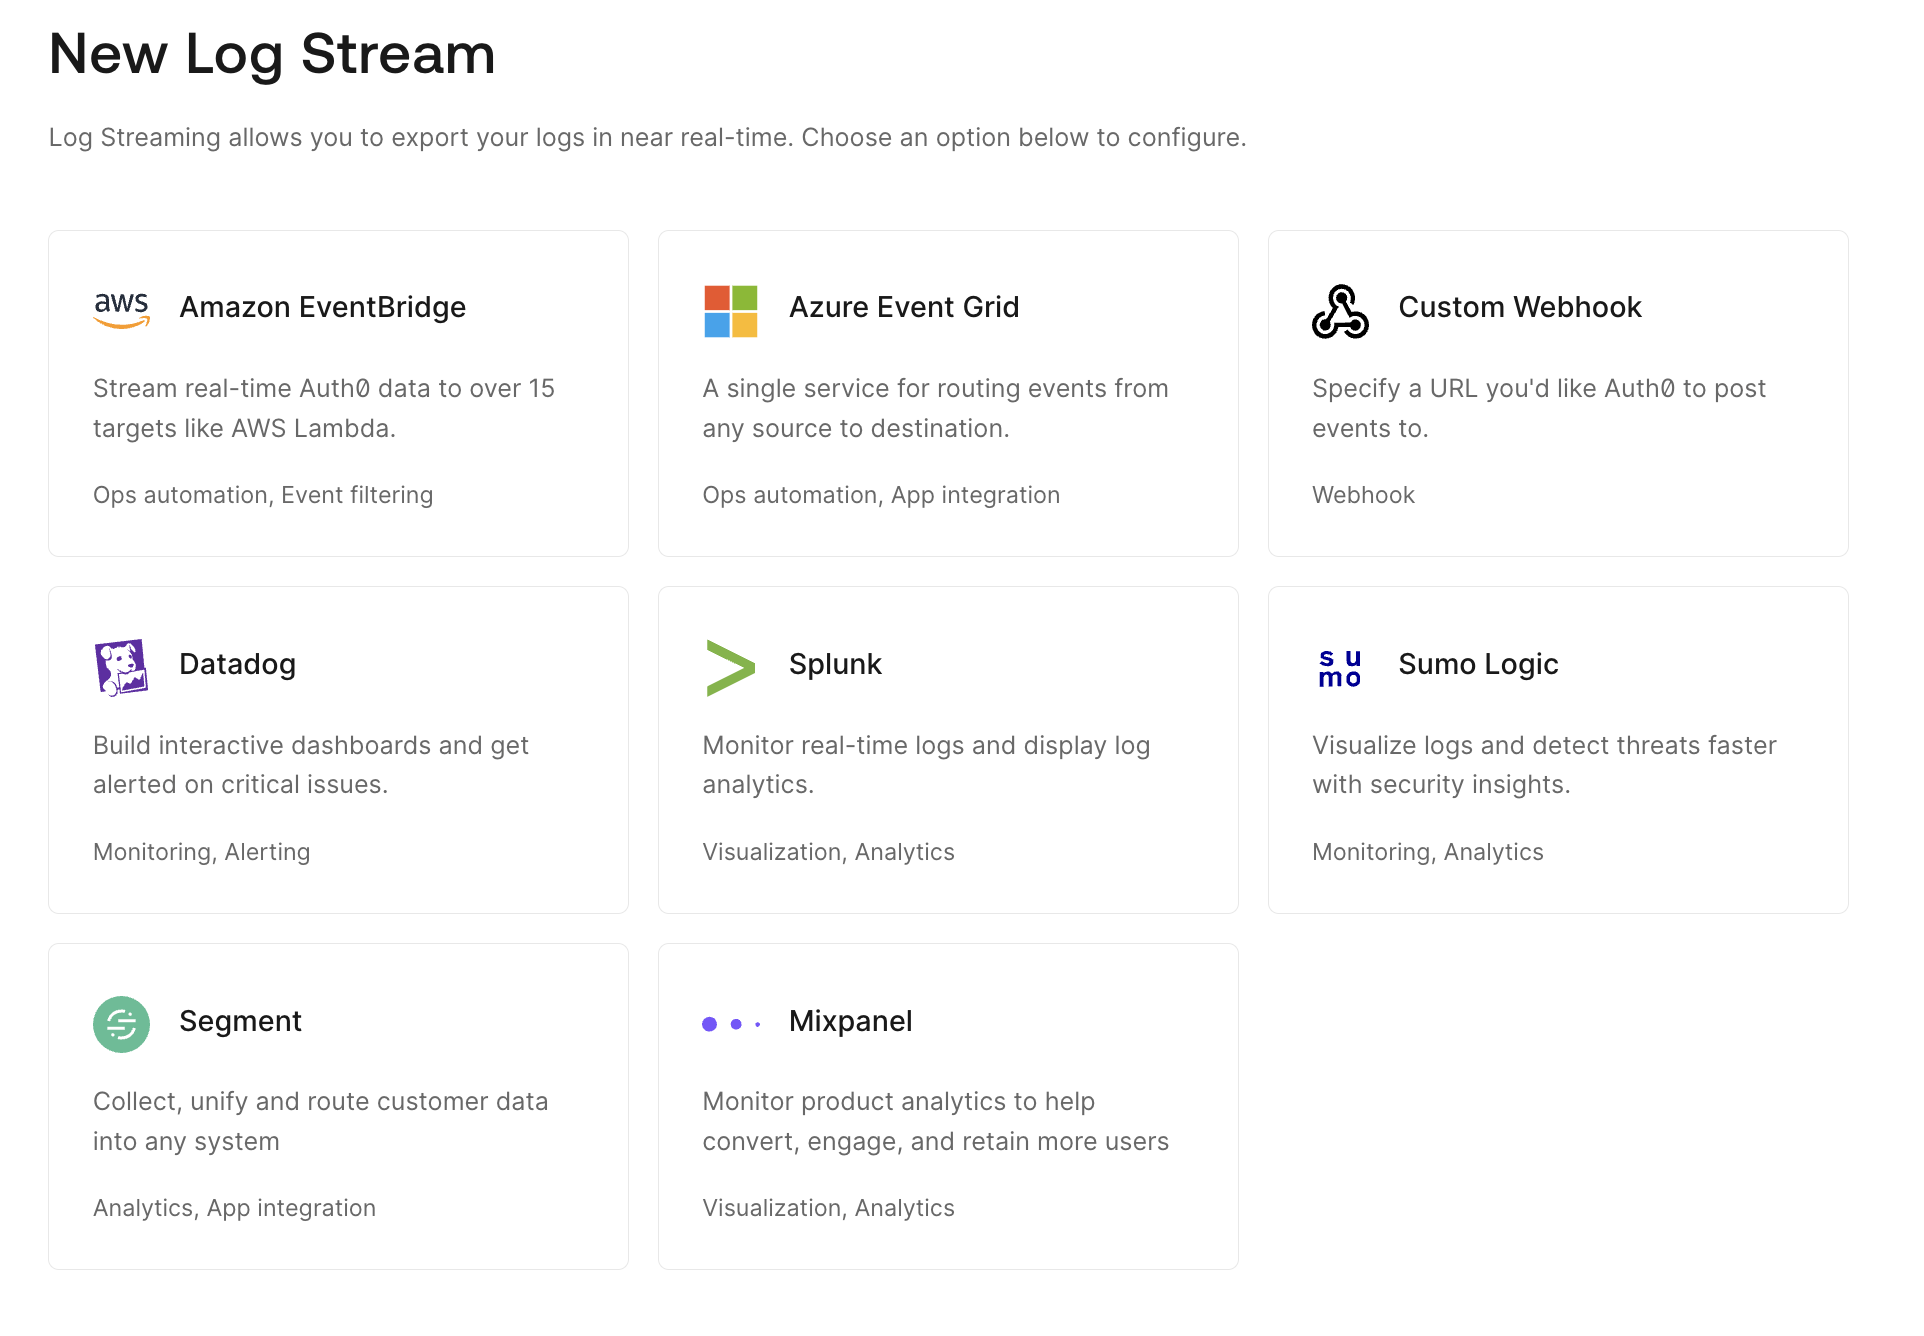
Select Custom Webhook and enter a unique name for your new stream.
Configure the following settings:
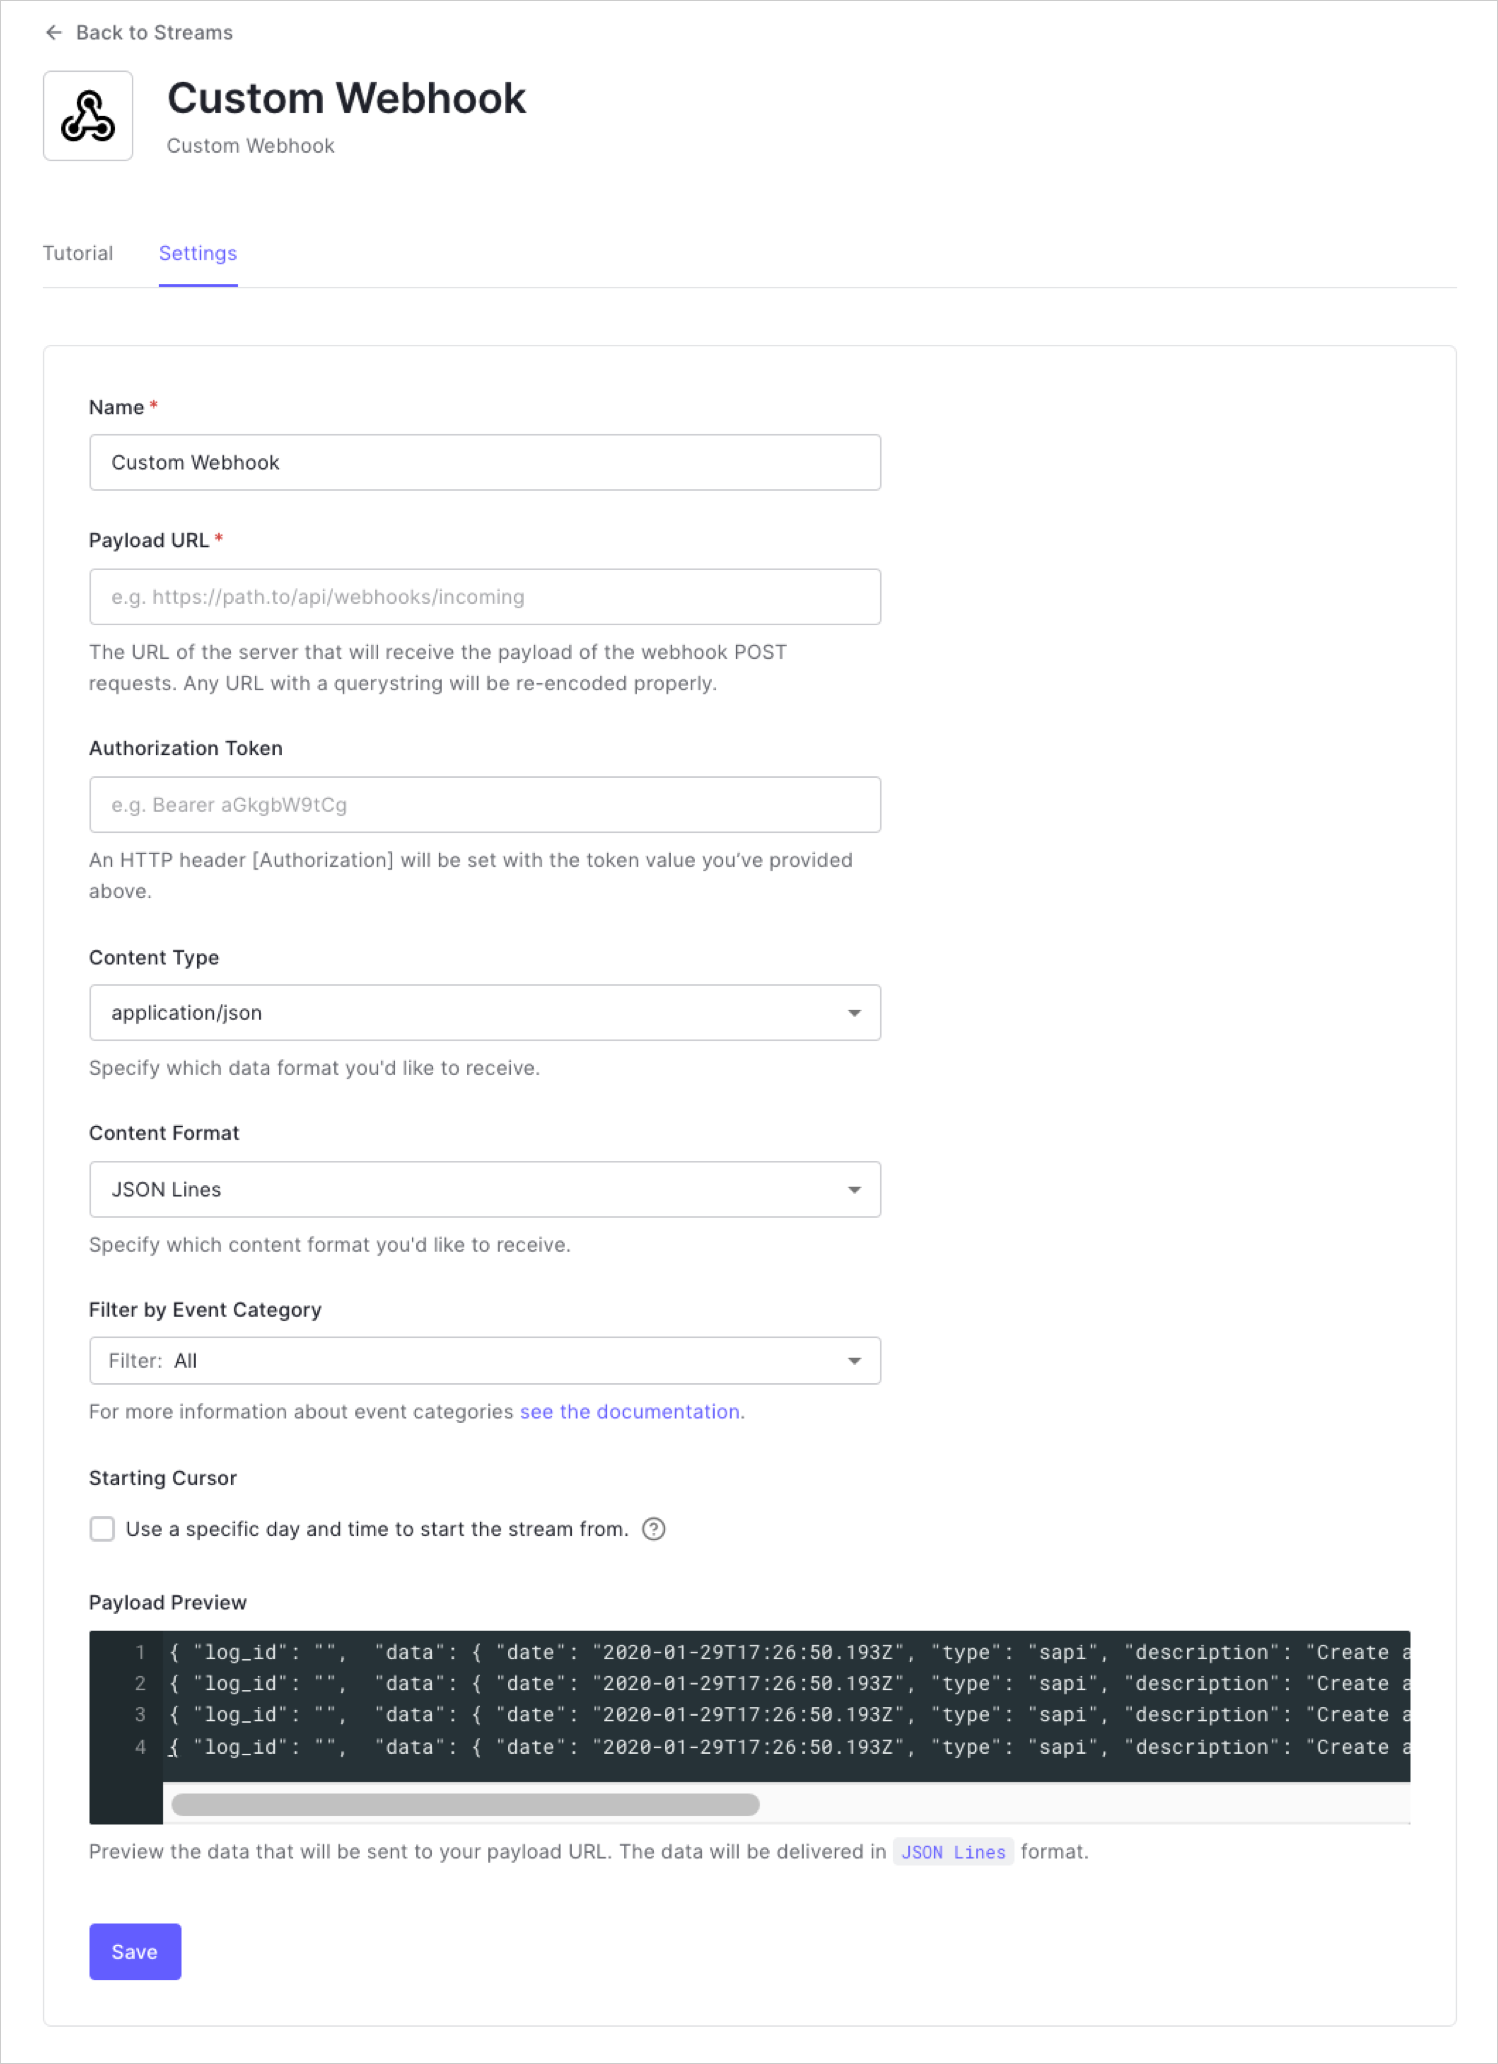
Setting Description Name A unique display name to distinguish this integration from other integrations. Payload URL The URL where the event payloads are sent as HTTP POST requests. Authorization Token (Optional) The value in the Authorization header of the request. Content Type The media type of the payload that will be delivered to the webhook. Content Format Receive data in JSON lines, arrays, or objects. Filter by Event Category List of log stream filters. Starting Cursor (Optional) Specific day and time to start the stream from. Click Save.


Test configuration
Switch to the Health view and confirm that the Stream Status is Active.
Perform an action that creates a tenant log event, like a login, token exchange, or Auth0 Management API call.
Confirm that the event was created in your tenant logs.
Confirm that your API received an
HTTP POSTrequest with the event data.Go to the Health view and confirm that no errors occurred.
Troubleshoot Webhooks
If your webhook isn't working, it can be difficult to troubleshoot and determine what is causing the issue. Webhooks are asynchronous, so testing them can involve you triggering the webhook, waiting, and then checking the response (assuming that you did receive a response).
However, there are certainly alternatives to the inefficient process we detailed above. While full details of how to troubleshoot a particular webhook is outside the scope of this article, here are some steps you can take to debug:
Check Auth0 Dashboard > Monitoring > Logs for helpful messages.
Analyze the requests your webhook is making using a tool like Mockbin, Beeceptor, or (self-hosted) RequestBin.
Mock requests using cURL or Postman.
Test your webhook code locally using something like localtunnel or ngrok.
Use a tool like Runscope or Assertible to watch the whole execution flow.